Yoast SEO plugin for WordPress is a powerful plugin that allows you to improve and manage search engine optimization (SEO) settings from within your WordPress dashboard. The plugin is available in a basic free version and an enhanced pro version. This article describes how to install and set up the free version of the Yoast SEO plugin.
How to installYoast SEO
Log in to your WordPress dashboard and go to Plugins > Add New.
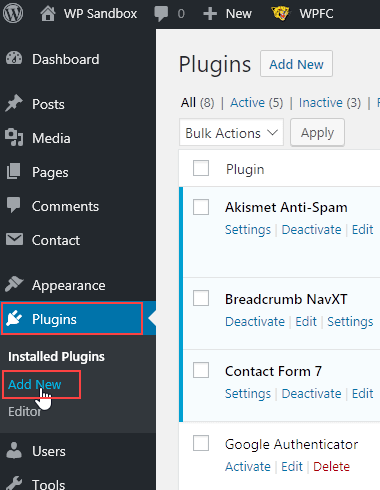
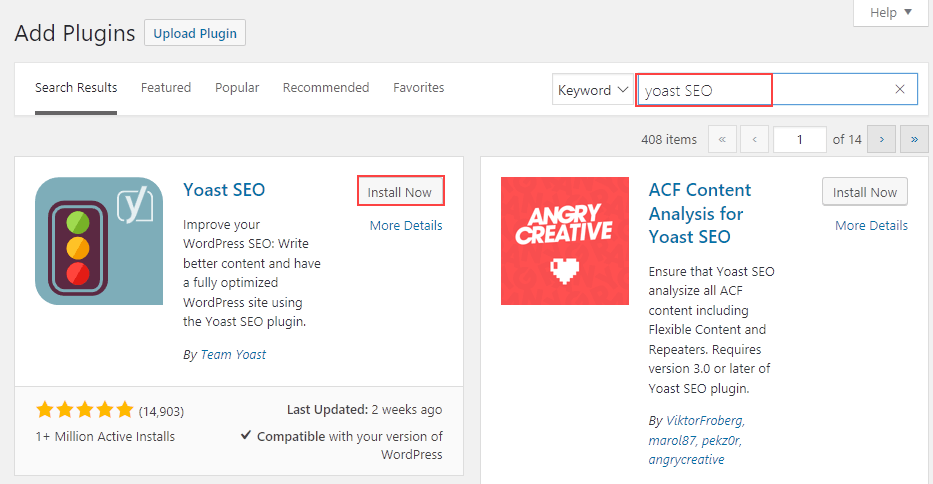
Type yoast SEO in the Search plugins field. In the search results, find Yoast SEO and click Install Now.
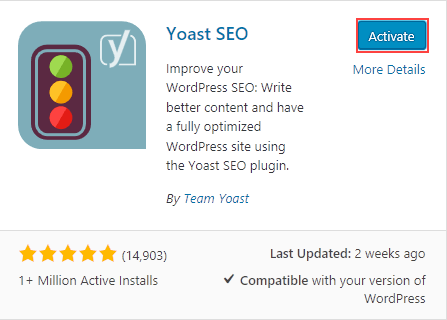
When the installation is complete, click Activate.
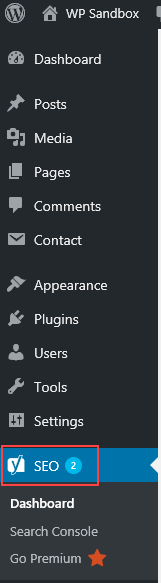
When the plugin is active, a new SEO menu item will be added to your WordPress dashboard.
How to set up Yoast SEO
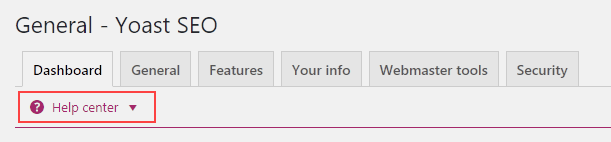
There are many configuration options available in Yoast SEO, and some options will depend on your site, theme, and preferences. These are basic recommended settings for most websites. For more information about settings on any page in Yoast SEO, click Help center.
How to use the configuration wizard
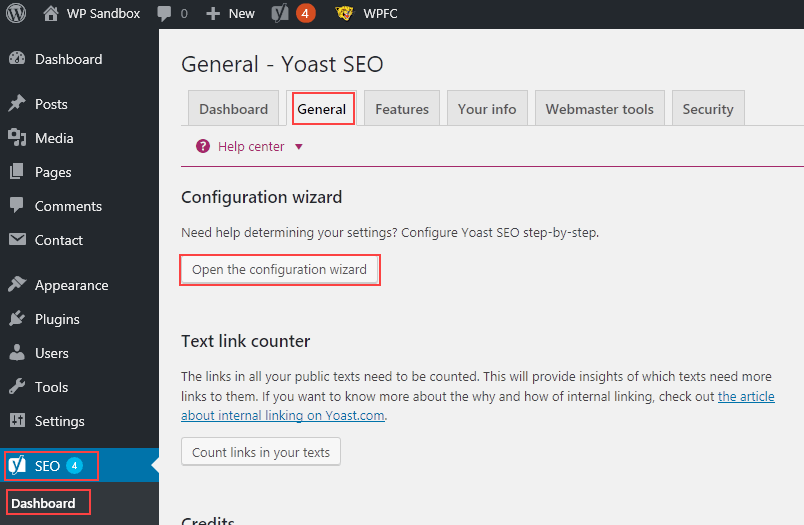
To begin setting up Yoast SEO, run the configuration wizard. The configuration wizard asks you a series of questions and applies settings based on your responses. In your WordPress dashboard, go to SEO > Dashboard and click General. Click Open the configuration wizard.
The configuration wizard includes 12 steps. Each step includes detailed information that helps you decide which options to select. Click Next on each step to proceed.
- Welcome – Click Configure Yoast SEO.
- Environment
- Production
- Staging
- Development
- Site type
- Blog
- Webshop
- News site
- Small business site
- Other corporate site
- Other personal site
- Company or person
- Company
- Person, name of the person
- Social profiles
- Facebook Page URL
- Twitter Username
- Instagram URL
- LinkedIn URL
- MySpace URL
- Pinterest URL
- YouTube URL
- Google+ URL
- Post type visibility
- Posts – Visible or Hidden
- Pages – Visible or Hidden
- Media – Visible or Hidden
- Multiple authors
- Yes
- No
- Google Search Console (formerly called Google Webmaster Tools) – Note that you must have already added your site to the Search Console. Click Get Google Authorization Code and sign in with your Google account. Copy the code provided by Google and paste it in the field, then click Authenticate.
- Title settings
- Website name
- Title separator
- Newsletter – Optionally choose to receive the Yoast newsletter.
- You might like – Optionally choose to view some SEO videos from Yoast.
- Success – Click Close.
The configuration wizard is complete. Continue setting up Yoast SEO with the following additional settings.
How to enable advanced settings
By default, Yoast SEO advanced settings are hidden. To make them visible, go to SEO > Dashboard and click Features.
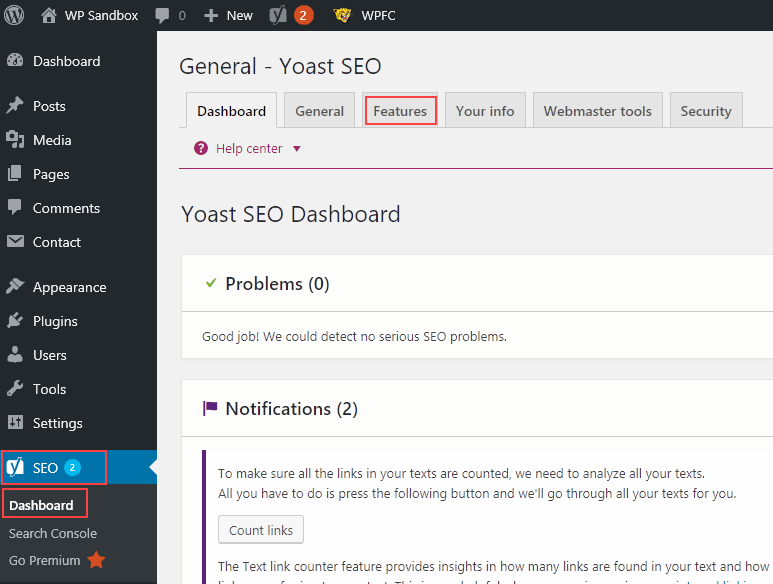
In Advanced settings pages, click Enabled, then click Save changes.

How to update titles and metas
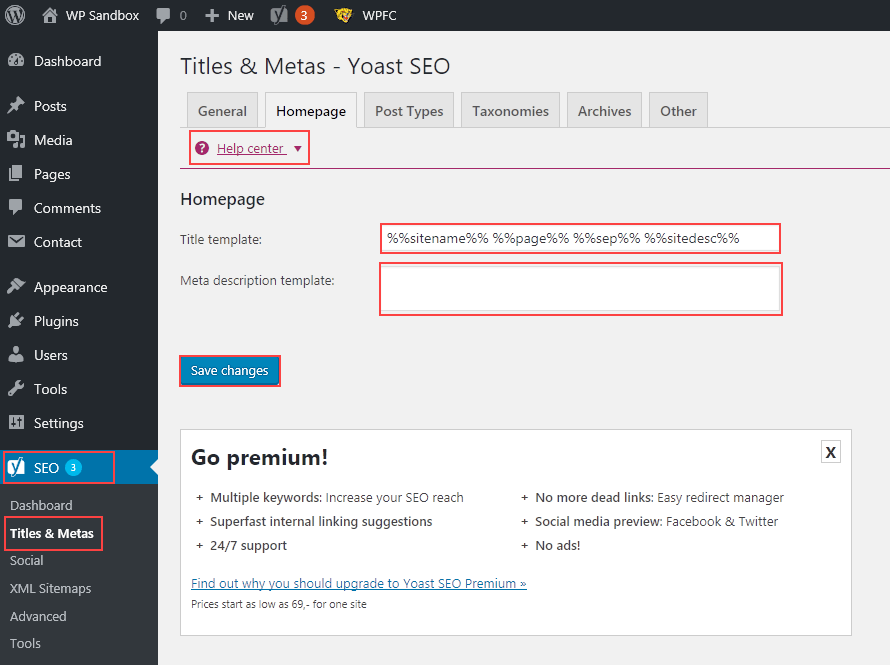
Go to SEO > Titles & Metas and click the Homepage tab.
The default title template includes variables for the site’s name, current page number, title separator character, and site description. You can leave the default or change it, but the default template works well for most sites. Click Help center to learn more about templates and variables.
In the Meta description template, type a short description of your homepage. You can use a combination of words and variables. Keep in mind that search engines display only the first 156 characters of the meta description, making them engaging and human-readable. Click Save changes.
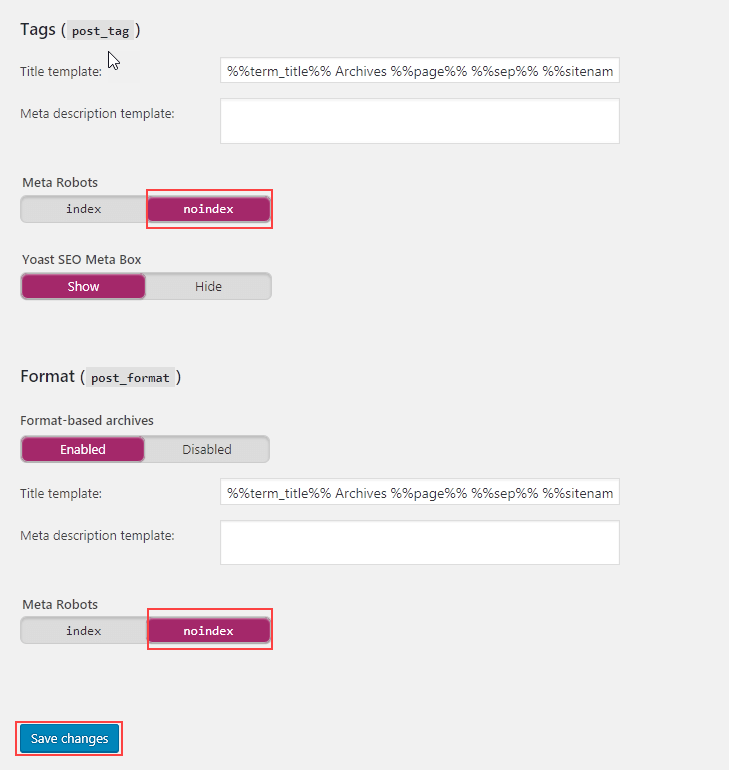
Click the Taxonomies tab. Change the Meta Robots in Tags and Format to noindex, then click Save changes.
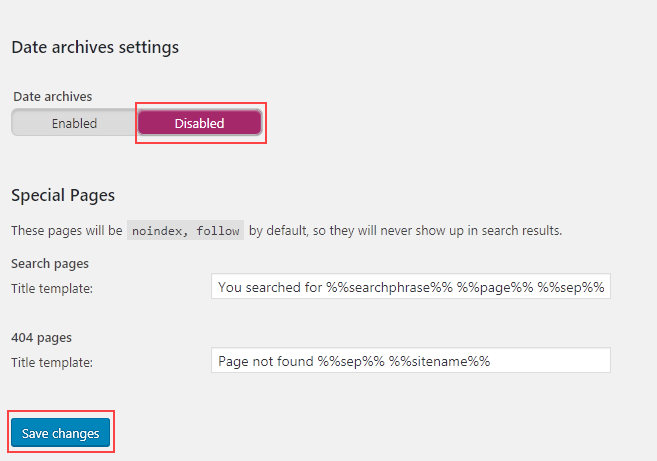
Click the Archives tab. Change date archives to Disabled, then click Save changes.
How to configure social settings
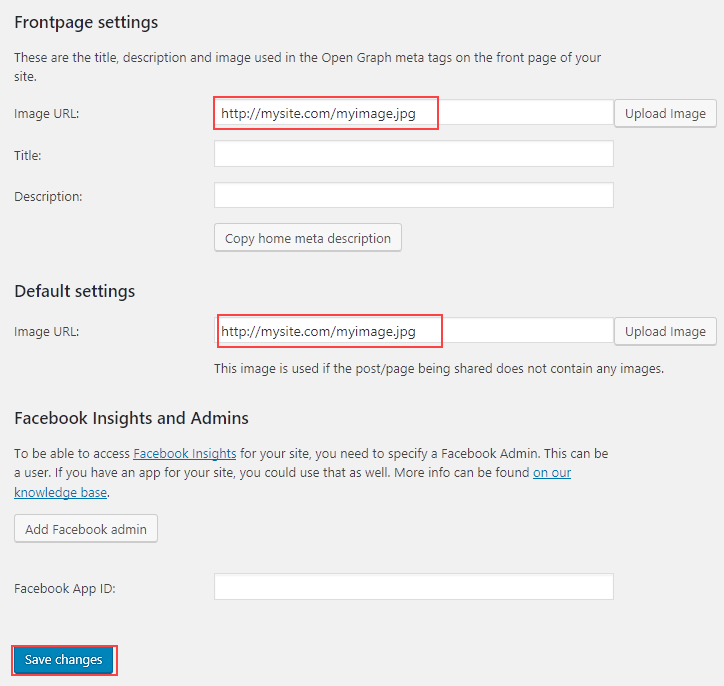
Go to SEO > Social and click Facebook. In Frontpage and Default settings, add URLs to images or upload images. These images will appear on Facebook when someone likes or shares your homepage.
How to configure advanced permalinks settings
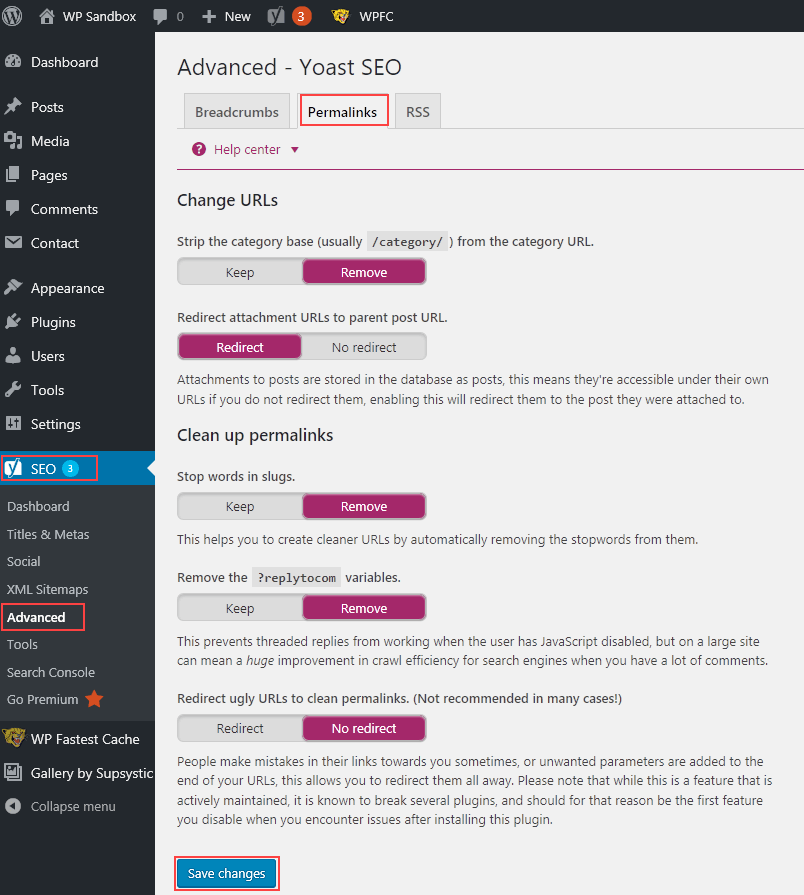
Go to SEO > Advanced and click Permalinks.
Choose the following settings, then click Save changes:
- Strip the category base (usually /category/) from the category URL – Remove
- Redirect attachment URLs to parent post URL – Redirect
- Stop words in slugs – Remove
- Remove the ?replytocom variables – Remove
- Redirect ugly URLs to clean permalinks. (Not recommended in many cases!) –
No redirect
For more information, check out these Yoast resources:
- Continue configuring Yoast SEO by following the recommendations in Basic WordPress SEO with Yoast
- What is the Yoast SEO plugin for WordPress?
- How to measure Yoast SEO results
- The Help center link on each page in Yoast SEO includes context-sensitive help, tutorial videos, and a link to the Yoast knowledge base.
- The Yoast SEO plugin website
If you need help with your HostPapa account, please open a support ticket from your dashboard.
