WordPress offers an easy and quick way for you to set up and manage your website. But no matter the size and speed of your site, you should optimize it to run as efficiently as possible.
W3 Total Cache can improve search engine result page ranking through page load time reduction. It achieves this by creating static versions of dynamically generated posts and pages, optimizing server load for busy websites.
Following are the steps required to install and configure W3 Total Cache for WordPress. When optimizing your site, you should remember that the benefits of caching can vary depending on the theme you are using and the number of plugins you have installed. However, most sites should see some benefit from caching.
To analyse the results, check the performance of your site using Google Page Speed , GTMetrix, or Pingdom Tools. This will give you a before and after comparison of load times.
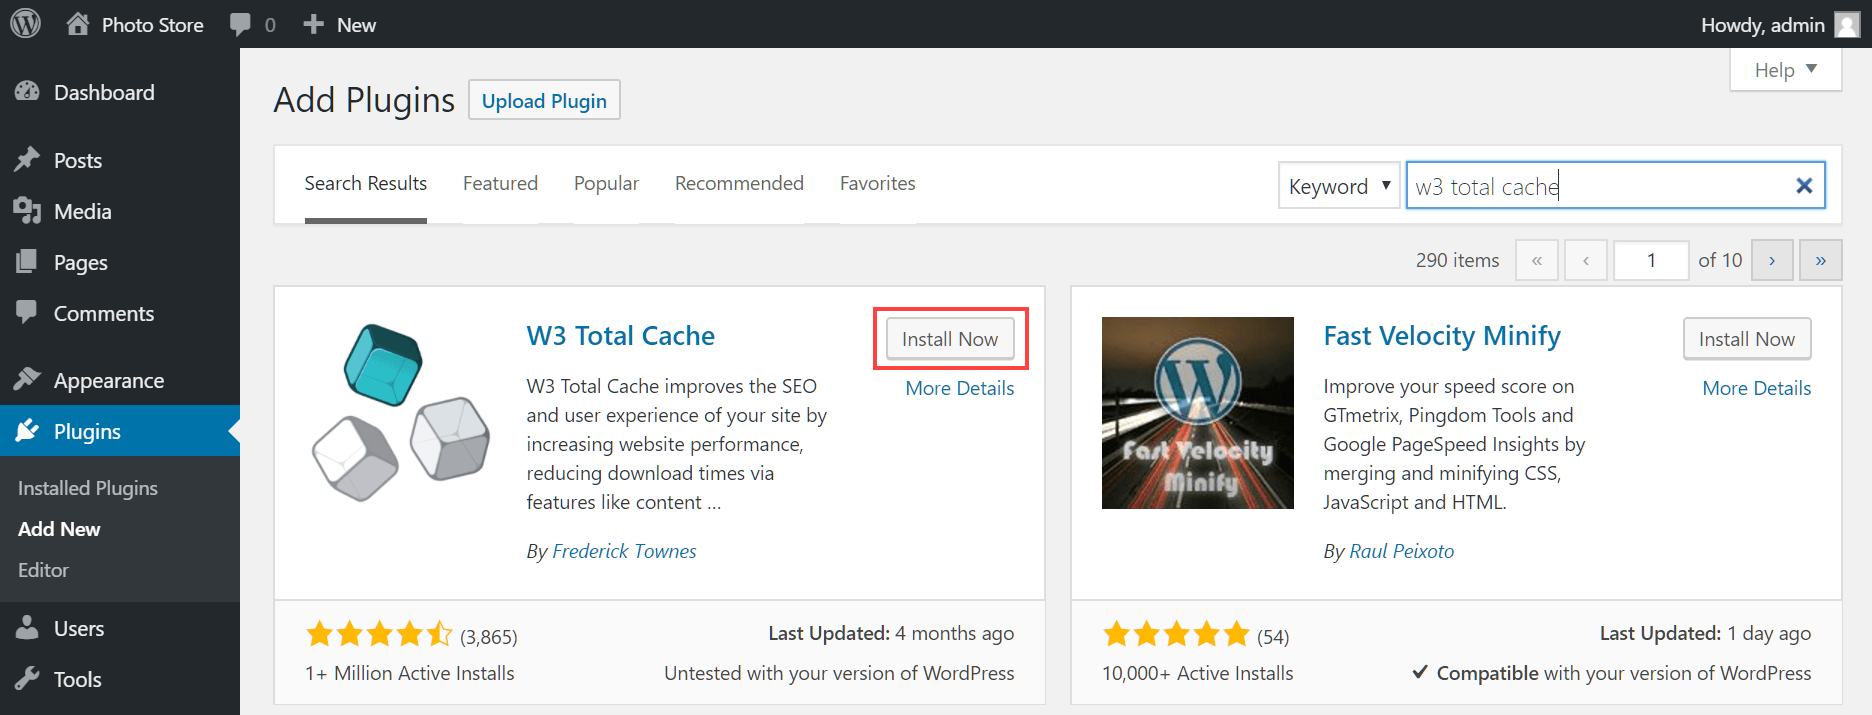
Sign in to your WordPress administration menu and ensure you have deactivated and deleted any other caching plugins from your WordPress installation. From the sidebar, select Plugins > Add New. Search for W3 Total Cache and install it, then activate the plugin. To learn more about installing WordPress plugins, read this HostPapa knowledge base article: How to install plugins in WordPress
The W3 Total Cache dashboard
Once activated, you’ll see a new Performance category in your admin sidebar. Head to Performance > Dashboard to visit the W3 Total Cache settings page, where you can configure the plugin.
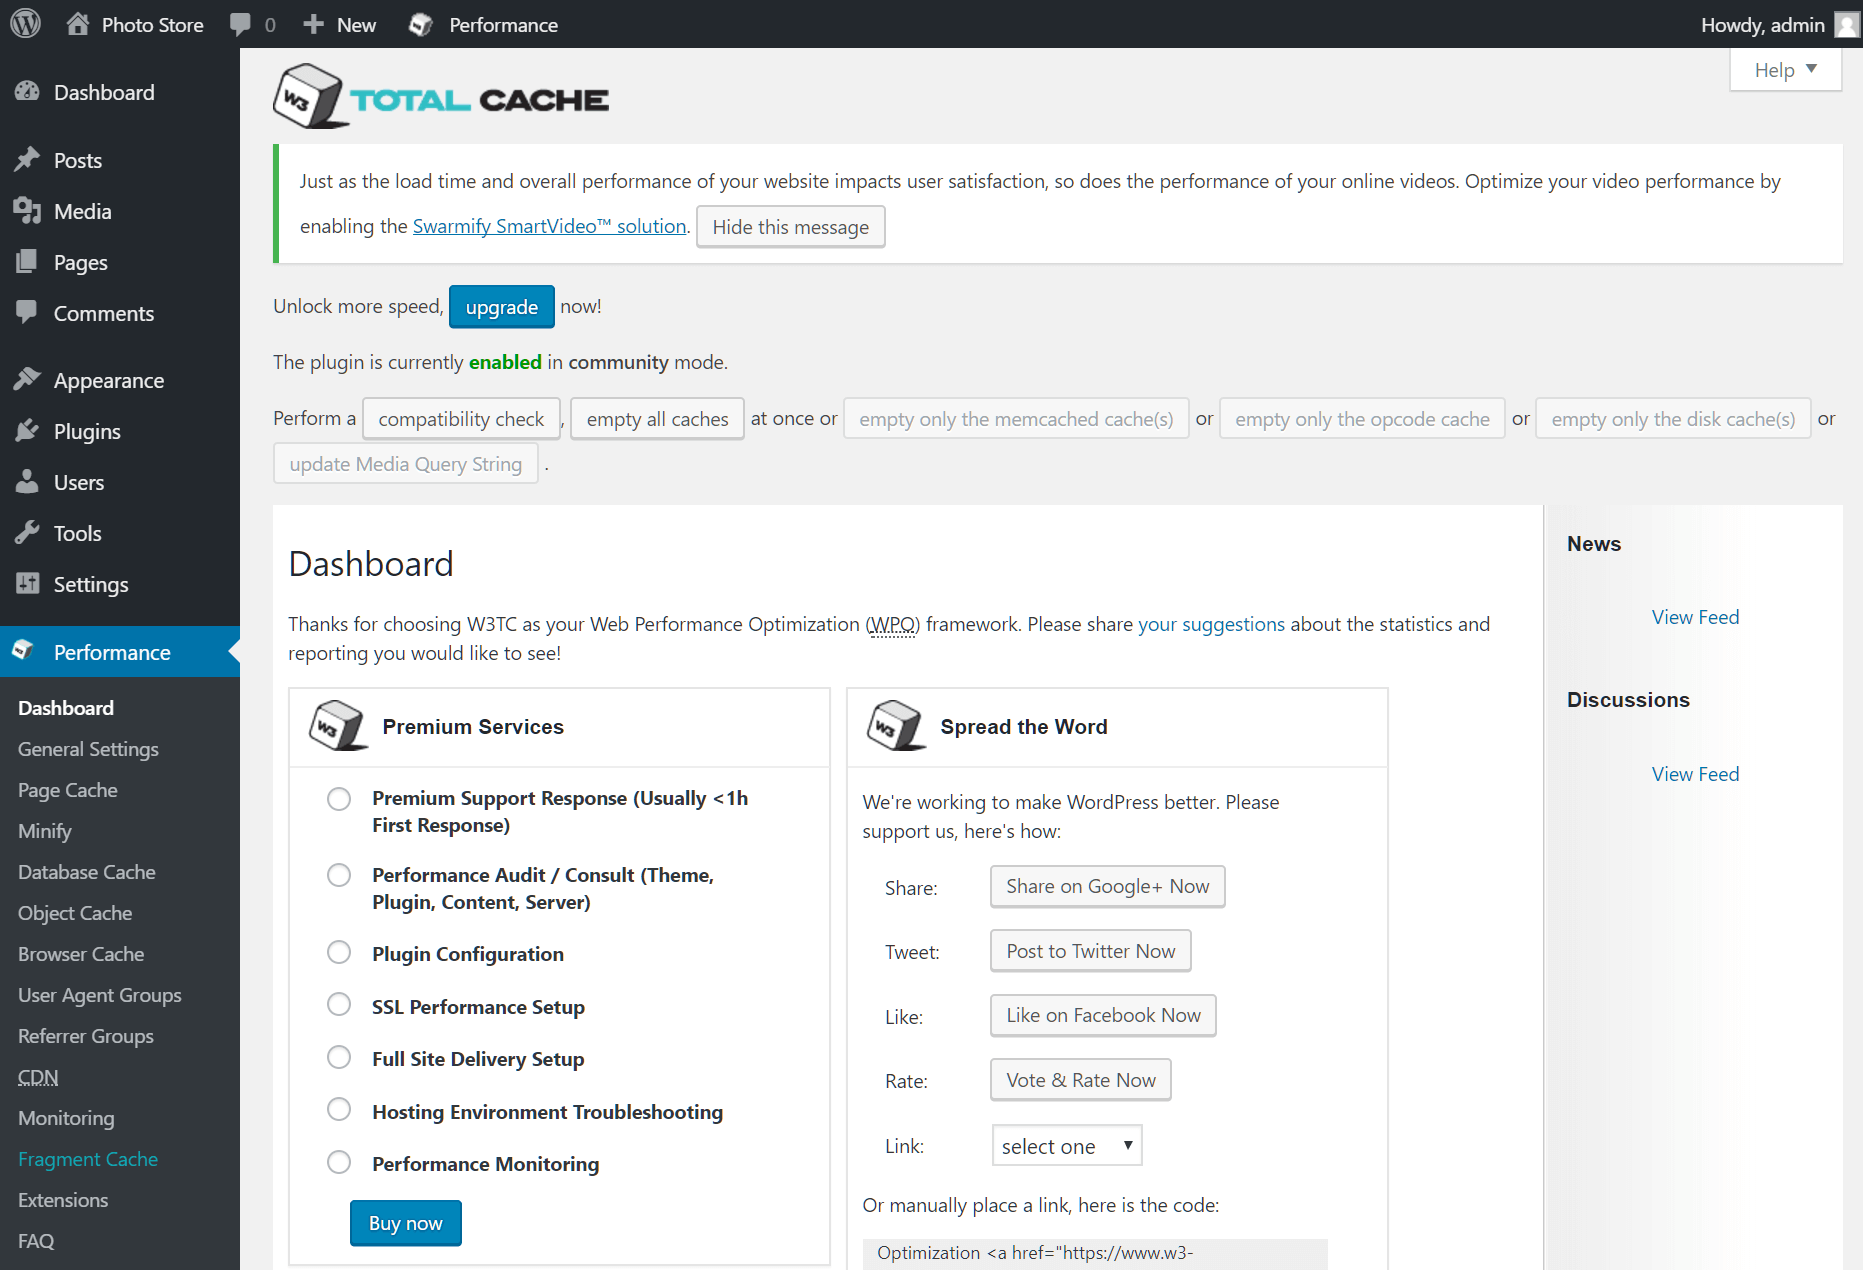
W3 Total Cache is free to use, but offers a range of optional, commercial addons which deliver extended features and technical support. You can investigate these addons from the Dashboard by choosing the relevant options and selecting Buy Now.
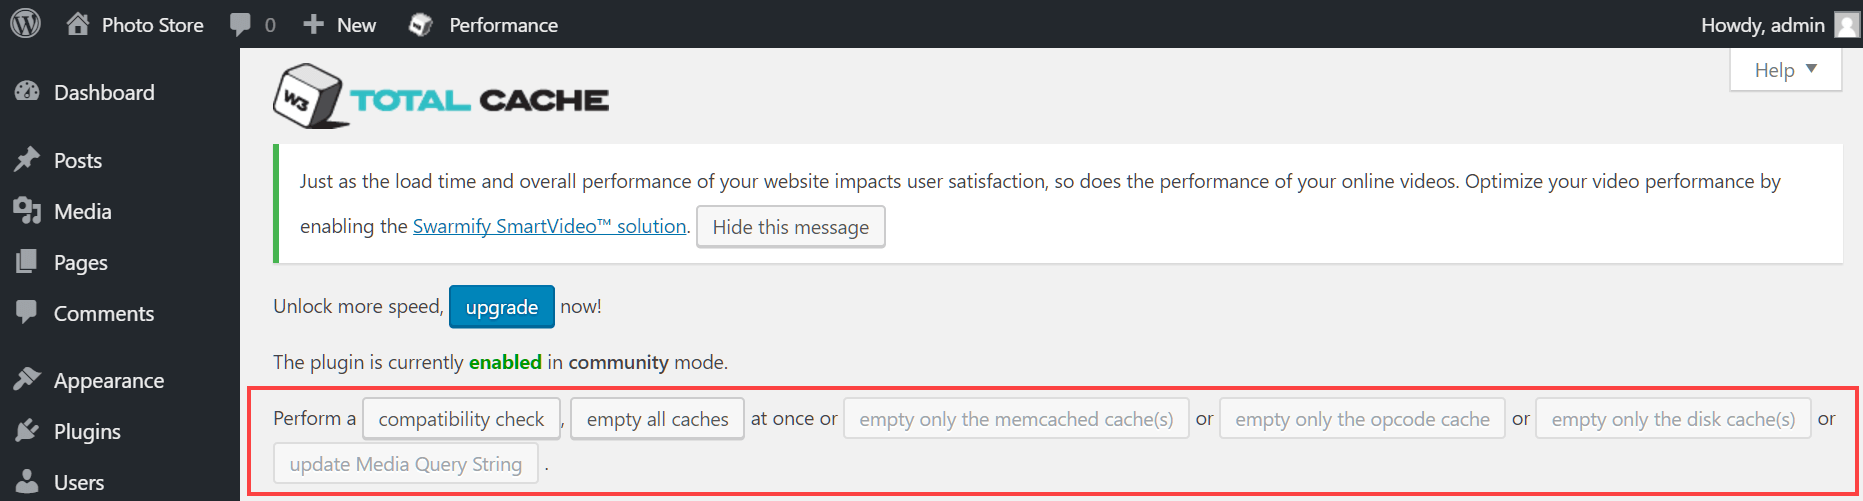
Note the buttons at the top of the page, which allow you to empty various caches quickly. You may need to empty a cache once a post or page has been updated – this ensures your users always see the most up to date version of the page.
Configuring W3 Total Cache
Navigate to Performance > General Settings to review the configuration options. Site performance can vary greatly when you modify these settings, depending on the theme and plugins you are using – to the point where your site may not load correctly in some cases. Feel free to experiment with these settings, but make sure you have backed up your site first and check your site’s front-end with each change you make.
The following settings are suggestions for optimizing your site. Test each setting carefully to ensure it is suitable for your site.
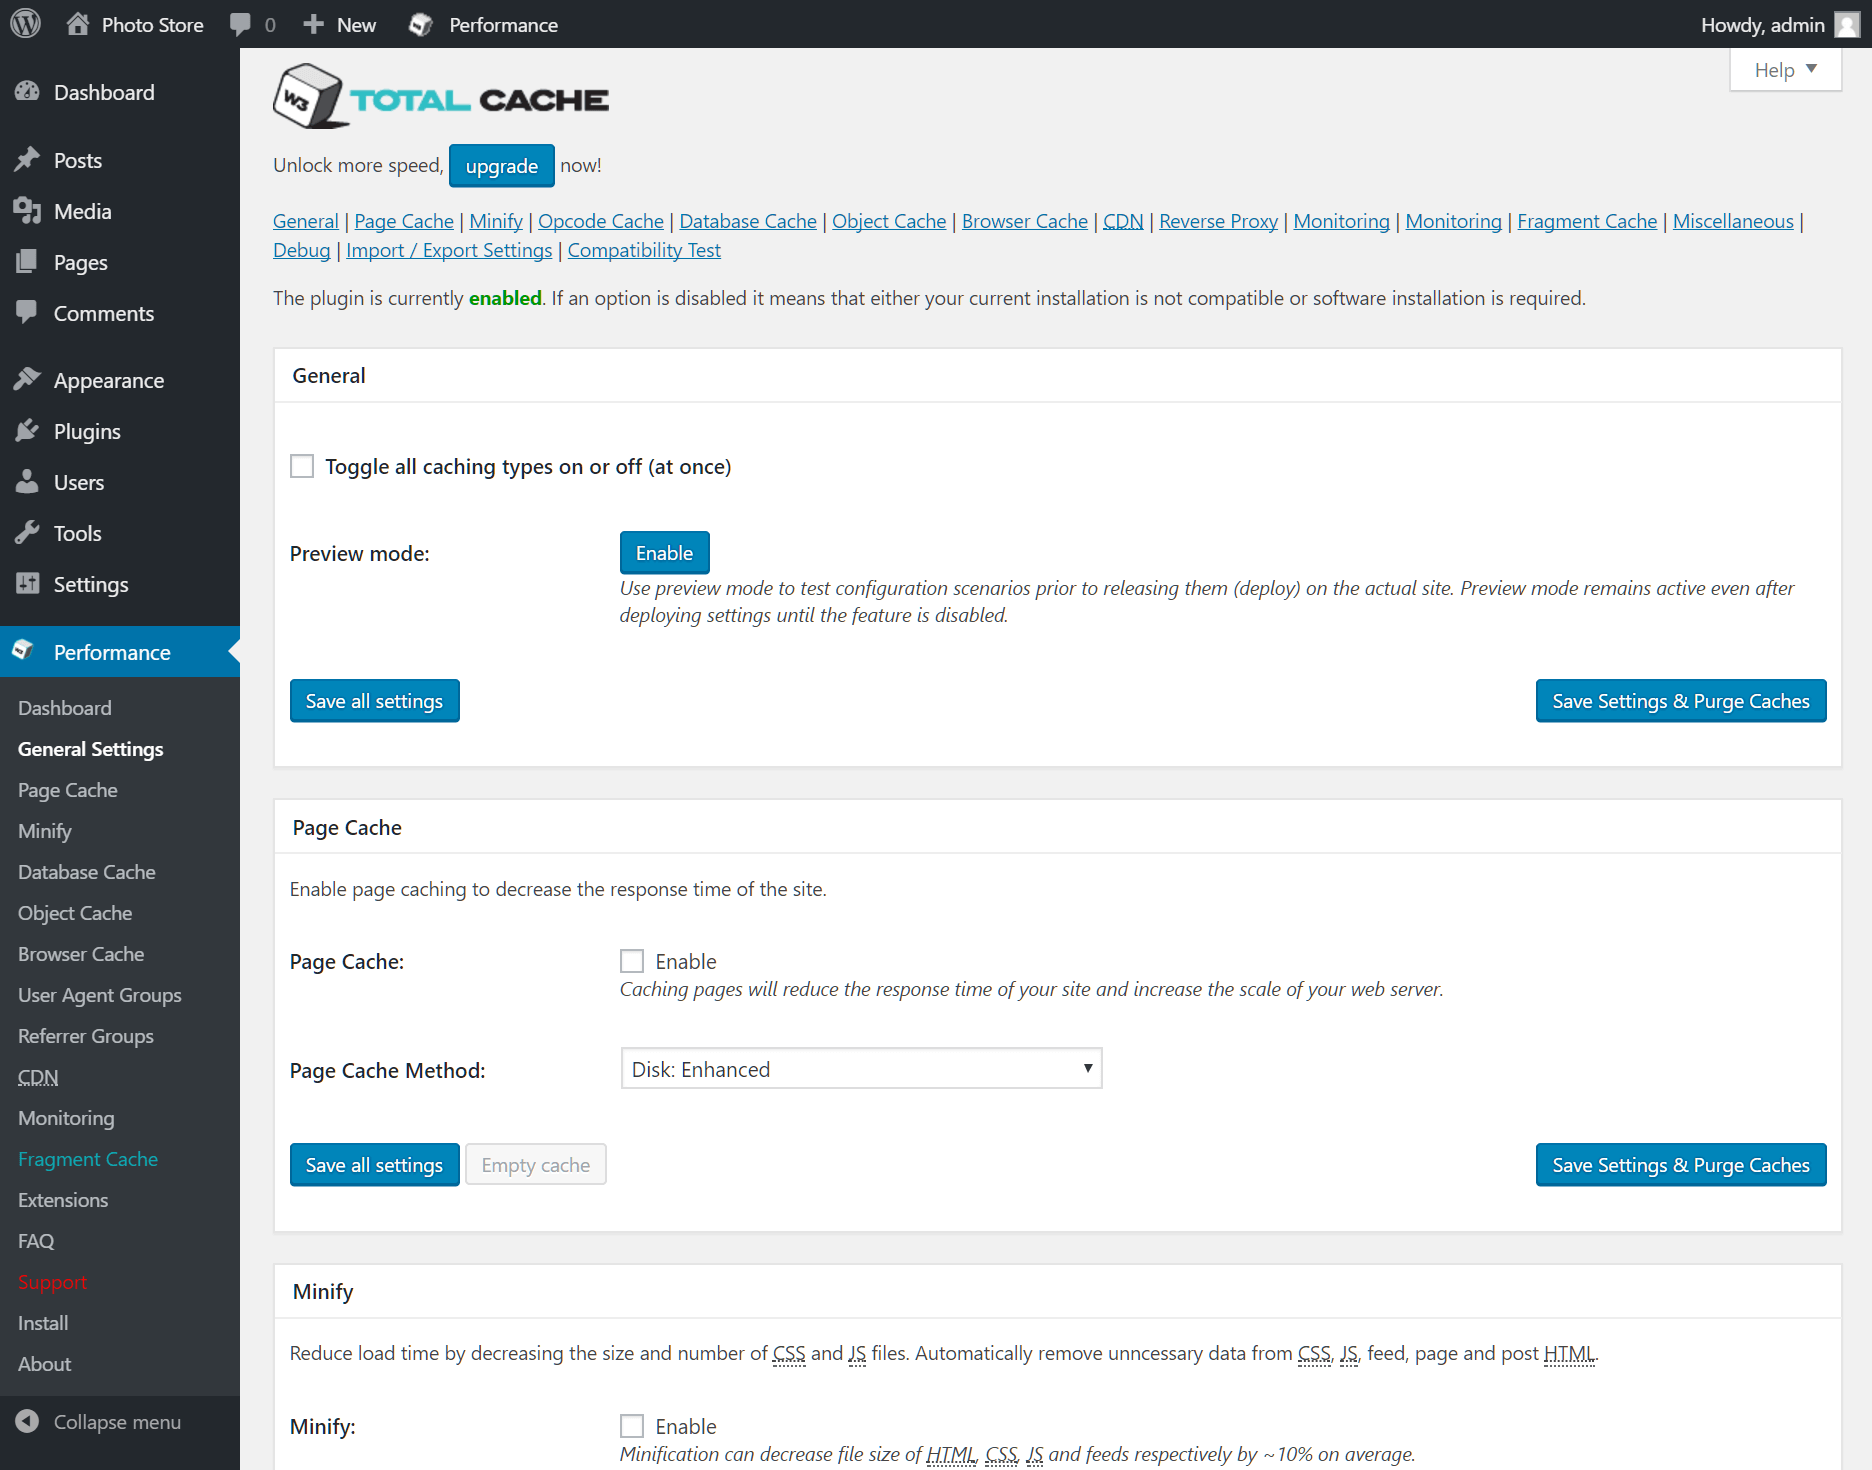
The first option, Toggle all caching types on or off (at once) simultaneously deploys all of W3 Total Cache’s features. You can attempt this, but you may find elements of your site do not function correctly with this mode enabled. The better approach is to work step by step through caching settings, testing site functionality as each feature is deployed.
Page caching
Page caching is a commonly used feature for reducing site load times. WordPress dynamically generates posts and pages using a database. For sites with many users, this continual work to generate files dynamically has a negative impact on server load and reduced page generation times. Page caching creates and stores static versions of your files, optimizing server load in increasing page performance.
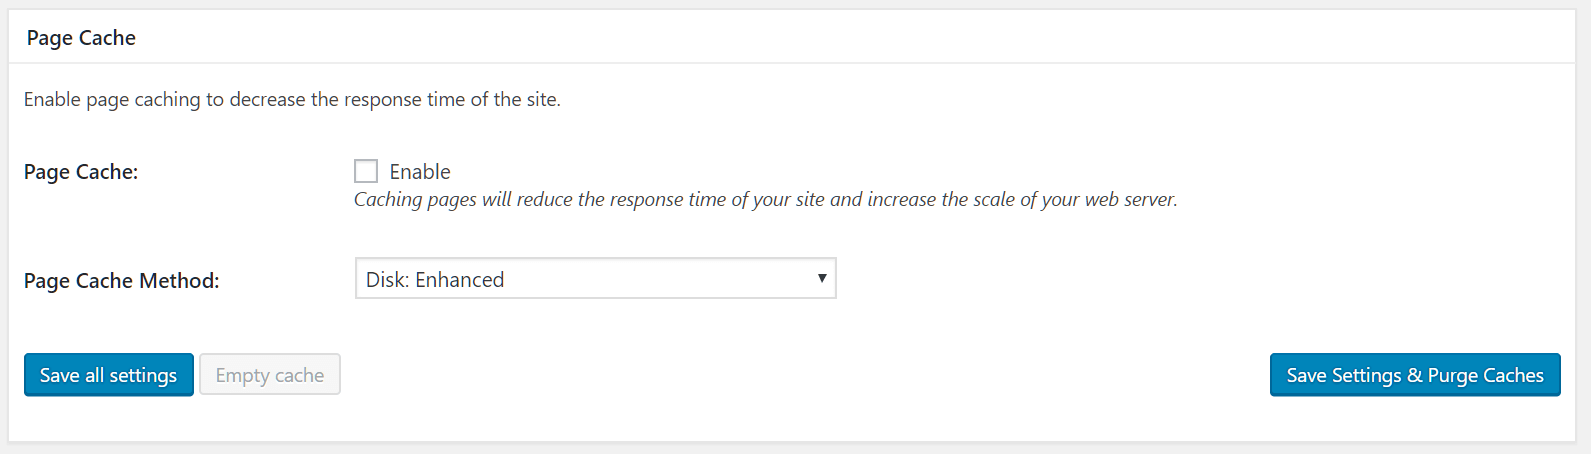
If you’re running your website on a shared hosting plan, the Disk: Enhanced page cache method is recommended. The dropdown menu offers a range of options for those running dedicated, virtual or multiple servers. Check the Enable Page Cache box, and click Save all settings. Feel free to test your site for performance gains.
Minify
Page load times can also be impacted by the need to load multiple Javascript and CSS files. Each time you install a new plugin, you may well increase the number of these files that need to be loaded, or acquired from third-party sources. Depending on how your theme has been coded, your page may not be displayed until these files have been loaded.
The Minify feature attempts to optimize page speeds by merging individual Javascript and CSS files into a smaller number of files, while removing unnecessary data to reduce the overall footprint. Minify is an advanced feature that doesn’t always work well by default, without expert analysis and tweaking.
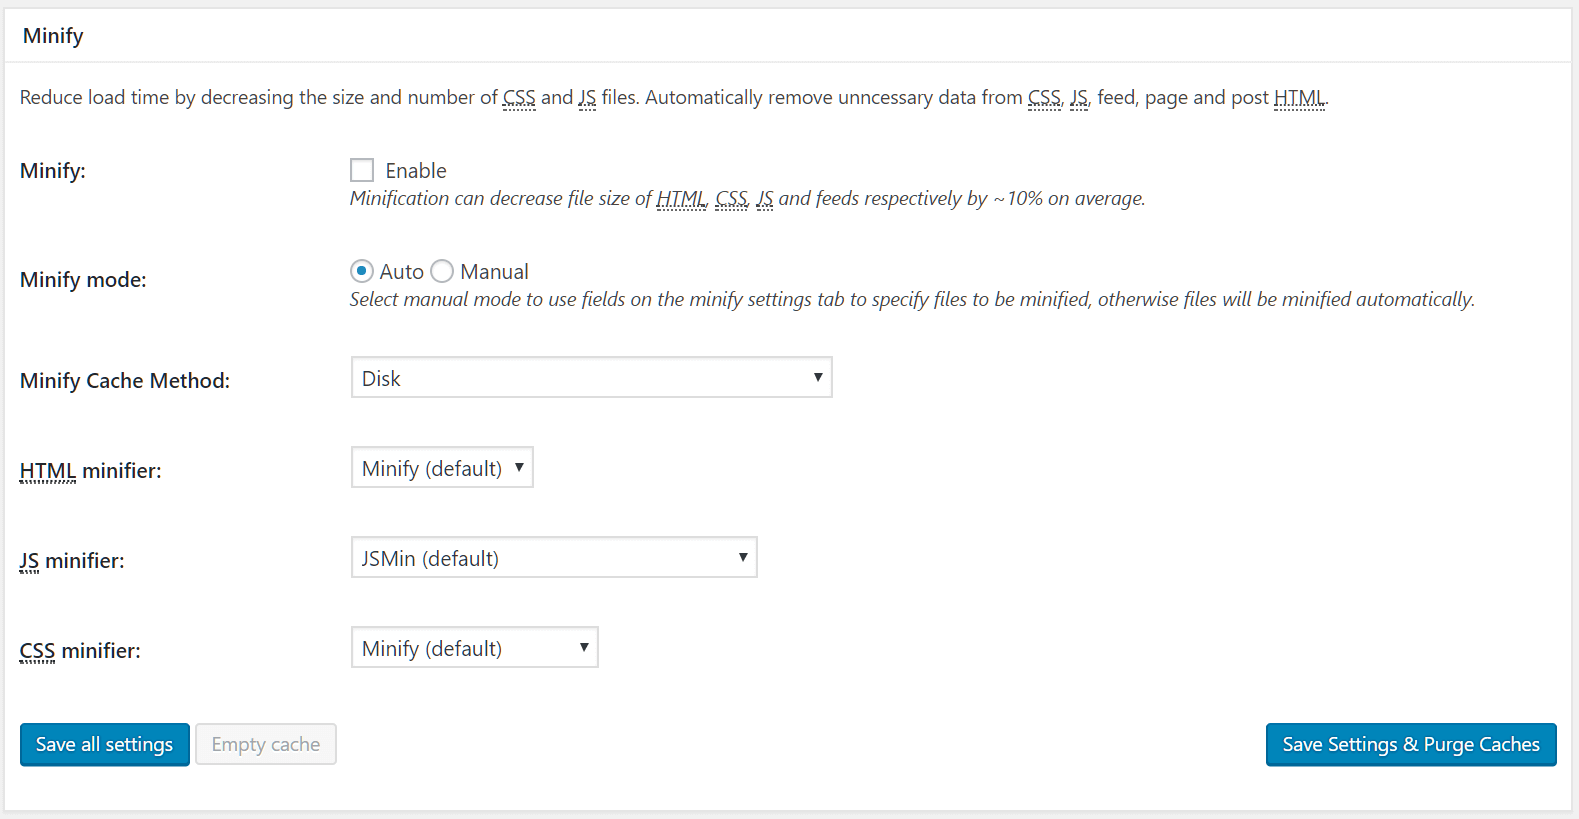
Check the Enable box and click Save all settings. Test your site’s front end carefully to identify any issues. In particular, look out for broken sliders, contact pages and other interactive elements. If you spot any issues, you can attempt to switch the Minify mode to Manual and then head to Performance > Minify to exclude specific files from minification, but it’s recommended that you have some expertise with Javascript before working with W3 Total Cache’s advanced features.
Database cache
Database caching reduces the server load by caching SQL database queries. As you can imagine, busy sites will receive thousands of page impressions per day, all of them requiring database queries to generate. Caching optimizes the processing time required to query the database, but unless you have a large, busy website, the impact of database caching may not be significant. Feel free to experiment to see if database caching has a positive impact on your site performance.
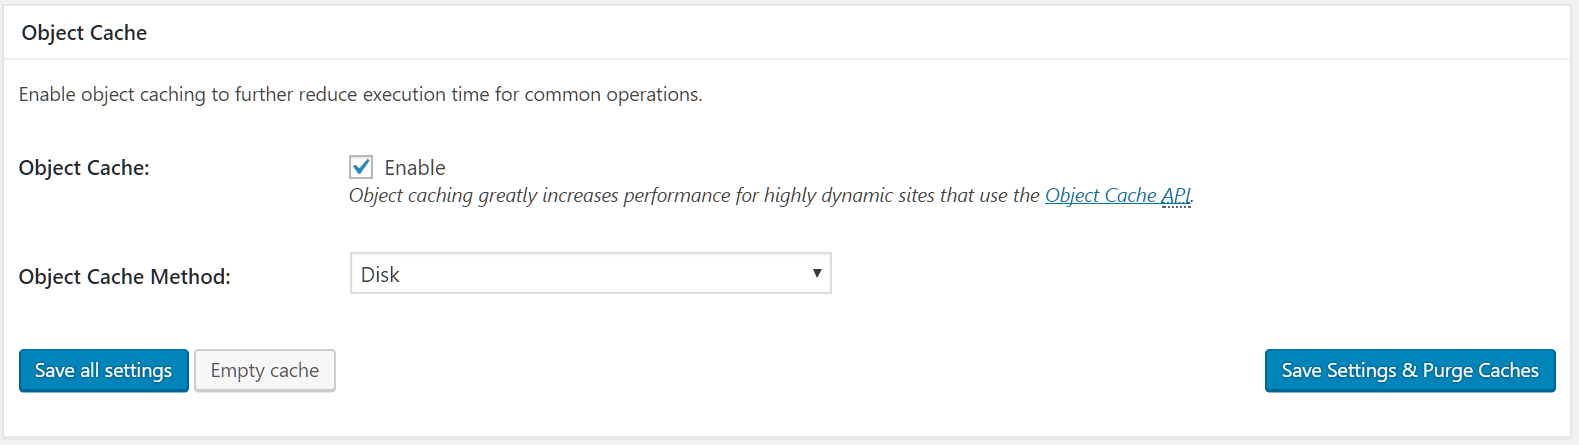
Object cache
If you have a busy site requiring complex database queries, object caching can help further optimize page performance. However, benefits are more less pronounced for simpler sites. Again, experiment to see if object caching has a positive impact on your site performance.
Browser cache
Scroll down the page to Browser Cache. You’ll probably know that your web browser saves and re-uses images, CSS files and Javascript and other static files in a temporary folder when you visit websites. While the browser needs to download these files the first time you visit a site, loading the page on subsequent visits will be quicker as the browser can use files from its local cache, rather than downloading them from your server.
Check the Enable box next to Browser Cache and click the Save all settings button. To configure the cache settings, head to Performance > Browser Cache.
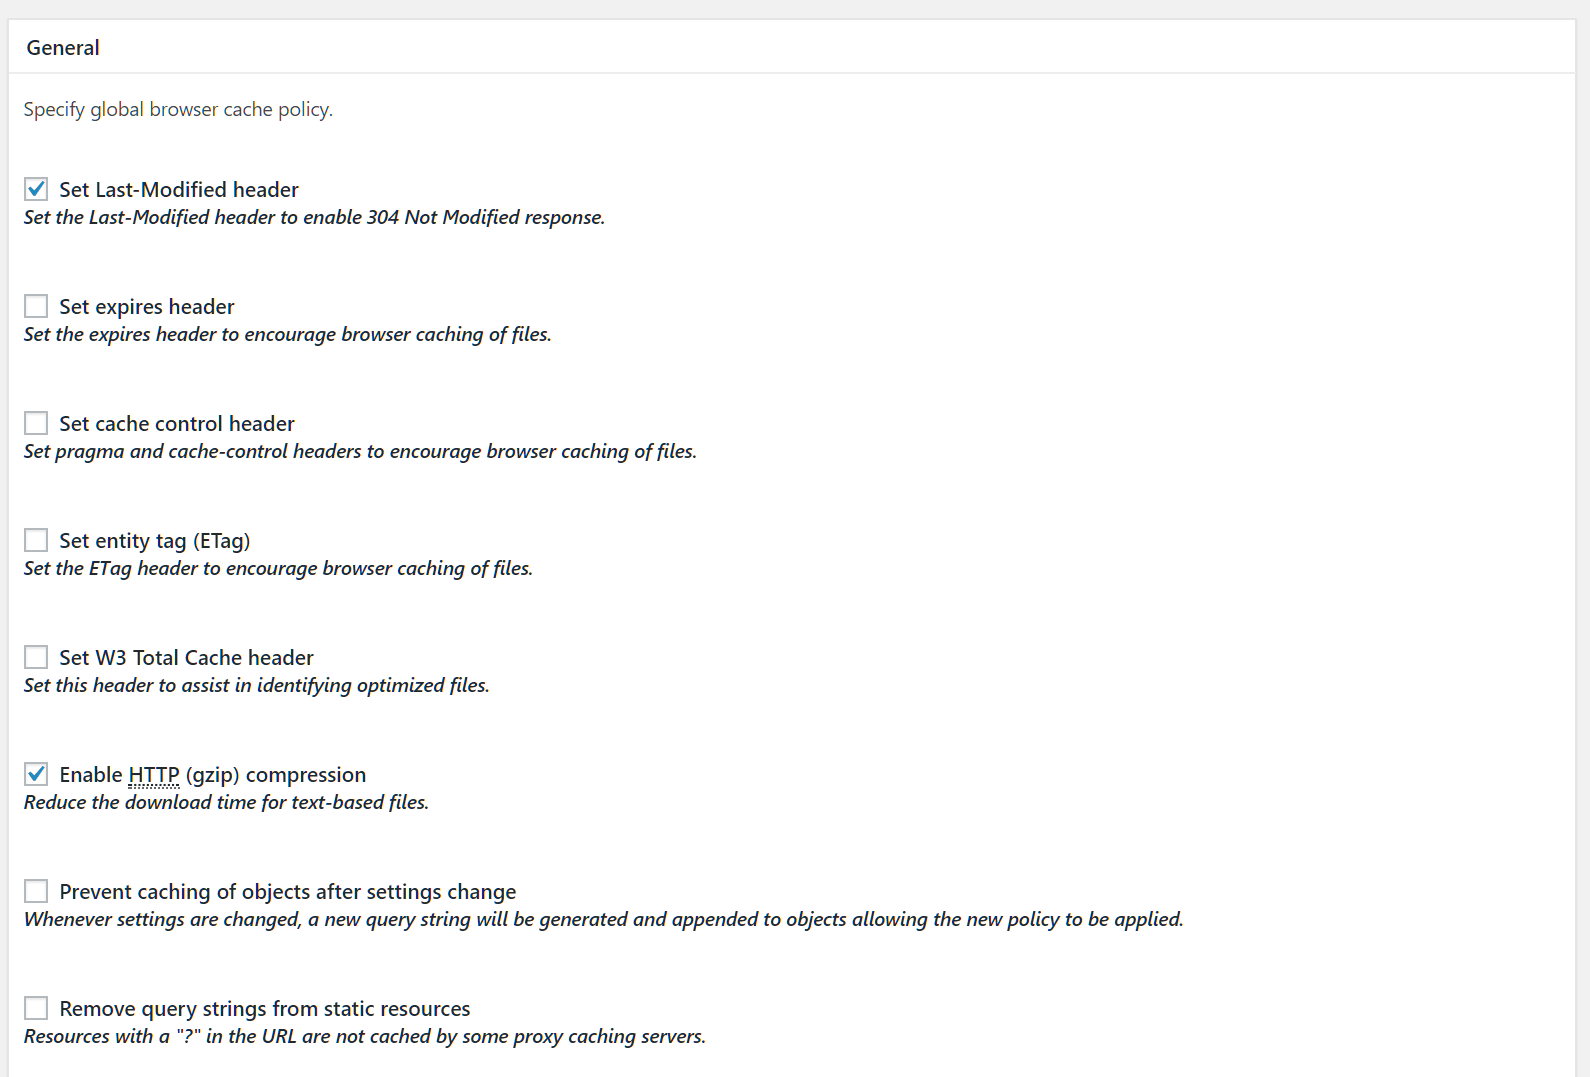
Check all of the boxes with the exception of Do not process 404 errors for static objects with WordPress, save your settings and test your site. If you experience any issues, disable settings one by one until your site is working correctly.
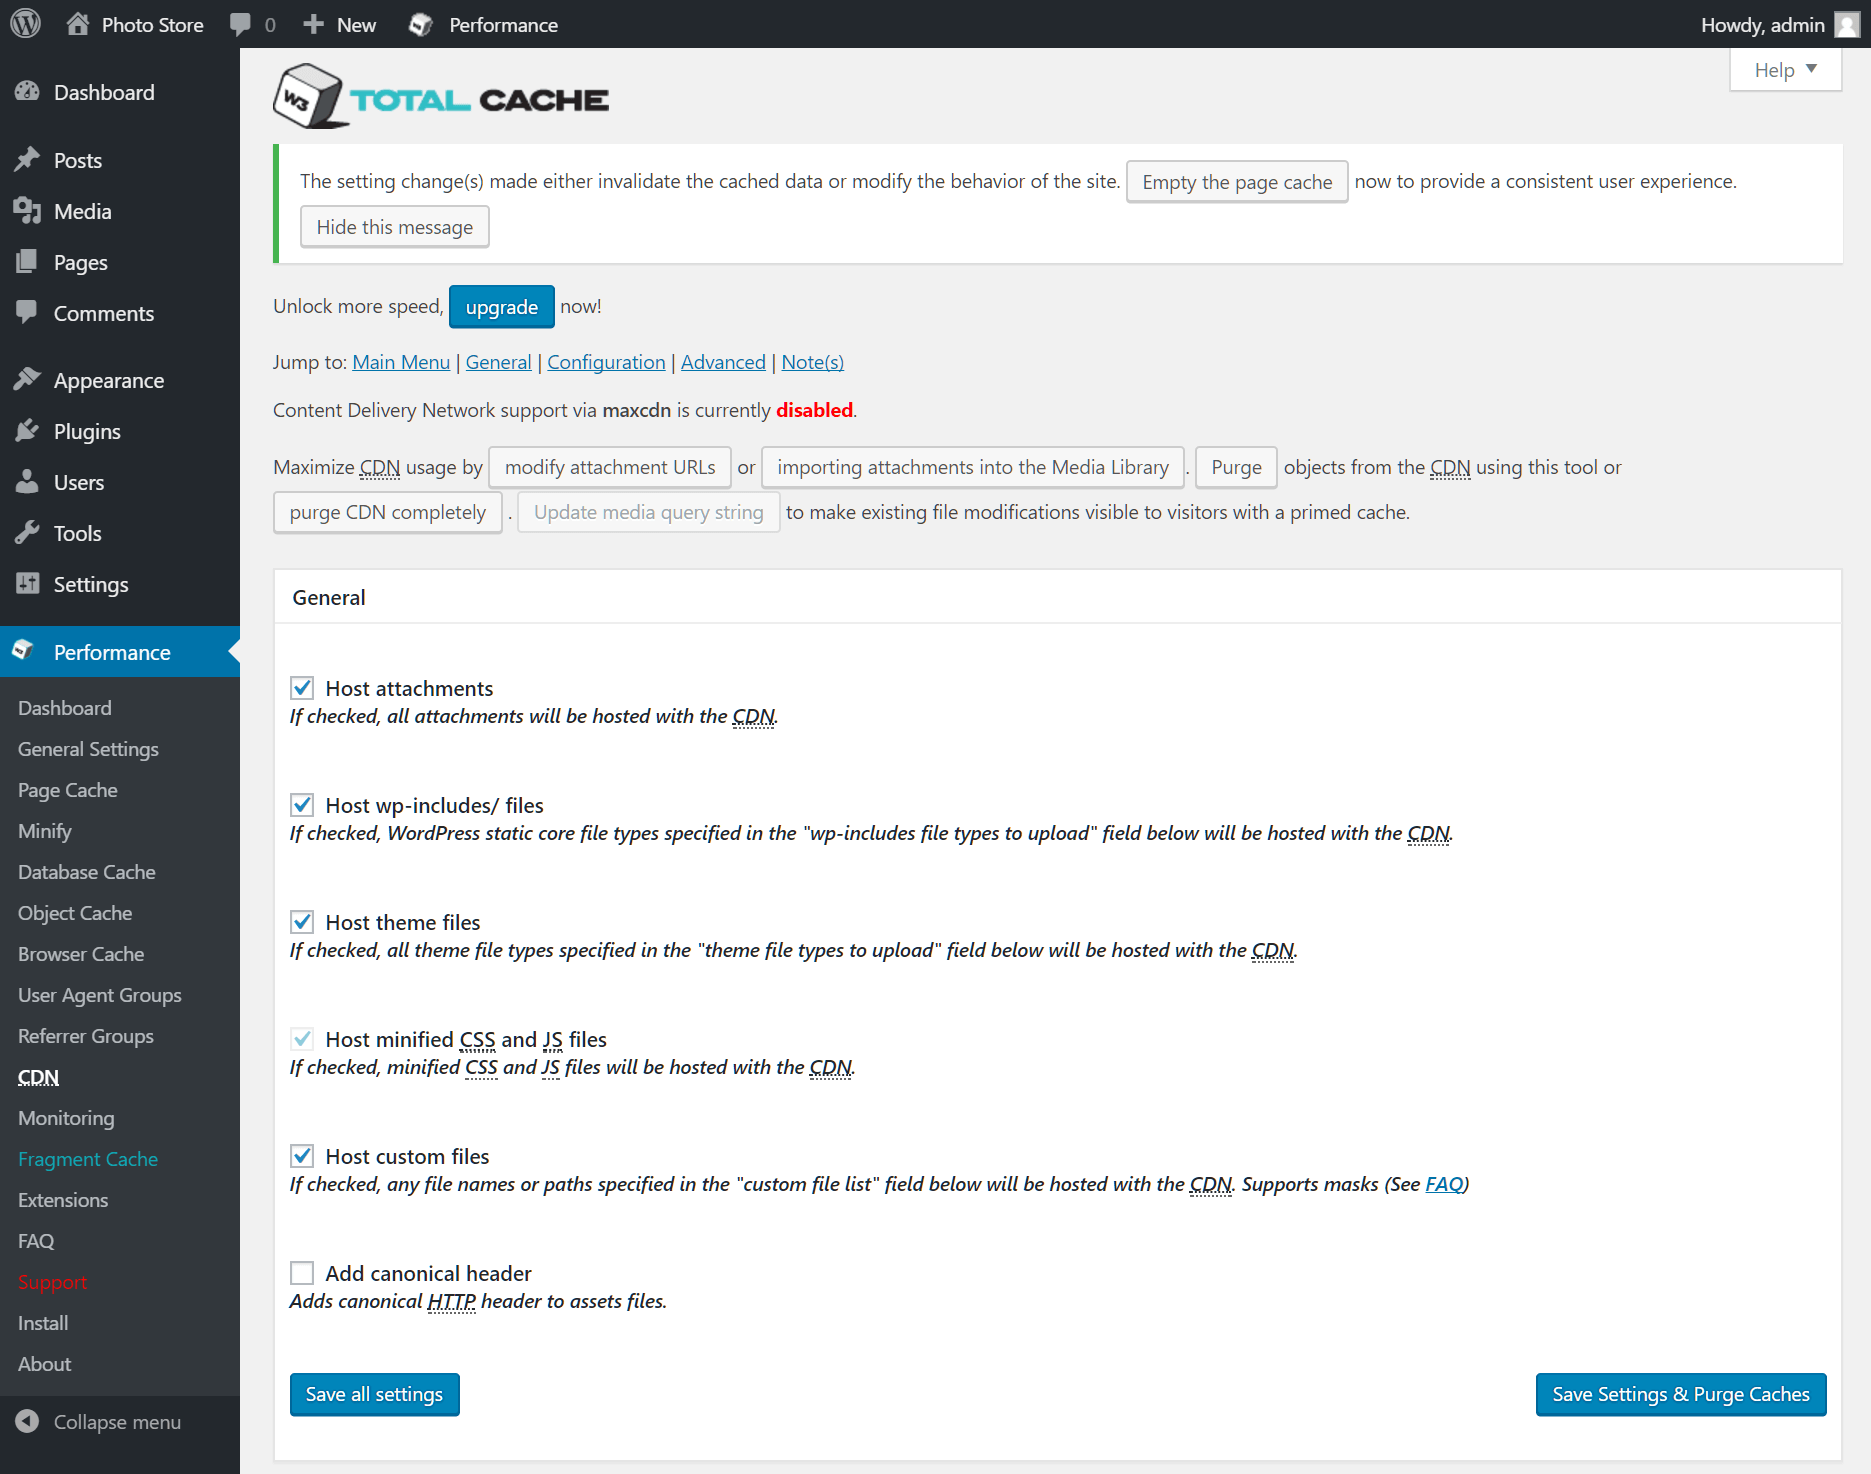
CDN integration
The CDN page (Performance > CDN) is used to configure the cache to work with a Content Delivery Network. The priority of a CDN is to reduce latency, or in other words, reduce the amount of time it takes to load a website. Typically, latency is caused by two factors: routers and distance. A CDN helps with the physical distance latency by creating a distributed network that is set up across many data centers around the world.
Learn more about CDNs in this HostPapa knowledge base article: What is a Content Delivery Network (CDN)?
Back up your cache settings
Once you have W3 Total Cache configured and you’re happy with your site’s performance, be sure to back up your configuration, in case you need to reinstall the plugin at a later date. Visit Performance > General Settings and scroll down to the Import/Export section to save your settings.
While W3 Total Cache offers a wide range of advanced features for optimizing WordPress websites, even novice administrators can benefit from enhanced page load times simply by configuring the basics. Just be sure to have a backup of your site available at all times and test your site thoroughly each time you change your cache settings.
For further questions, or if you need help, please open a support ticket from your HostPapa Dashboard. Follow this link to learn how.
