Sunshine Photo Cart is a WordPress plugin supporting enhanced photo galleries, plus a shopping cart system that allows you to sell your photographs online. You can also use the plugin for photo proofing, allowing clients to review and approve a selection of photos for print or other distribution.
Follow these steps to install and set up Sunshine Photo Cart to enhance the presentation of your digital photography.
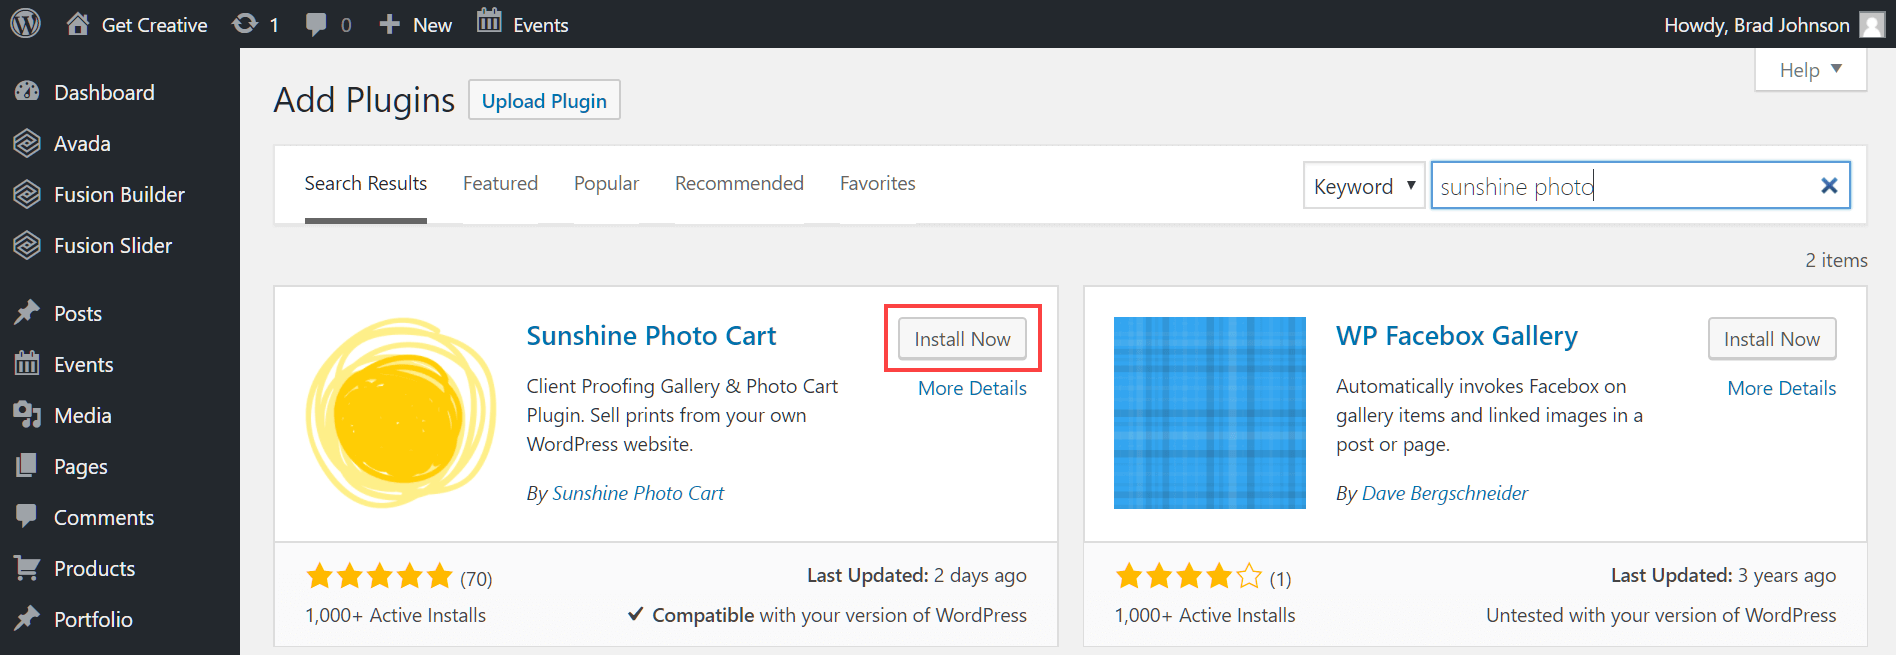
Sign in to your WordPress administration menu and, from the sidebar, select Plugins > Add New. Search for Sunshine Photo Cart and install it, then activate the plugin.
Once activated, you’ll be taken to an overview page exploring the plugin’s features in more depth. Feel free to browse the introductory guide and videos explaining the benefits of Sunshine Photo Cart.
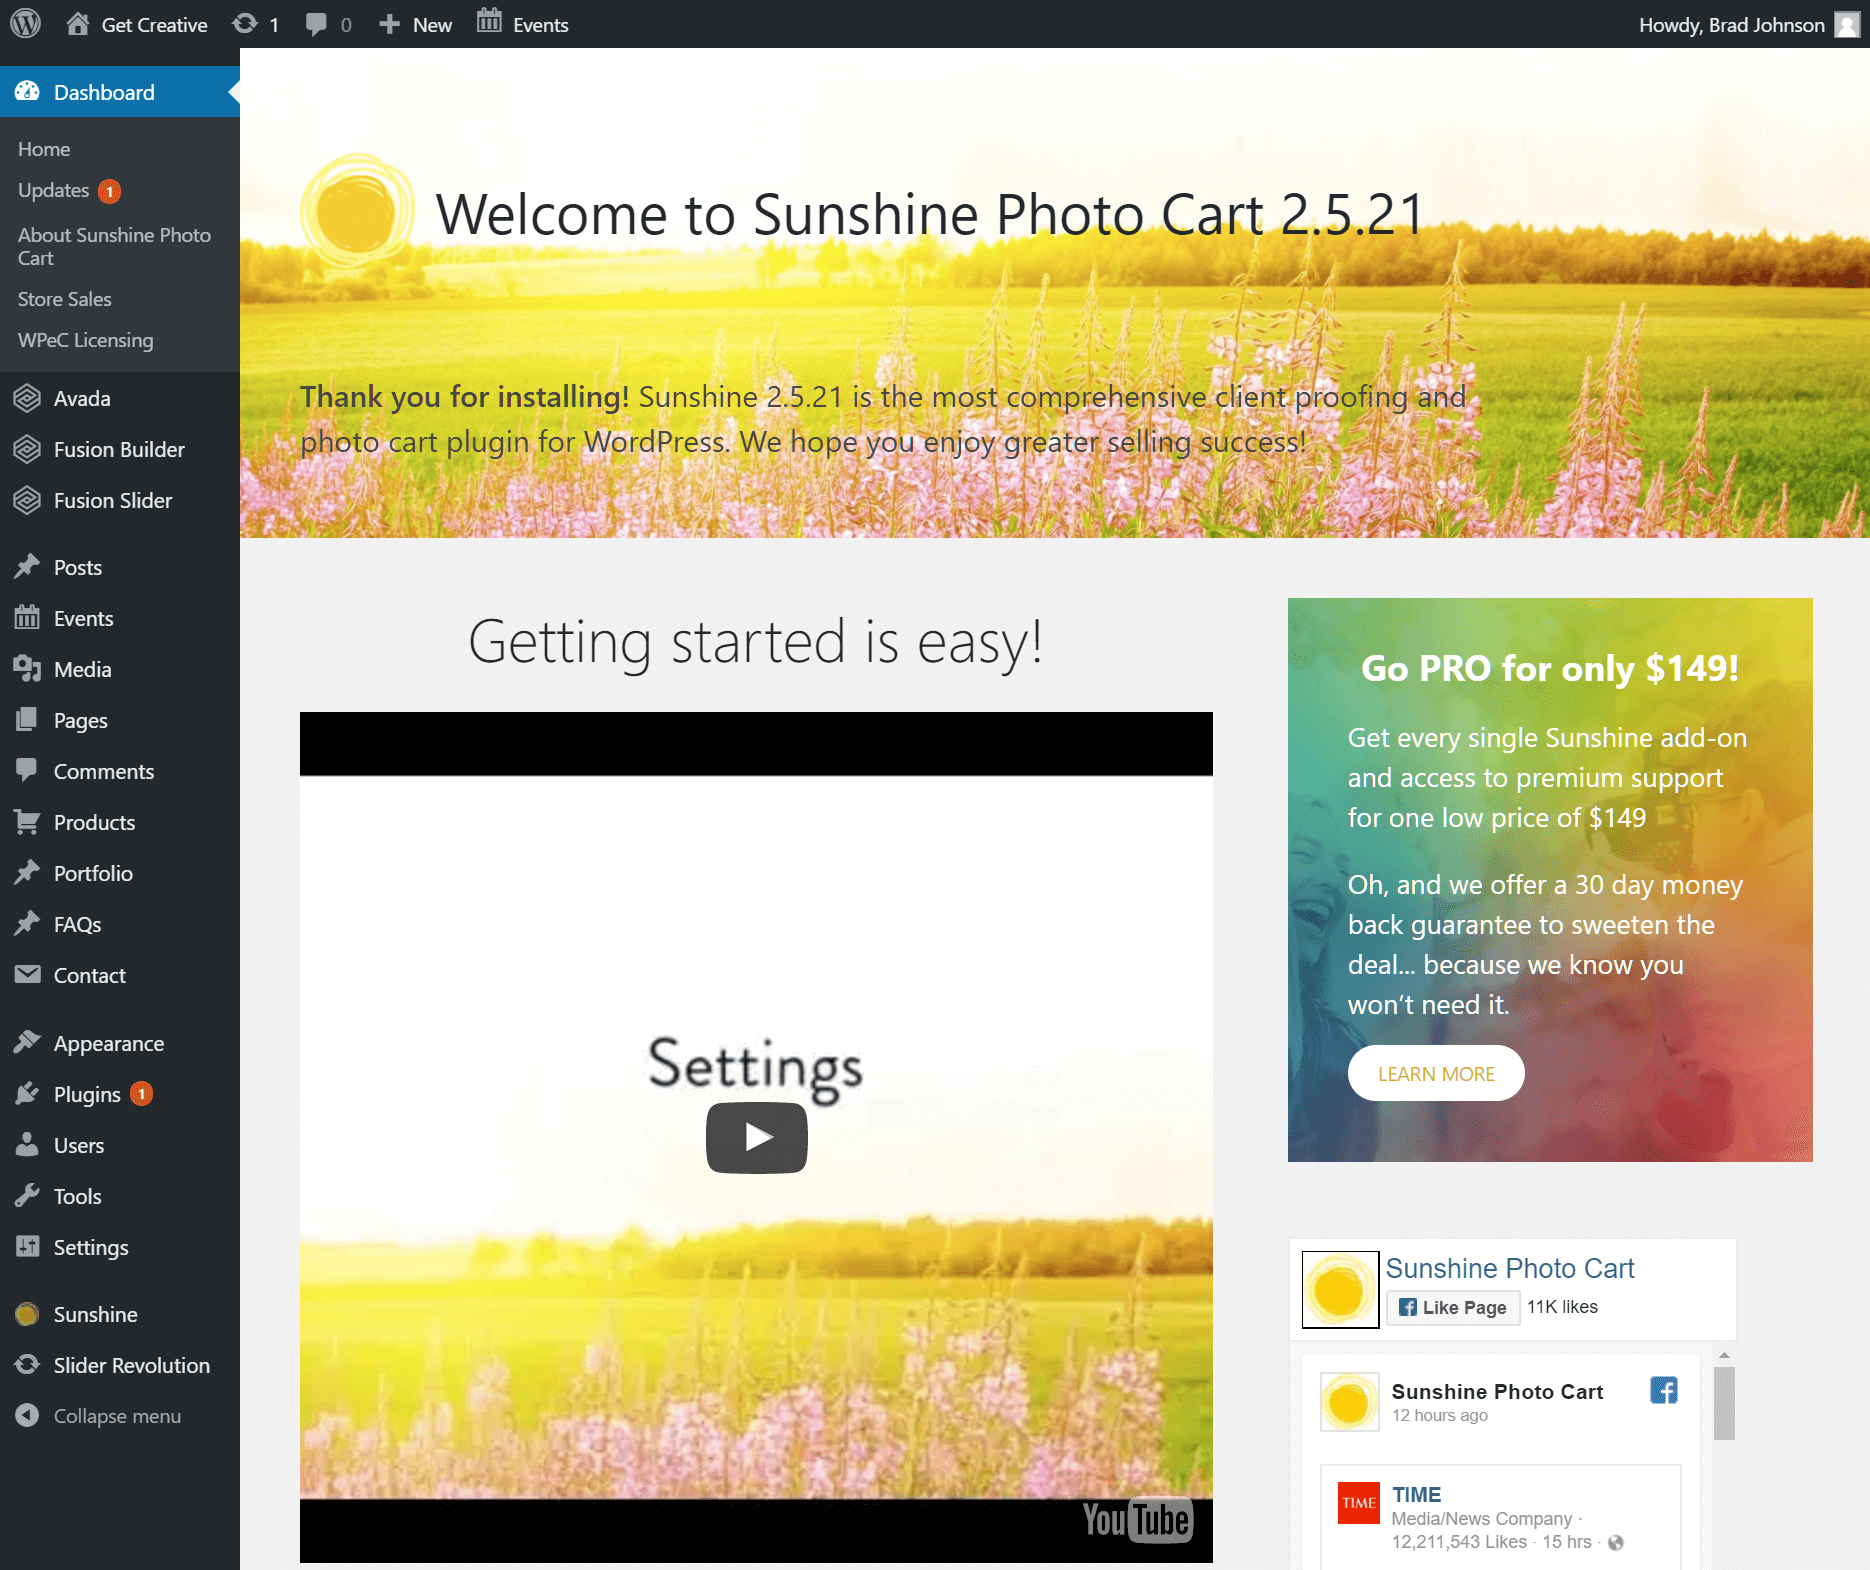
You’ll notice a new Sunshine entry in your admin sidebar. Select Sunshine > Settings to begin the configuration of the plugin.
Configuring Sunshine Photo Cart settings
As an eCommerce platform, Sunshine Photo Cart includes a range of options that must be configured before you can sell your digital photography in WordPress. The Settings section is segmented into nine tabs that you should work through to tailor the plugin to your preferences.
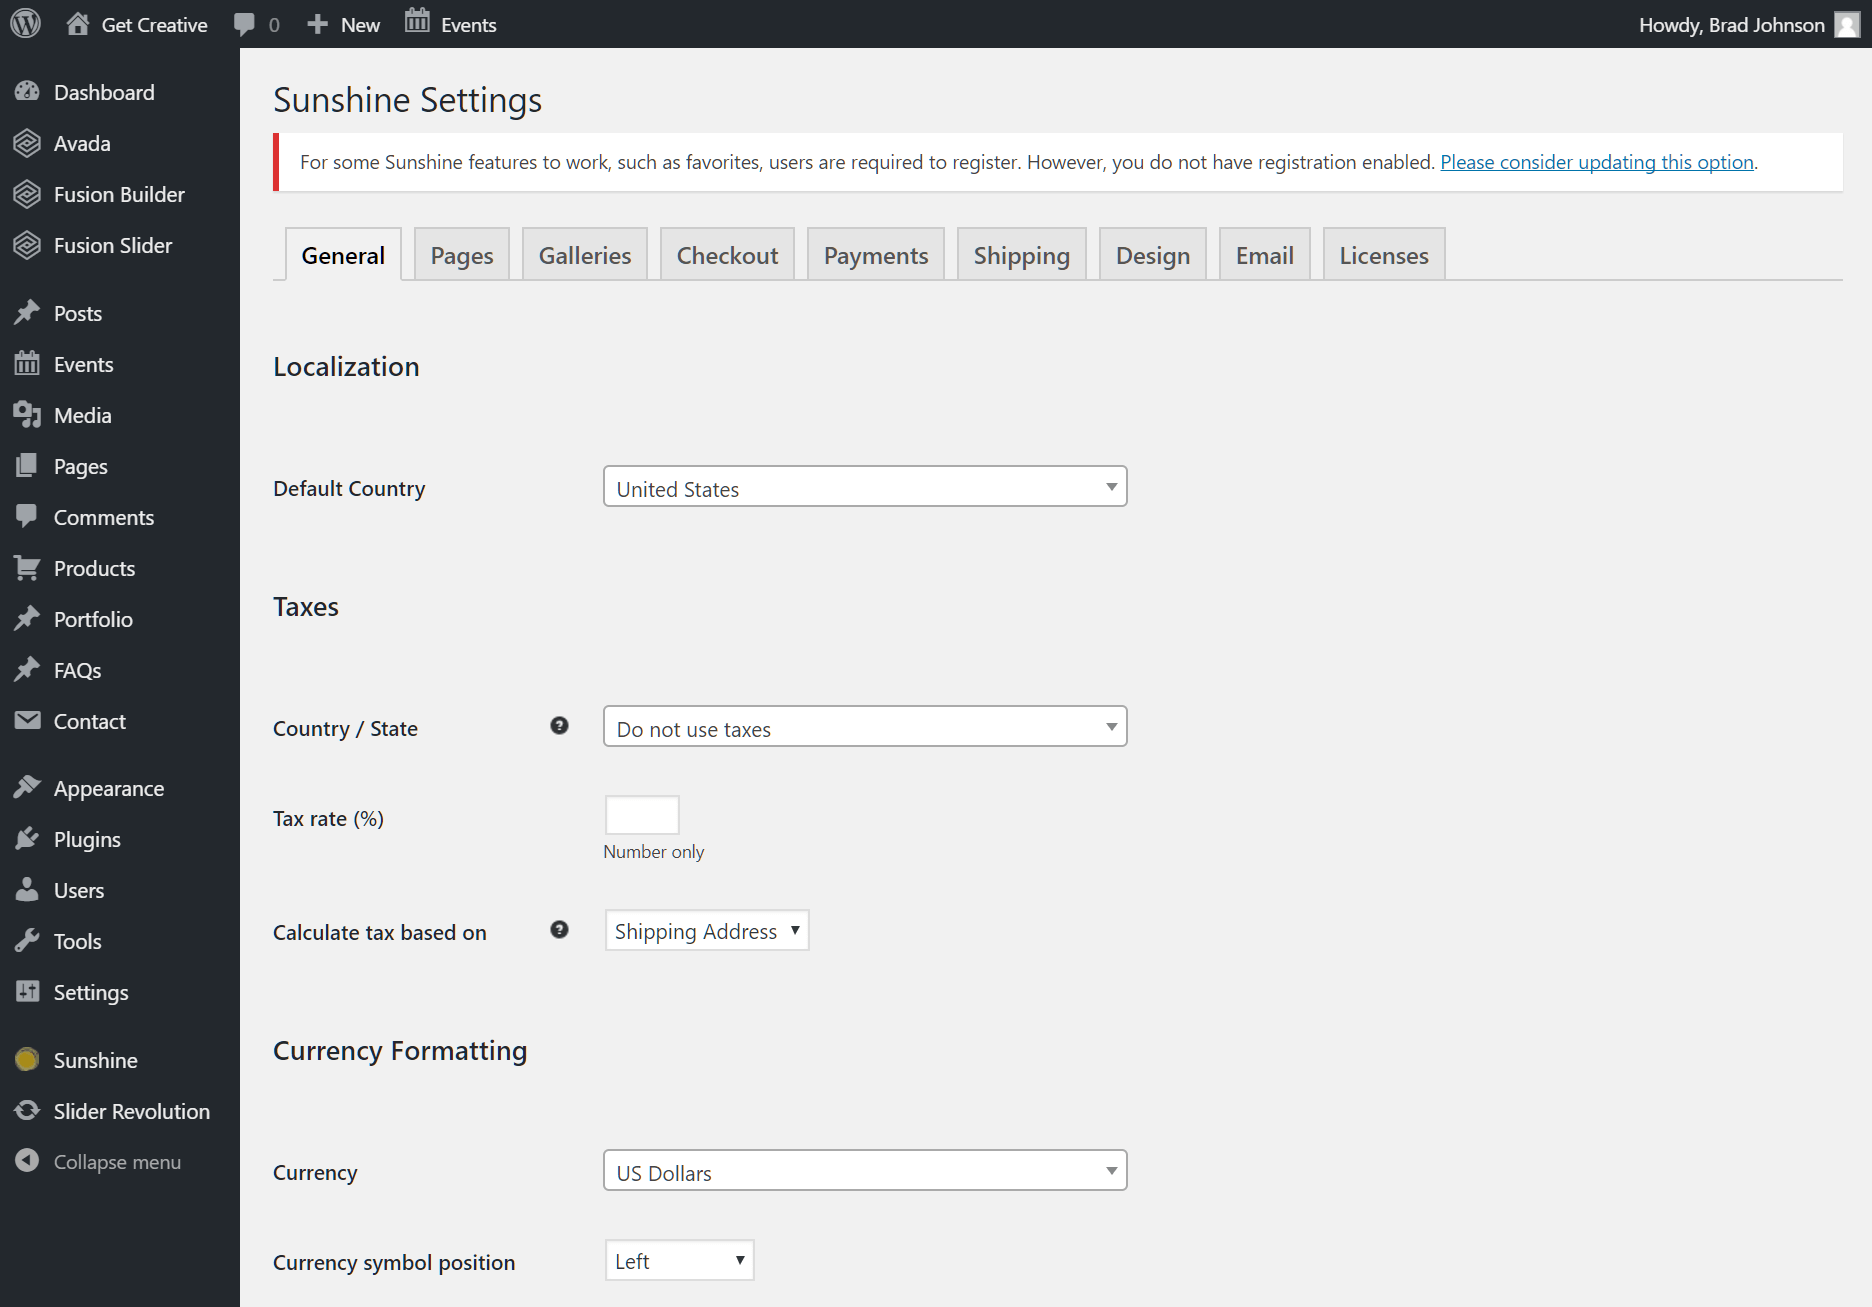
The tabs include:
- General: region, tax and currency settings as well as account management options and permalink configuration
- Pages: when you install Sunshine Photo Cart, default Cart, Checkout, Account, and Favorites pages should have been automatically created. Check the Pages tab to ensure these newly created pages are configured correctly.
- Gallery: tailor your galleries with display options, image sharing settings, and watermarks
- Checkout: customize the checkout page your customers will see when purchasing your photography
- Payments: configure your PayPal account settings and offline payment features
- Shipping: enable shipping options, including flat rate payments, local delivery, and pickup
- Design: customize the design of your galleries to integrate with your WordPress theme seamlessly
- Email: set up your customer communications, enabling order notifications and more
- Licenses: add your (optional) Sunshine Photo Cart Pro license number to unlock extended features
With settings configured, you can proceed to create your first photo gallery. Navigate to Sunshine > Galleries, then click Add New to get started.
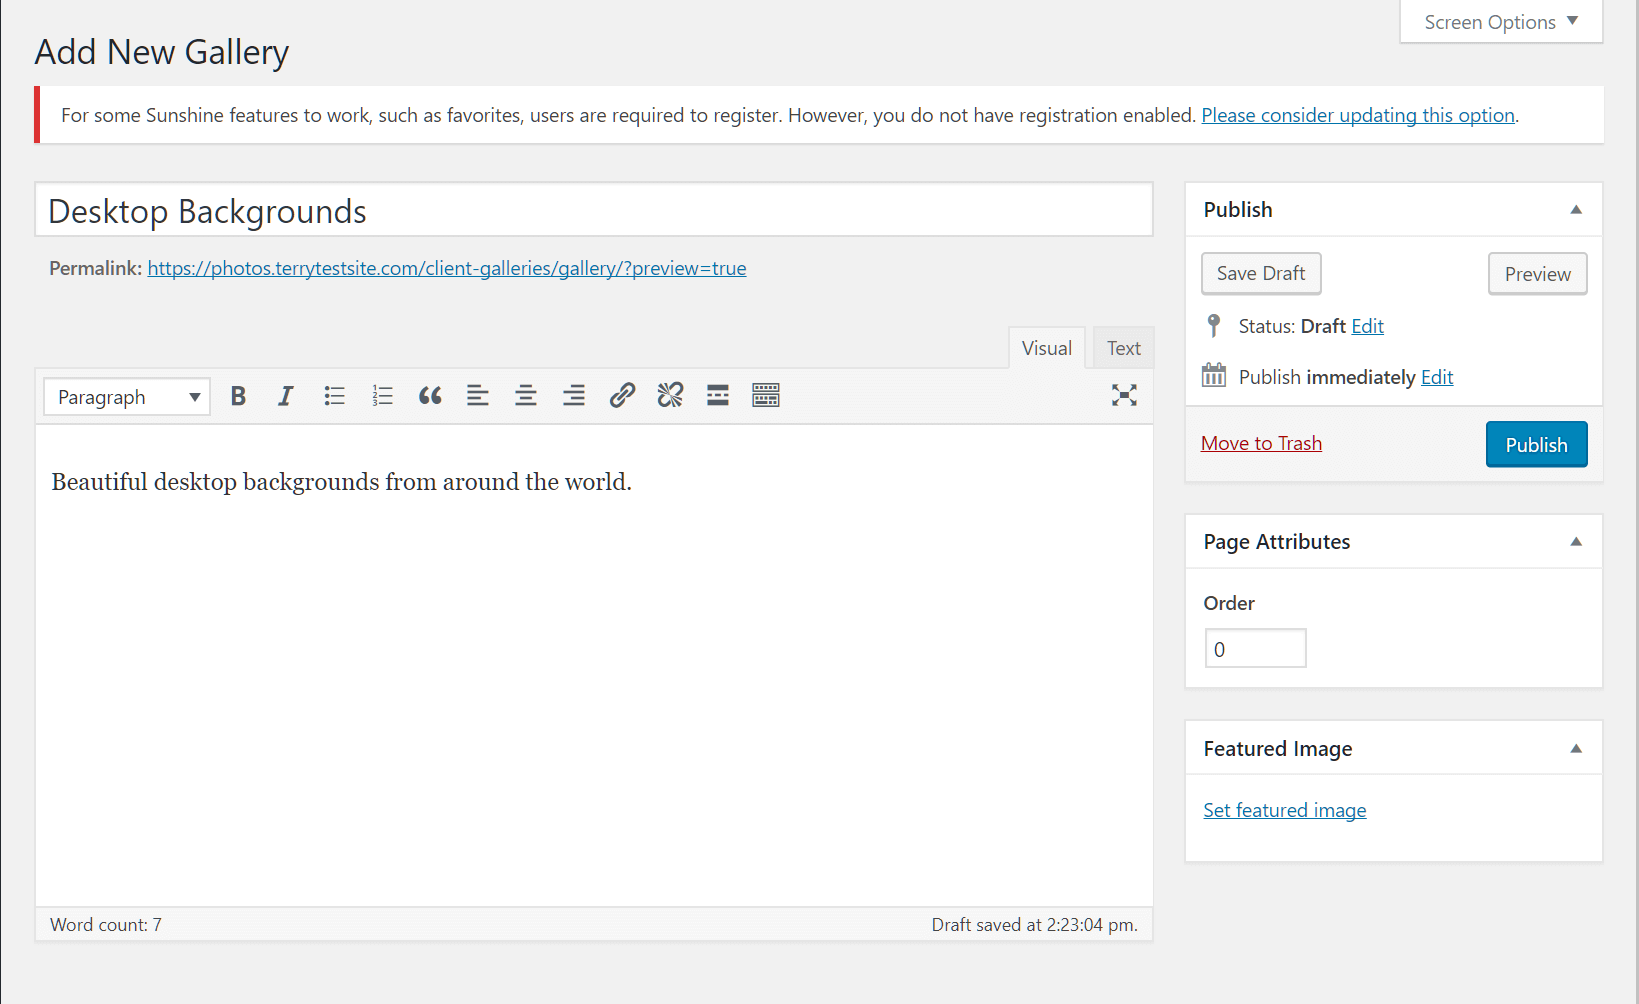
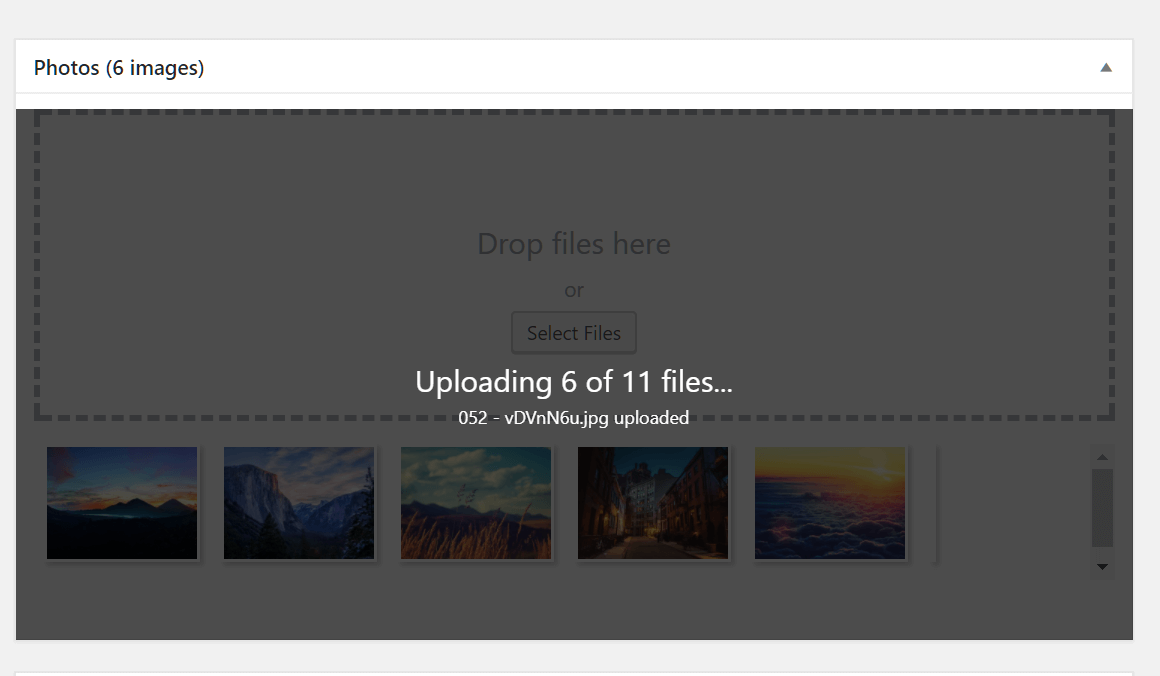
First, enter a gallery name and a description, then use the Photos panel to upload your images.
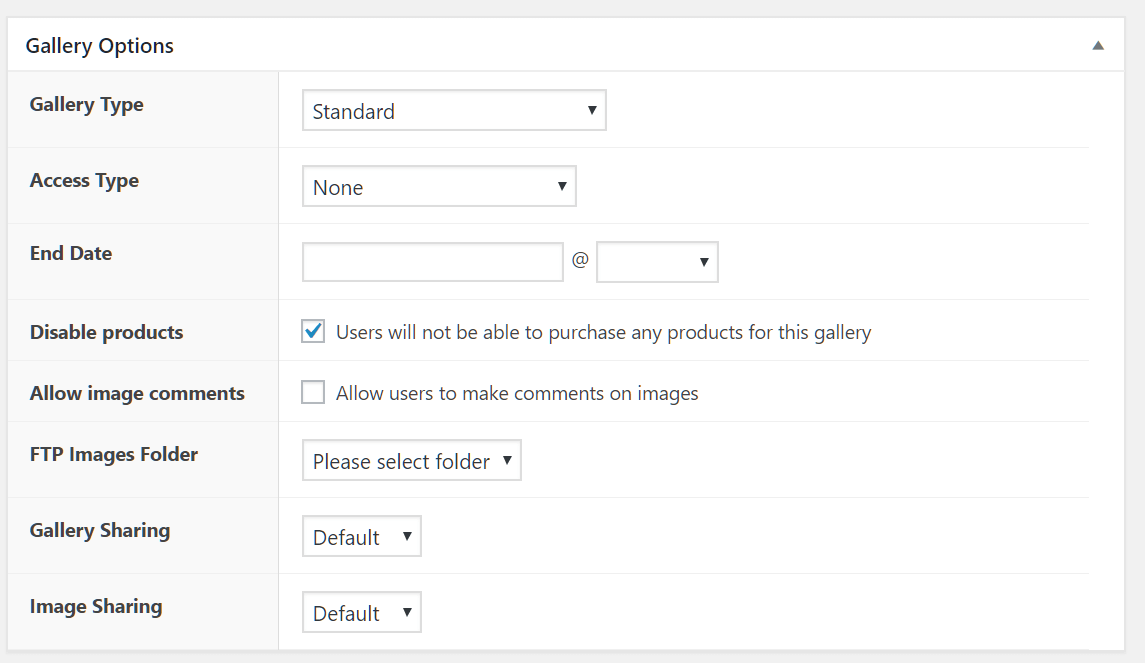
Scroll down to Gallery Options to configure your gallery access settings.
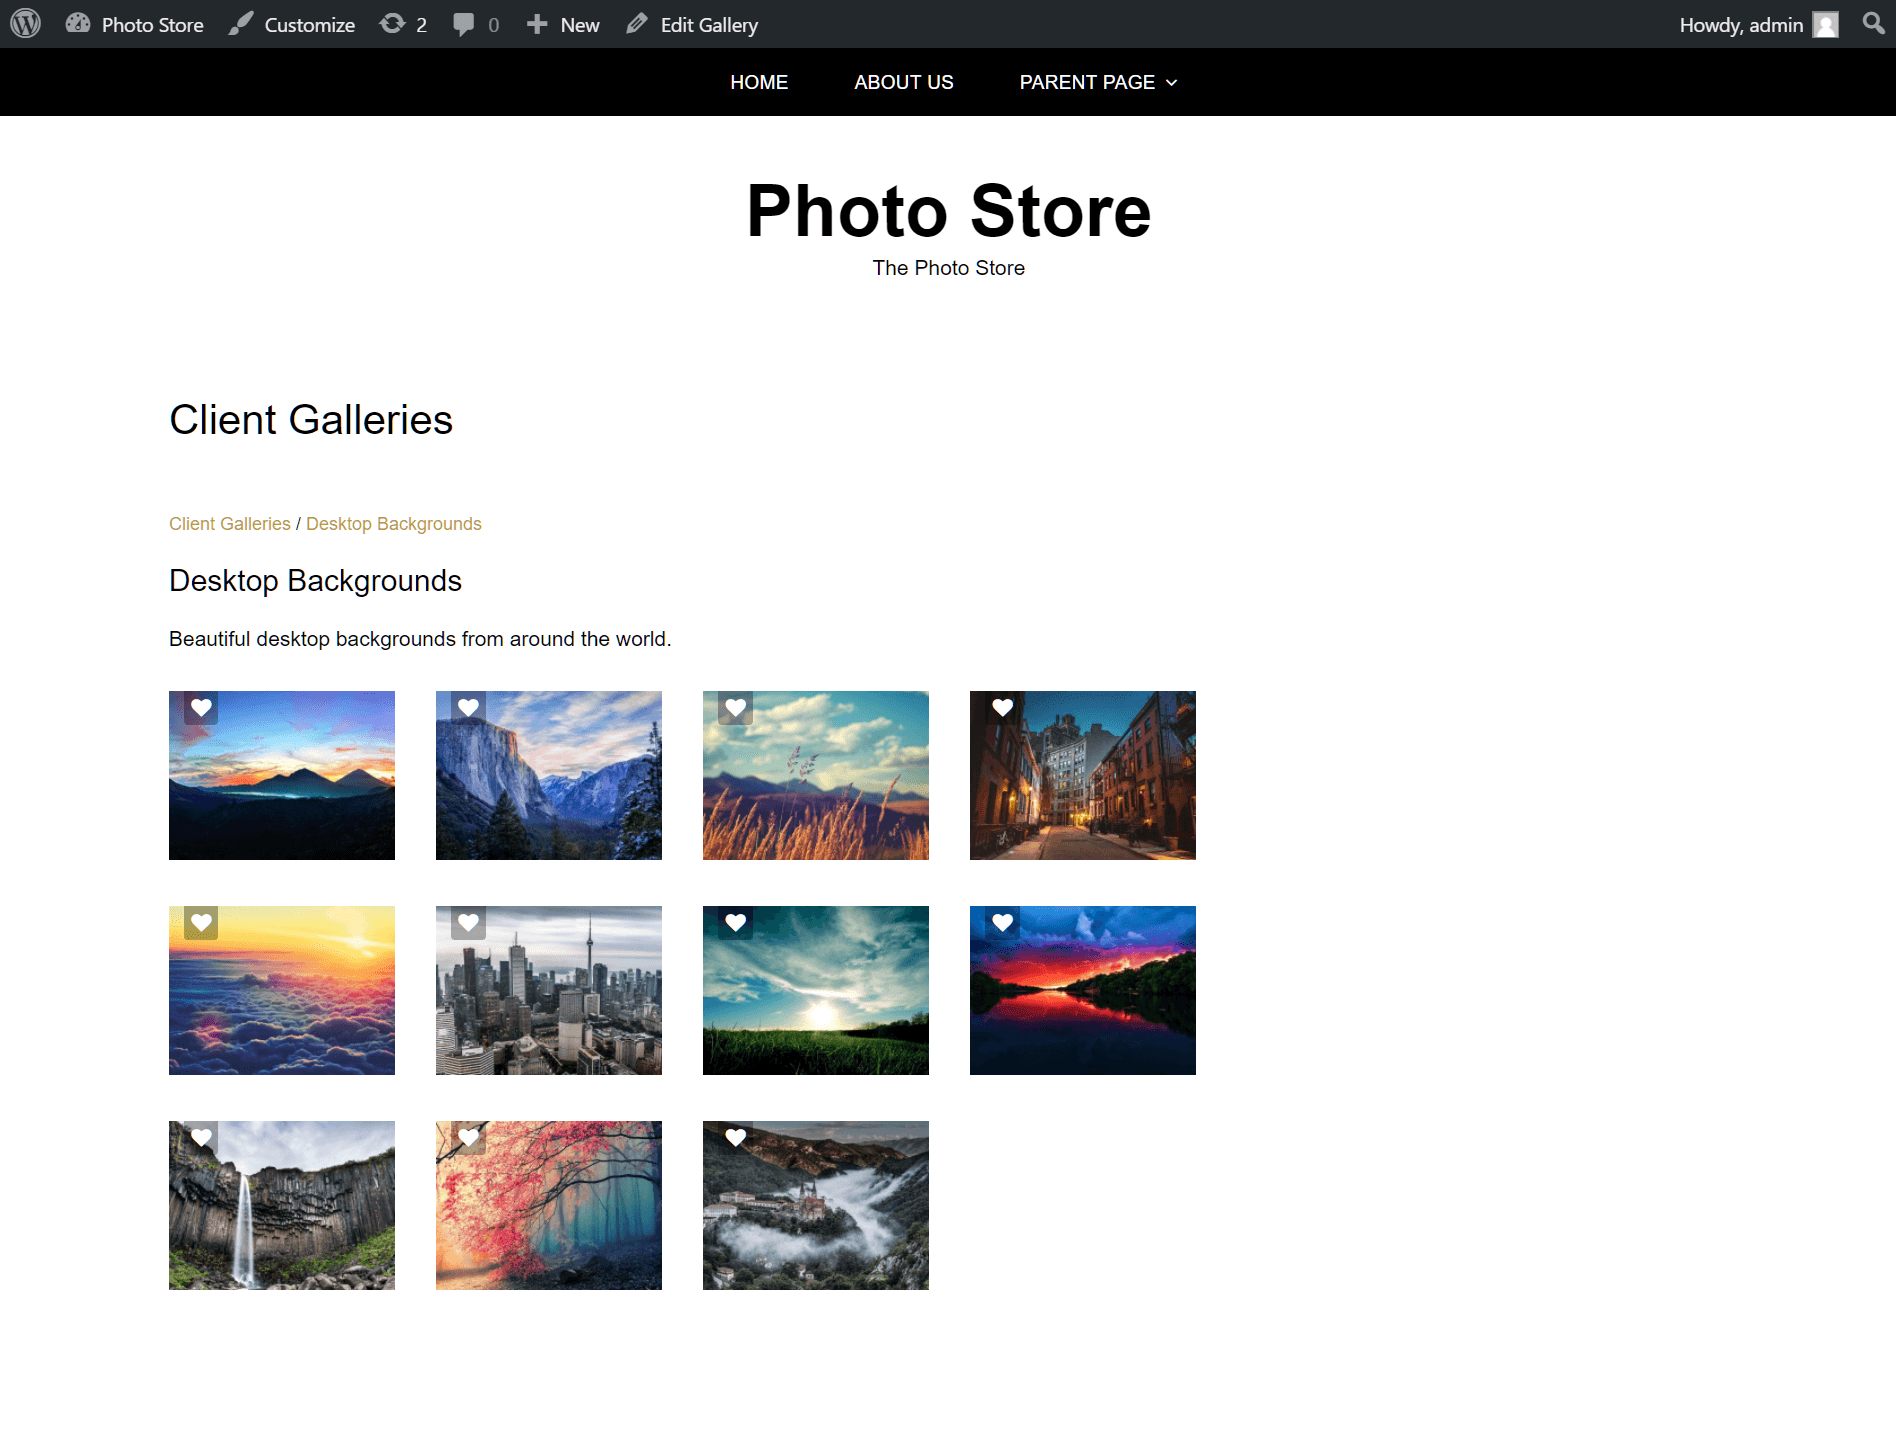
With your configuration complete, click Publish at the top right of the page to save your gallery. You can preview your gallery using the View gallery link.
Use the Settings page to refine the design of your gallery pages and for additional features, be sure to check out the full range of Sunshine Photo Cart addons, available at Sunshine > Add-Ons or Go Pro!

If you need help with your HostPapa account, please open a support ticket from your dashboard.
