WP eCommerce is one of a number of popular plugins for WordPress that allows you to create an online store.
The plugin offers a wide range of flexible features that allow you to customize the design of your store to match your brand and integrate with a swathe of payment gateways and shipping modules, supporting popular couriers.
Built in marketing tools create opportunities to promote your products with discount coupons and social network posts and the plugin automatically calculates sales tax, with support for multiple tax classes, exclusions and tax bands.
Installing the WP eCommerce plugin
To install the plugin, log in to your WordPress administration dashboard and select Plugins from the right sidebar.
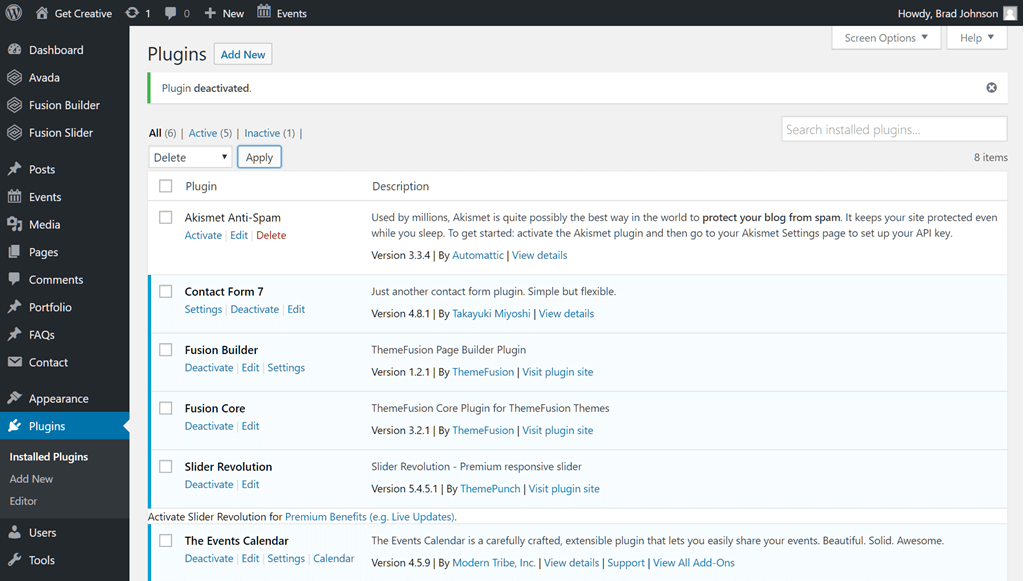
In the Plugins menu, click the Add new button at the top of the page, then search for WP eCommerce.
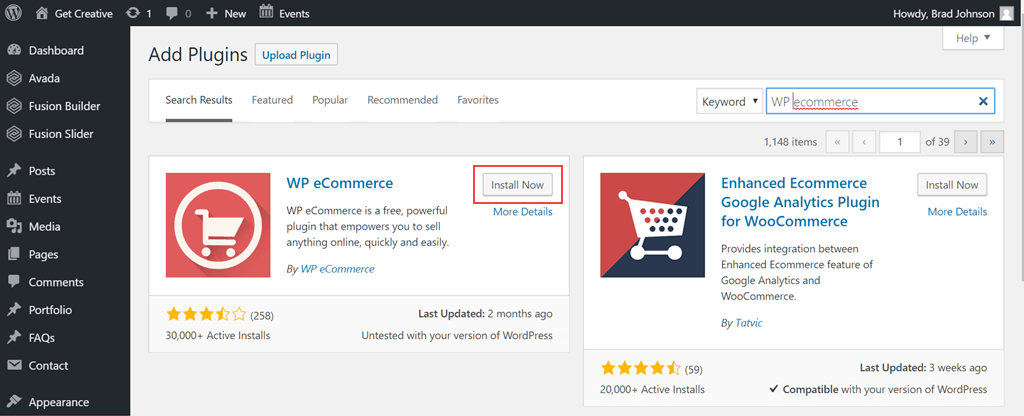
Once the listing for the plugin appears, click Install Now to download it, then hit Activate.

You’ll be asked to share tracking information with the plugin’s developers. This is an optional step and the developers state that no sensitive information will be passed to them. Click the Allow or Do not allow buttons to confirm your selection.
Configuring WP eCommerce
Before adding and selling products on your new store, there are several steps you’ll need to take to tailor the plugin’s features to your requirements.
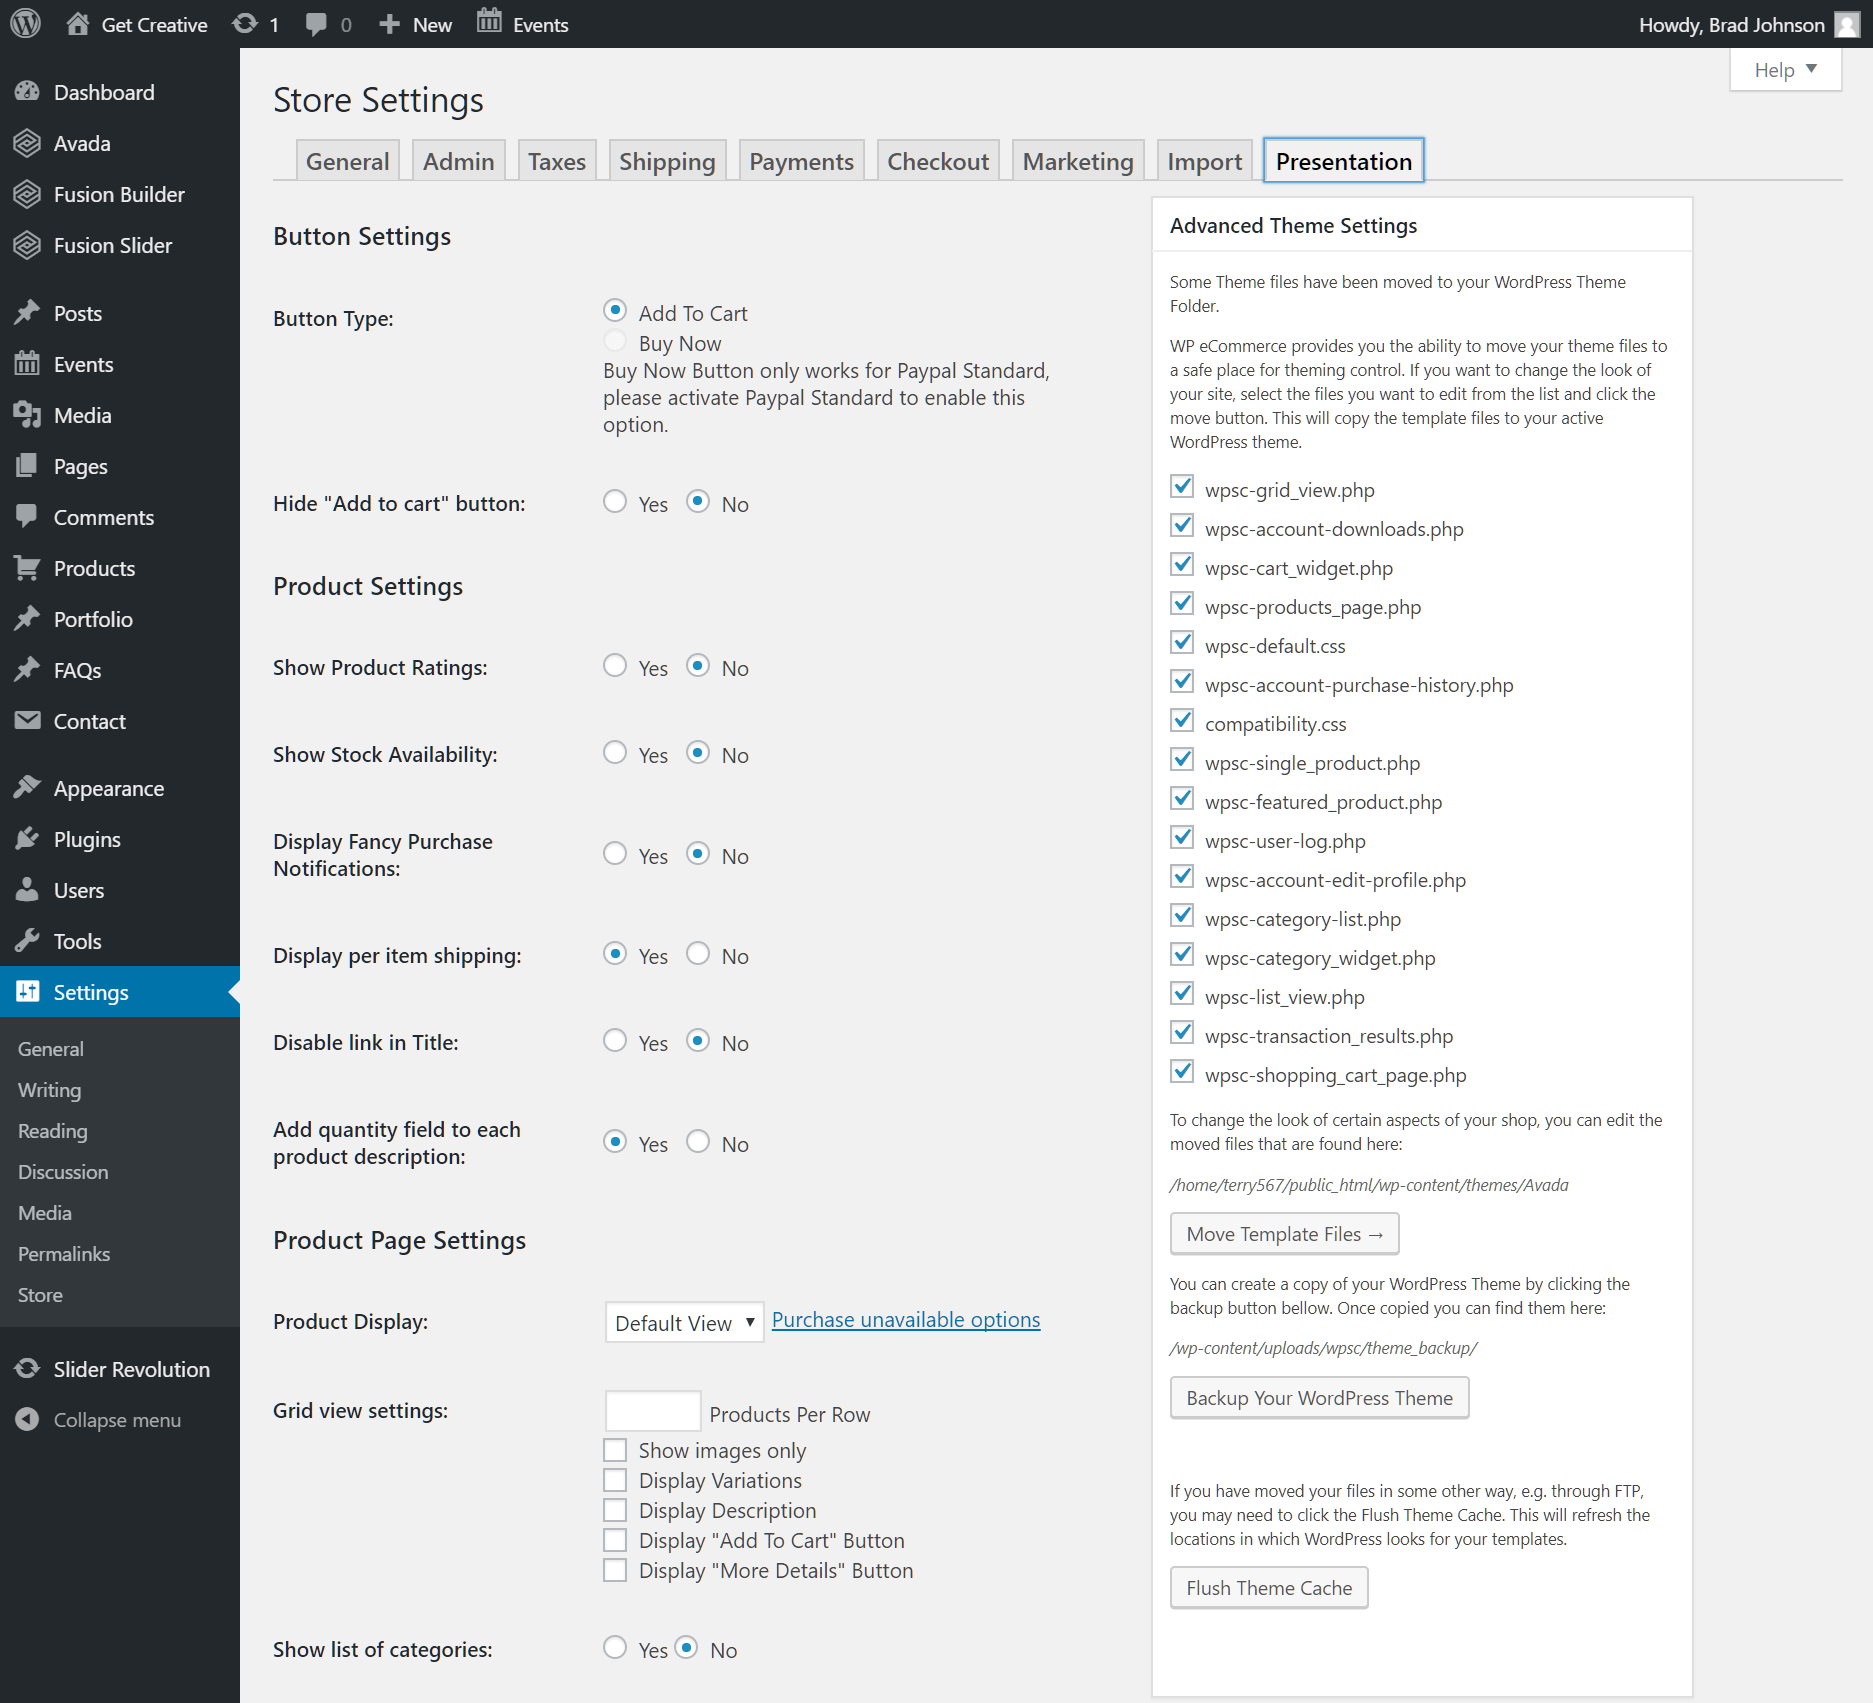
- Add theme settings
WP eCommerce supports a reasonably plain, out-of-the-box design, which is suitable for a wide range of WordPress themes. However, should you wish to tweak the look and feel of the plugin’s product pages, shopping basket and so on, you’ll need to add these pages to your active theme folder.
You can do so by navigating to Settings > Store in the WordPress sidebar, then clicking the Presentation tab.
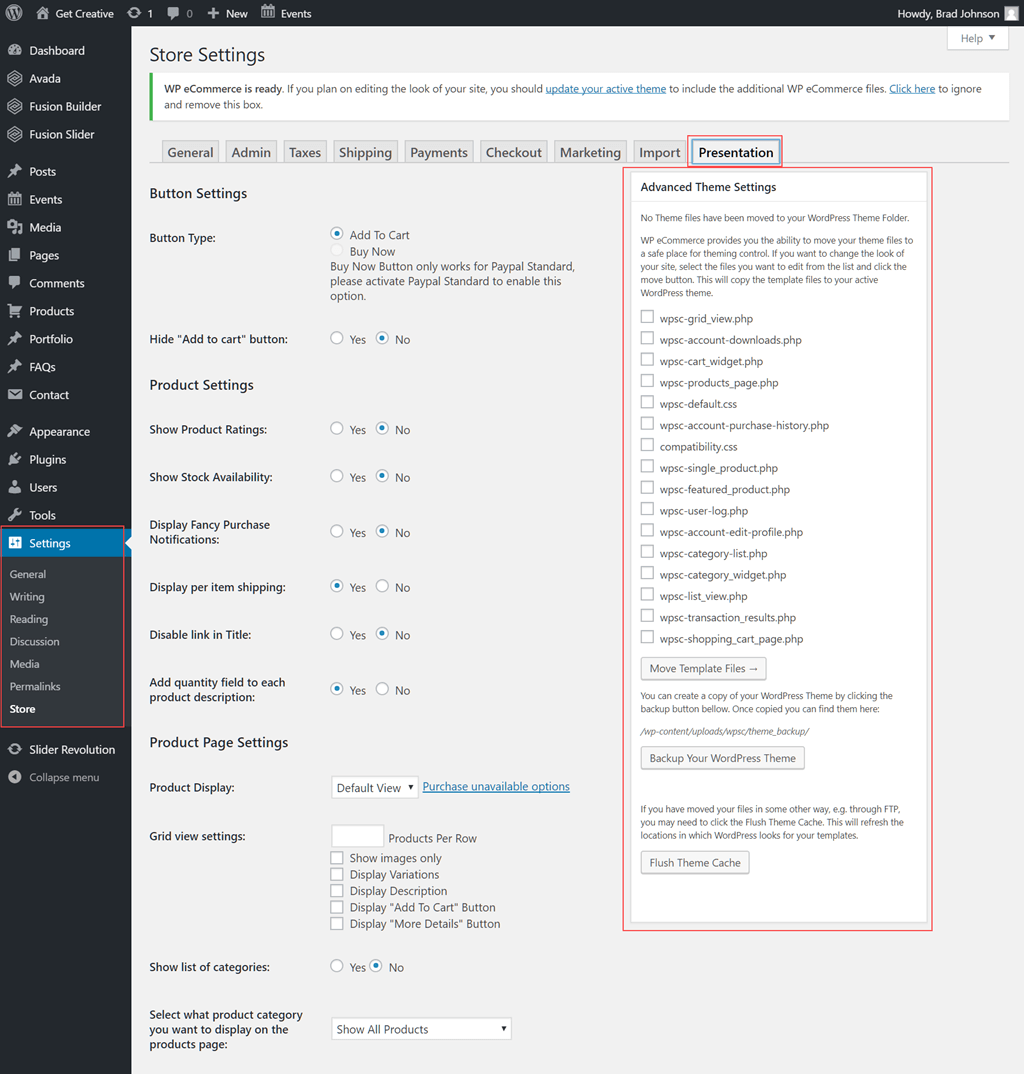
On the right side of the page, in the Advanced Theme Settings panel, select the pages you may wish to customize (it may be worth adding all pages at this point) and click Move Template Files.
The files will now be copied to your theme folder, where they can be edited at a later time.
- Review your store settings
Configure your new eCommerce platform at Settings > Store. You’ll see nine tabs across the top of the Settings page that allow you to work through various configuration options. They are: General, Admin, Taxes, Shipping, Payments, Checkout, Marketing, Import and Presentation.

You’ll see that there are many options to work through – we’ll pick out some of the most important settings to get you up and running. You can then review and configure the remaining settings as required.
General settings
The General Settings tab covers basic, but important options such as Location and Currency settings.
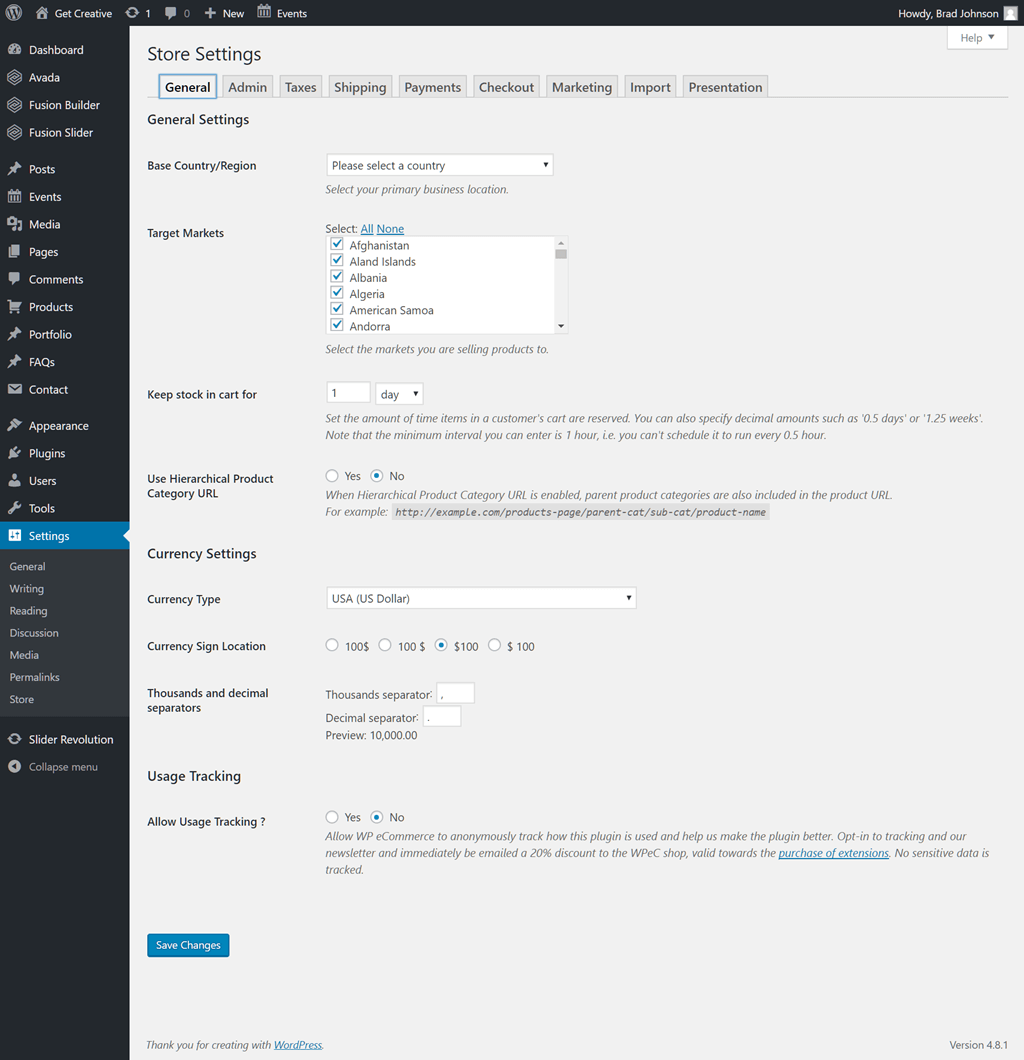
Set your base location and currency configuration, then click Save Changes to proceed to the next tab.
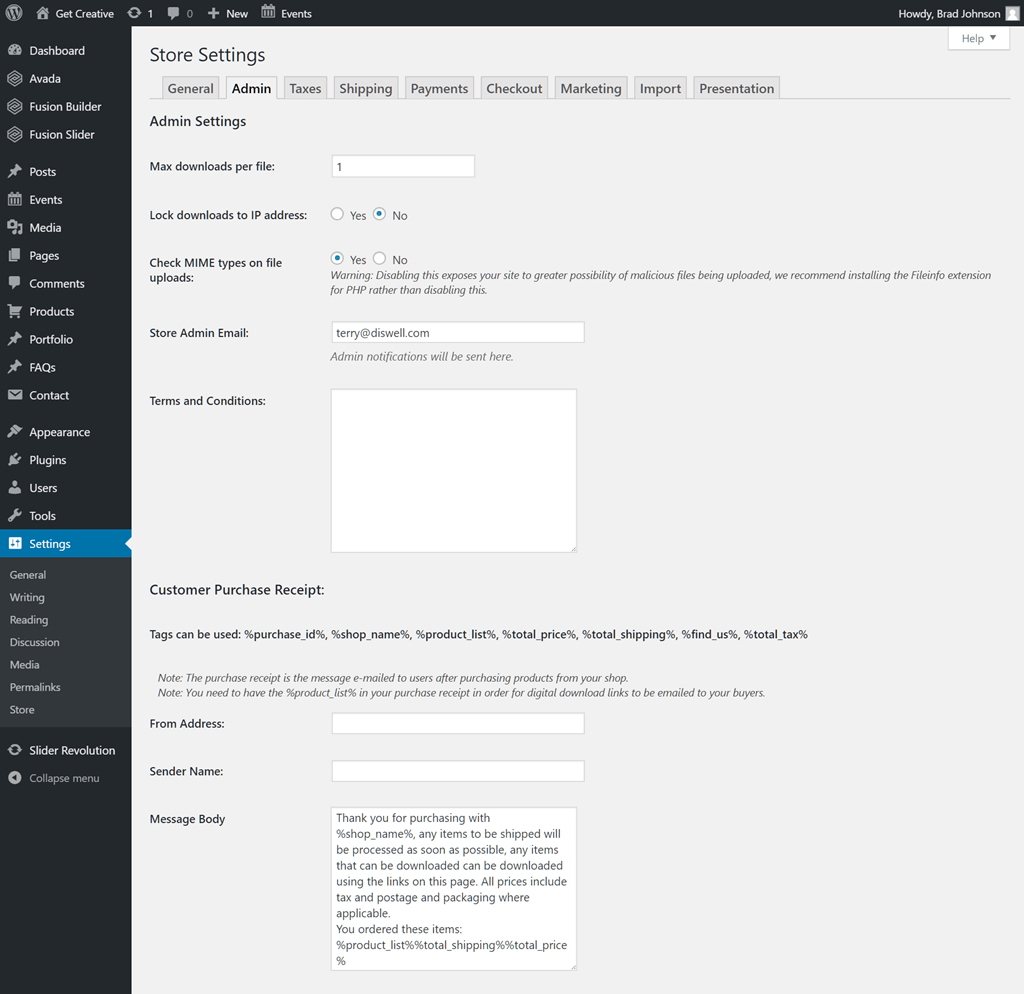
Admin
The Admin tab includes a number of important options that should be configured before you start trading. If your store will be selling digital assets, you can configure the maximum number of downloads per file and lock downloads to a customer’s IP address for security.
Be sure to check the Store Admin Email, which will be set to the default WordPress administration address. The Terms and Conditions box is also important from a legal perspective. You should include your terms and conditions of sale here, which should comply with the laws governing retail businesses in your region.
Further down the page, you can customize the content of your Customer Purchase Receipts and Track and Trace Emails. A number of tags can be used in these communications, which will automatically insert customer and order data into the emails. They include:
- %purchase_id% – the order number.
- %shop_name% – your store’s name.
- %product_list% – items purchased.
- %total_price% – the order value.
- %total_shipping% – shipping costs.
- %total_tax% – sales tax applied to the order.
If you’re selling digital goods, you must include the %product_list% tag in your purchase receipt in order for download links to be emailed to your customers.
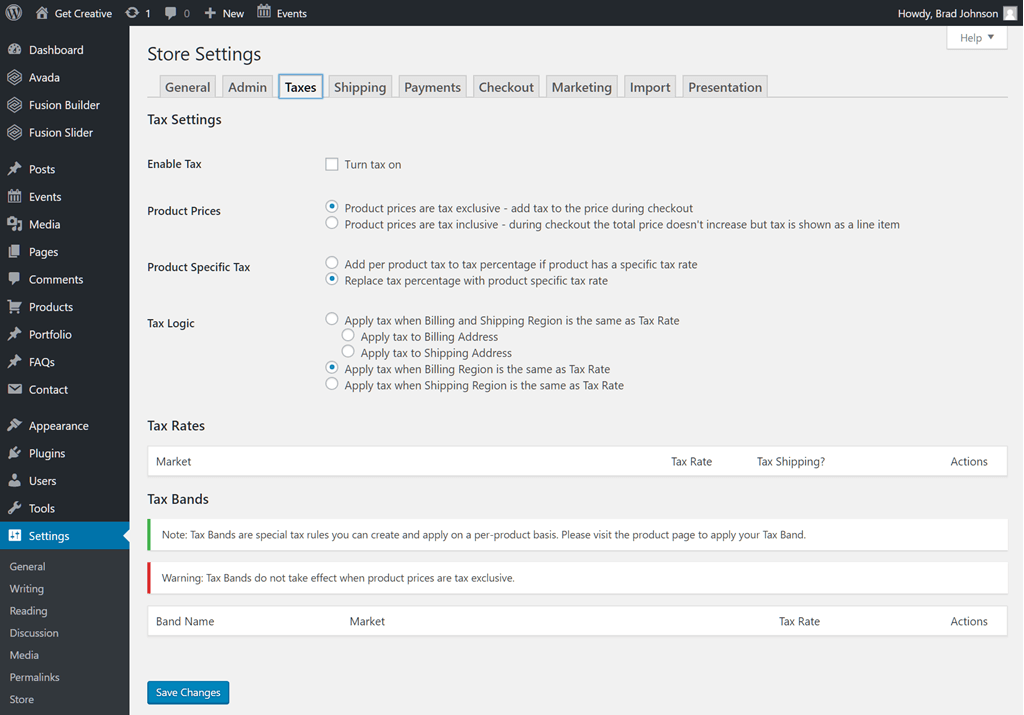
Taxes
You should spend some time working through WP eCommerce’s tax settings page. Note that tax is disabled by default in WP eCommerce, so it must be switched on manually.
Detailed settings here allow you to tailor your store configuration at a granular level, changing, for example, whether tax is calculated based on the customer’s billing or shipping address and allowing you to configure multiple tax bands.
Shipping
WP eCommerce assumes you’ll be selling digital goods exclusively, so you’ll see that the Shipping module is disabled by default. Check the Enable Shipping settings box if you’re retailing physical goods.
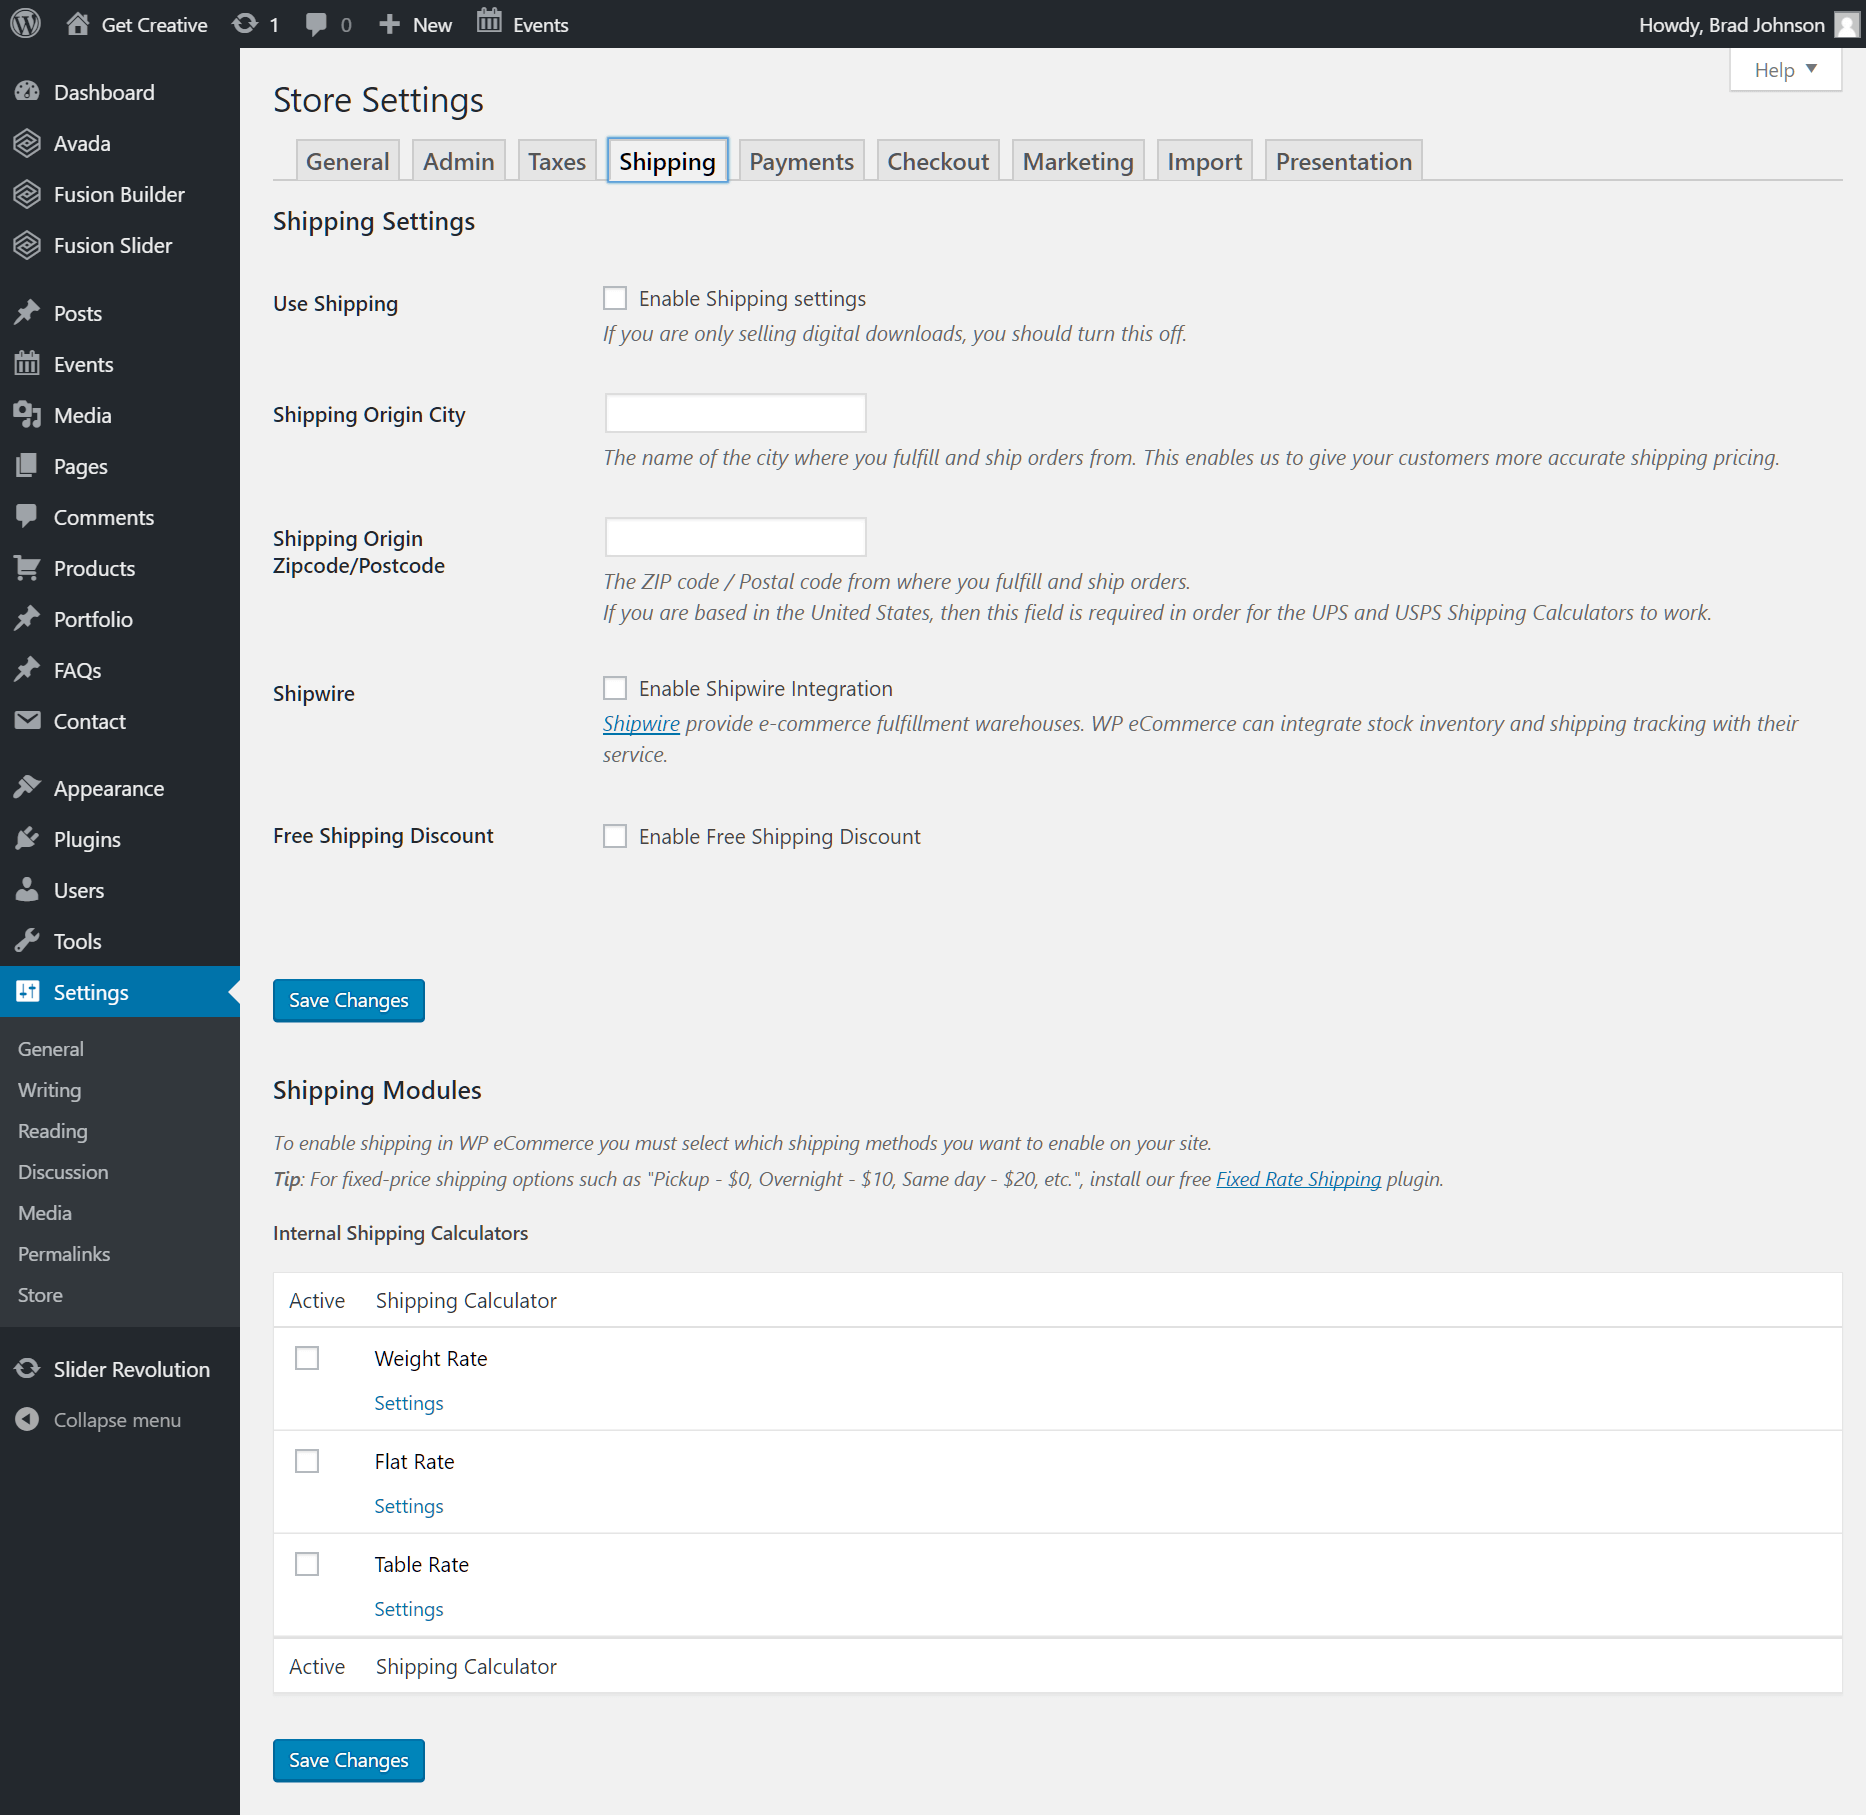
Enter your shipping location details, which are used for automated shipping calculations and, at the bottom of the page, activate the shipping modules relating to the services you’ll offer your customers. From there, you can enter your shipping rates based on weight, flat rate pricing or other parameters.
Payment
Next up is payment configuration. WP eCommerce supports a swathe of payment gateways – some via third-party extensions – but you can get up and running quickly with integrated PayPal payment processing, among other methods.
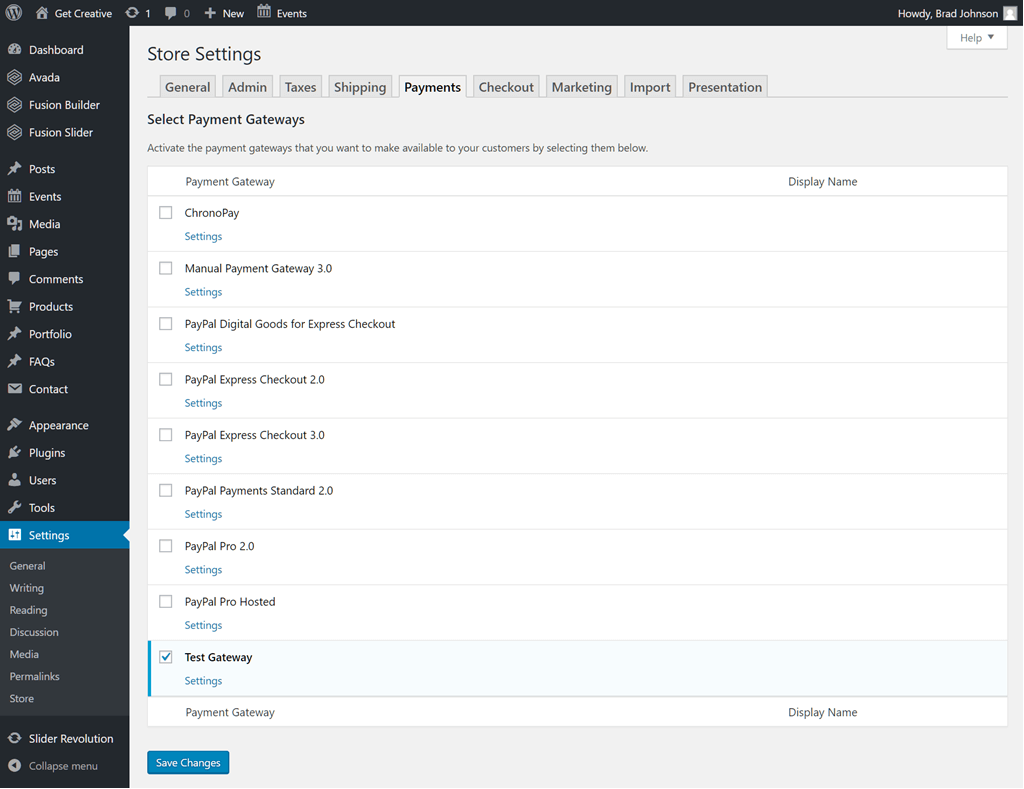
You’ll obviously need accounts with these providers, so if you have yet to sign up, do so now, then enter your account details after clicking Settings for the relevant module.
Checkout
In the Checkout tab, you can customize the experience customers receive when they pay for their goods.
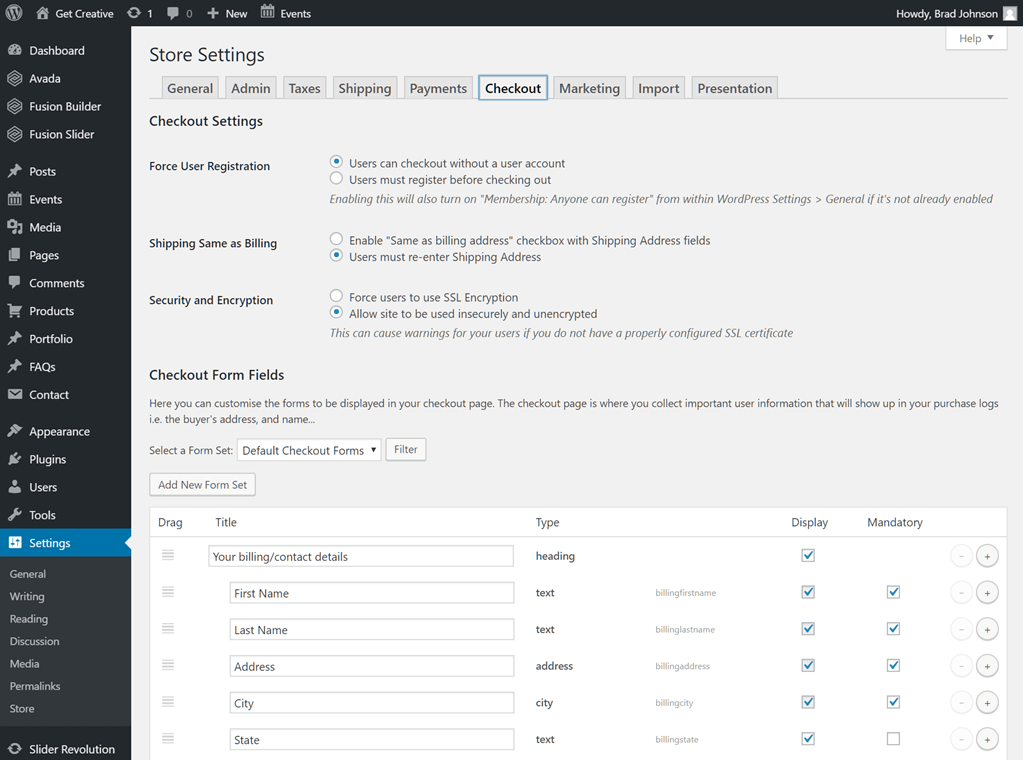
Choose whether user registration is required at checkout and SSL security settings, then at the bottom of the page, customize the checkout form with the data you wish to capture. You can choose to make fields mandatory using the adjacent checkboxes.
Marketing
Encourage higher basket spends by taking advantage of integrated products recommendation and other cross selling features in the Marketing tab.
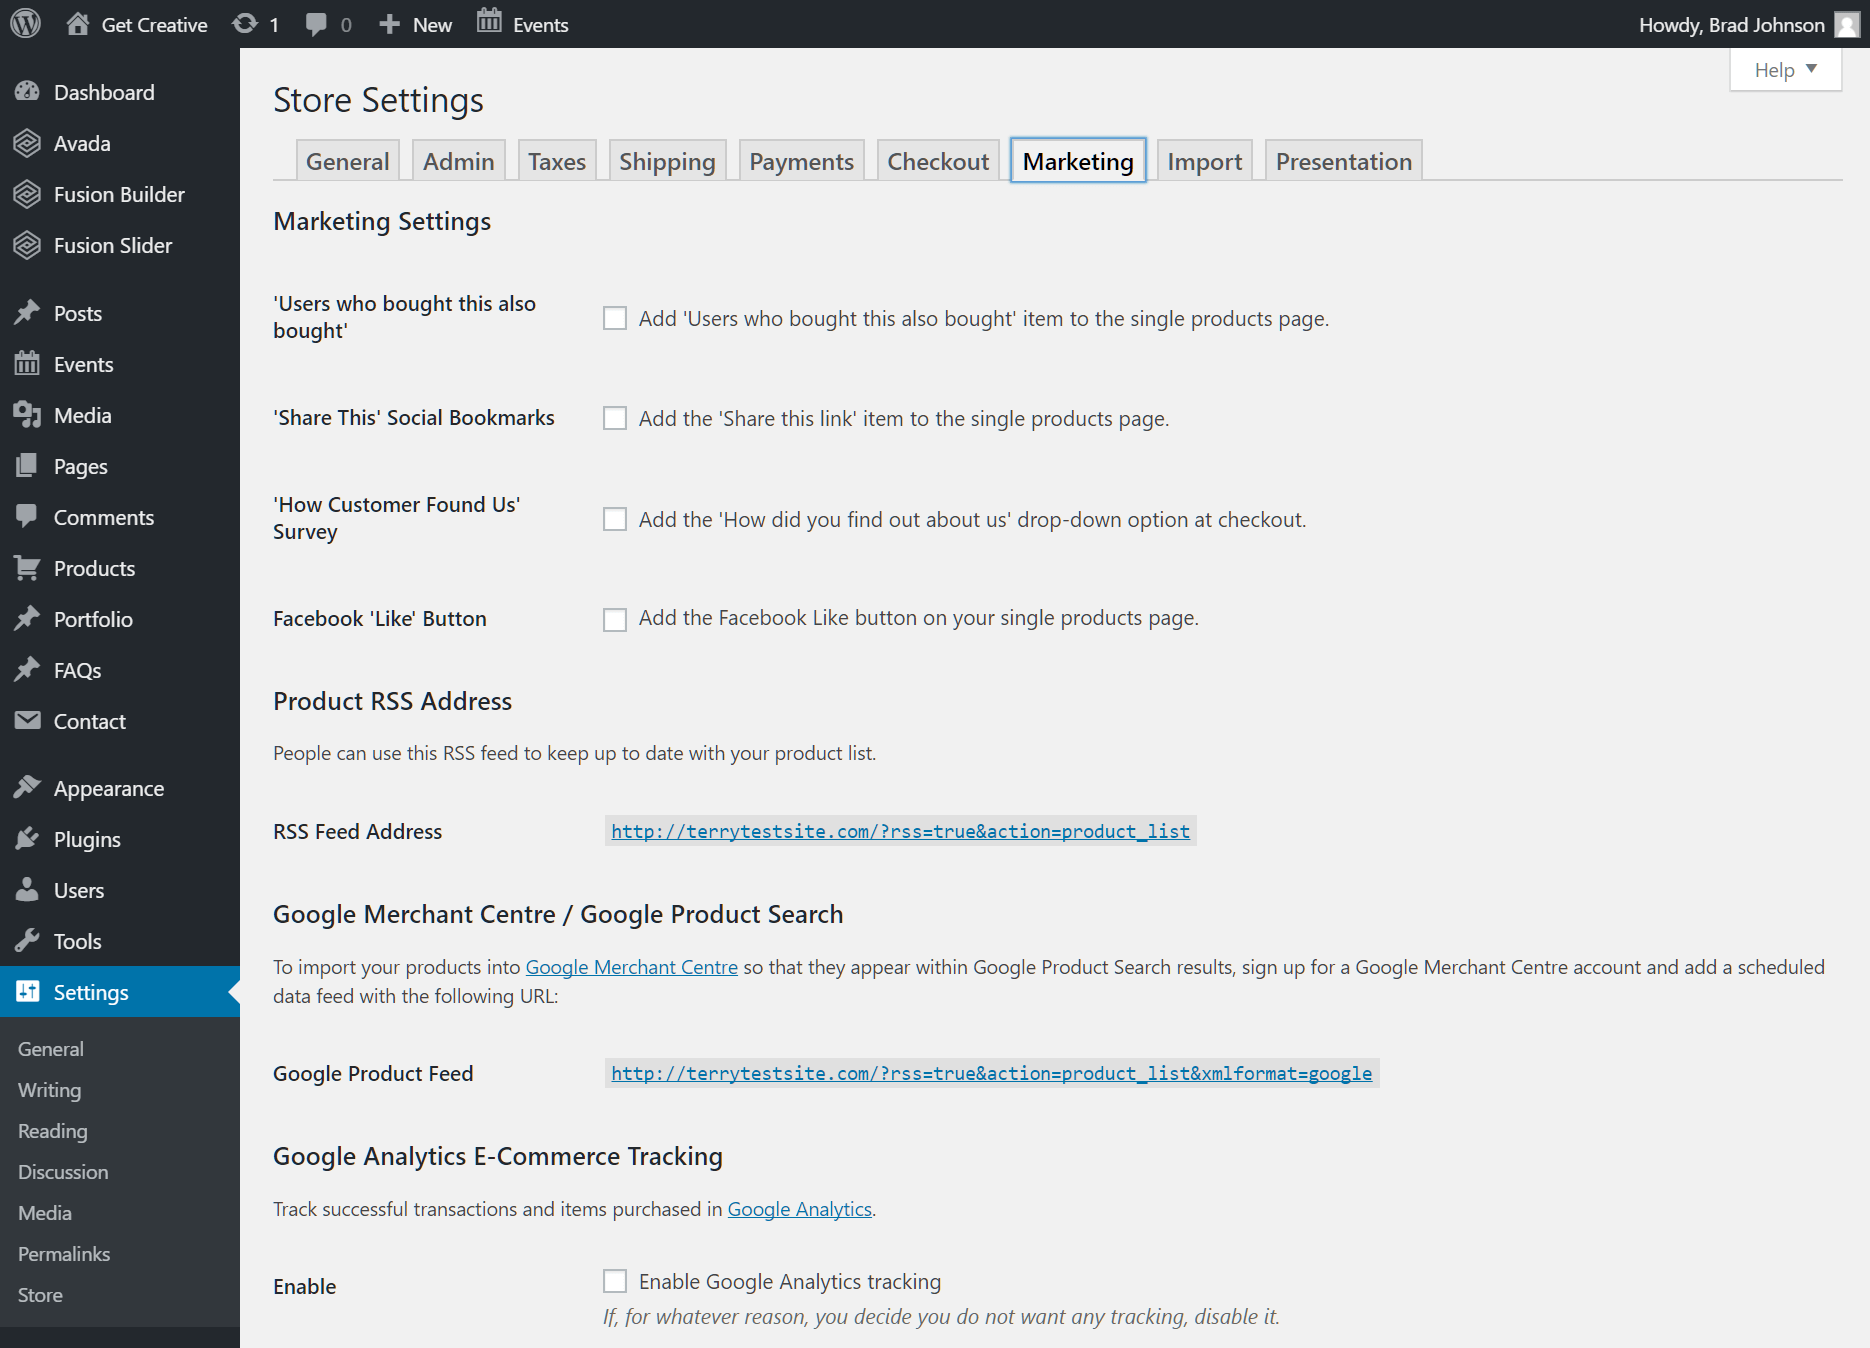
Checkboxes allow you to easily configure social sharing features, customer survey questions, Facebook Like buttons and RSS feeds. You can opt to add your products to Google Product Search and configure Google Analytics tracking.
Import
If you will be offering your customers a comprehensive assortment of products, you should consider importing product data using a CSV file, rather than entering each new line manually.
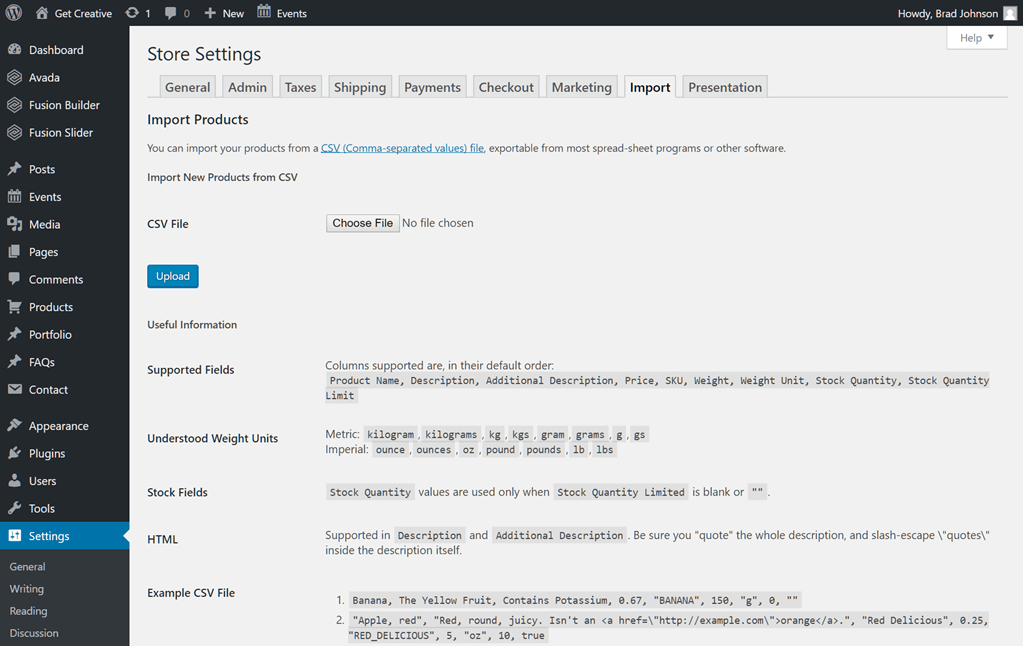
Supported columns include Product Name, Description, Additional Description, Price, SKU, Weight, Weight Unit, Stock Quantity, and Stock Quantity Limit. Metric and Imperial weights can be included and you can also add stock quantities to your import spreadsheet.
Once you’ve built your spreadsheet, hit the Import button to upload your inventory to the site.
Presentation
Alongside the theme file import feature used earlier, the Presentation tab supports an extensive array of options for customizing the look and feel of your store. Experiment with the various settings and preview your store to achieve the optimum experience for your customers.
- Add products to your store
Once you’ve spent time configuring your store settings, you’ll be ready to start adding products to your inventory.
While you can, of course, add products individually (via Products > Add New) in the WordPress sidebar, a more convenient solution – especially for stores offering a large assortment – will be to import products from a CSV file (again, via Settings > Store > Import).
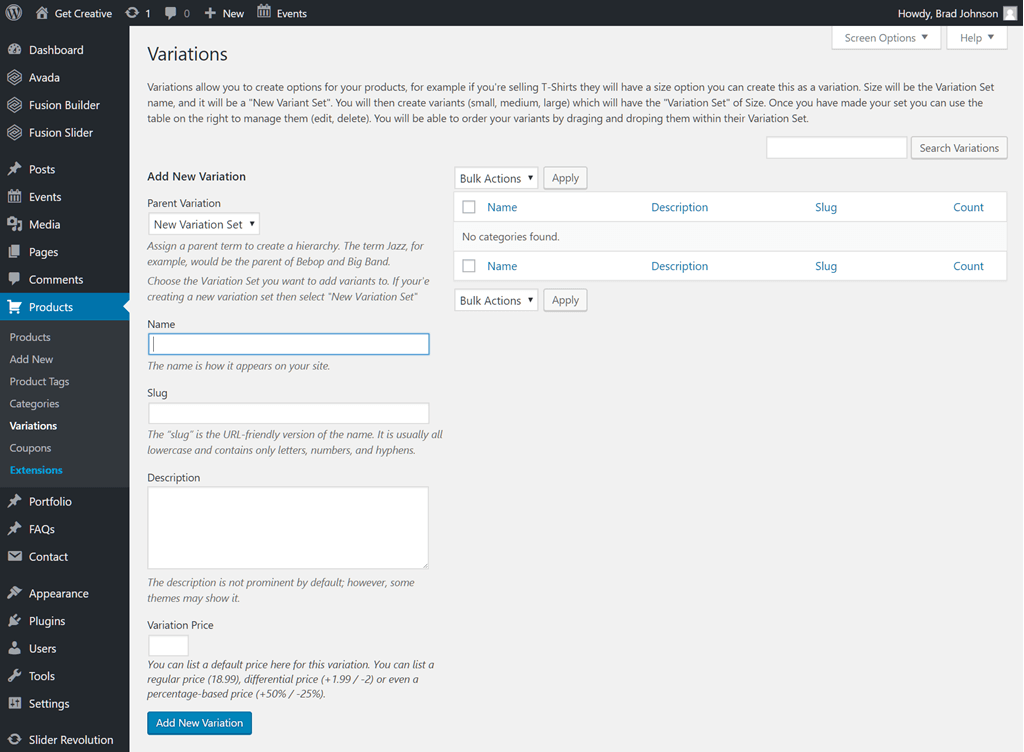
Be sure to create Categories to help customers navigate your range and use the Variations menu to build size, colour and other relevant segments for your products lines.
- Explore WP eCommerce extensions
When you’ve mastered the basics, be sure to check out Product > Extensions in the WordPress sidebar to check out the range of available third-party feature addons for WP eCommerce.
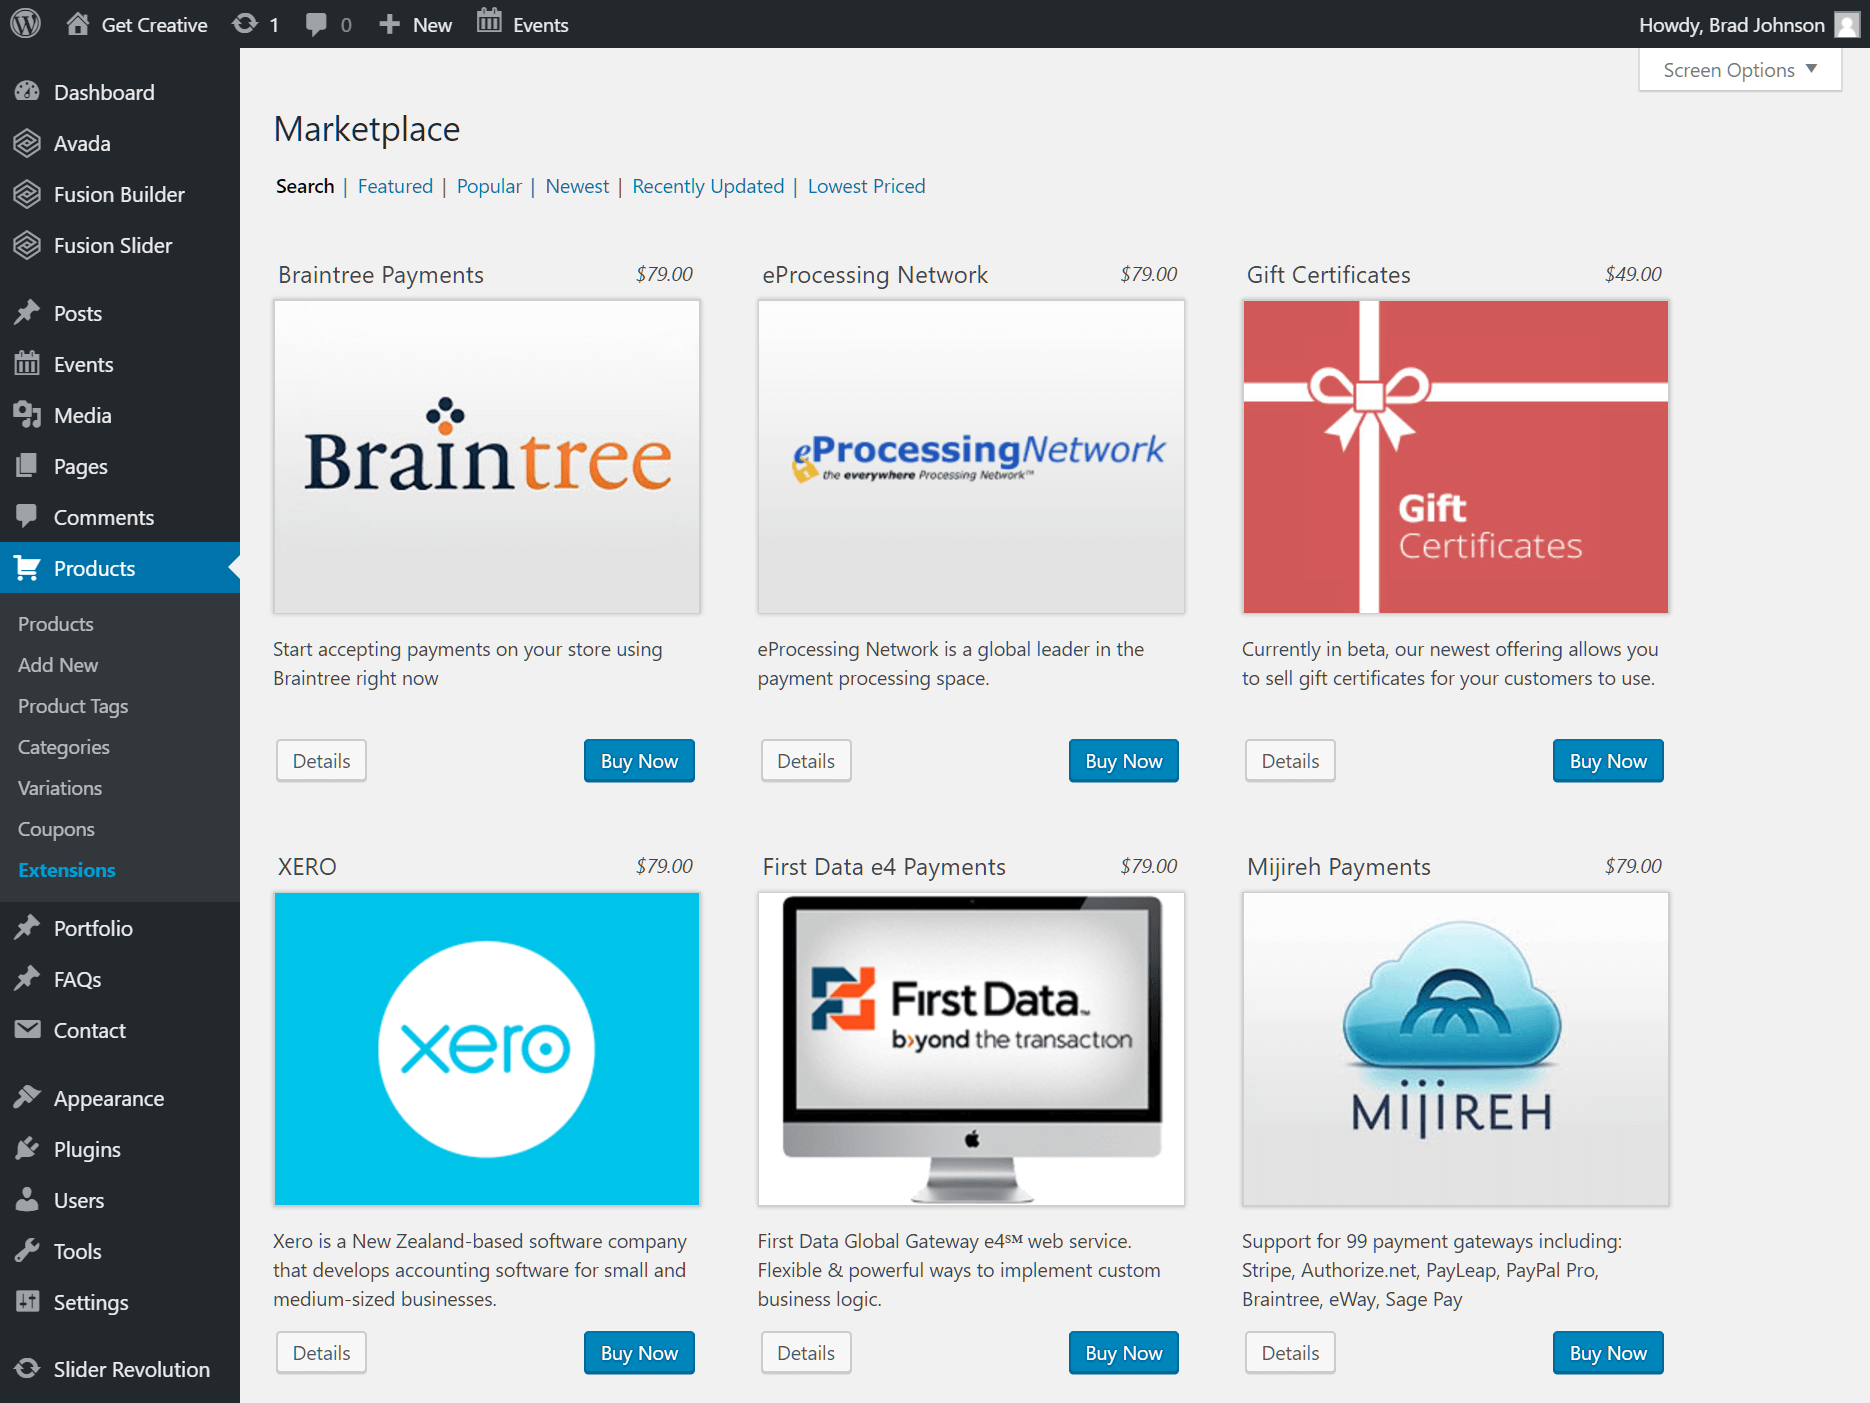
From payment gateway extensions and shipping modules through accounting plugins and new sales and marketing features, you’ll find a host of goodies on offer – most of which will require payment.
Once your WP eCommerce store is set up, all that’s left to do is to “open the doors” and start trading! Building an eCommerce website takes time and dedication. However, WP eCommerce supports a wide array of features and is reasonably simple to configure. Be sure to check out the WP eCommerce knowledge base for more details, but for further questions or if you need help, please open a support ticket from your HostPapa Dashboard. Follow this link to learn how.
