Supsystic Photo Gallery is a popular plugin that allows you to create modern, responsive photo galleries for your WordPress site. The plugin is available in a feature-rich free version and an enhanced pro version. This article describes how to install the free version of Supsystic Photo Gallery.
Installing Supsystic Photo Gallery
There are two methods of installing Supsystic Photo Gallery:
- Automatic installation
- Manual plugin installation
Automatic plugin installation
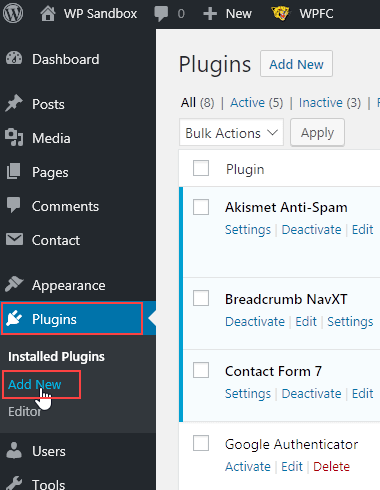
Log in to your WordPress dashboard and go to Plugins > Add New.
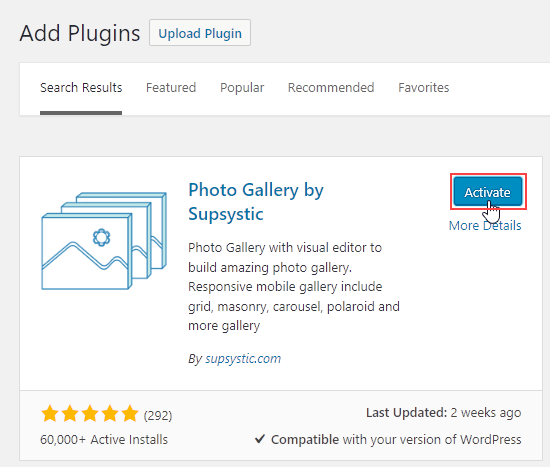
Type supsystic photo gallery in the Search plugins field. In the search results, find Photo Gallery by Supsystic and click Install Now.

When the installation is complete, click Activate.
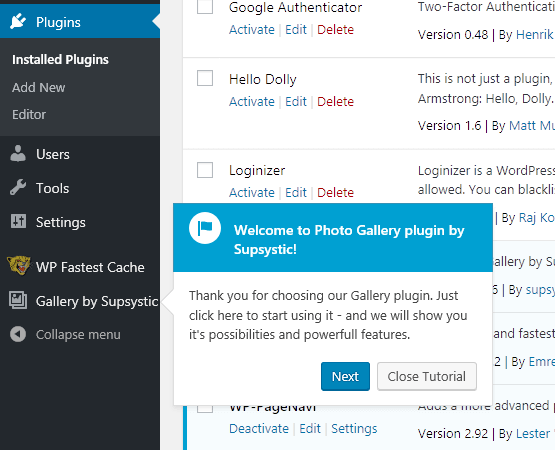
When the plugin is active, you see a welcome message inviting you to launch the Photo Gallery tutorial. Click Next to begin the tutorial or Close Tutorial to skip it. You can start the tutorial at any time by going to Gallery by Supsystic > Overview > Start step-by-step tutorial.
Manual installation
Go to https://wordpress.org/plugins/gallery-by-supsystic/ and click Download to download the plugin’s compressed zip file.
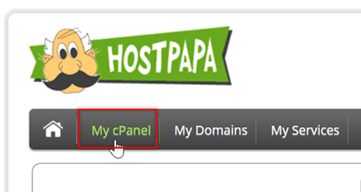
Log in to your HostPapa Dashboard and click My cPanel.
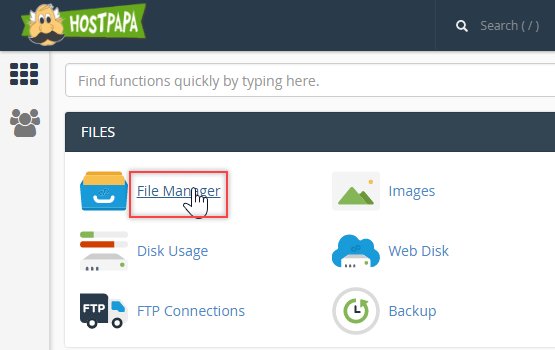
In cPanel, click File Manager.
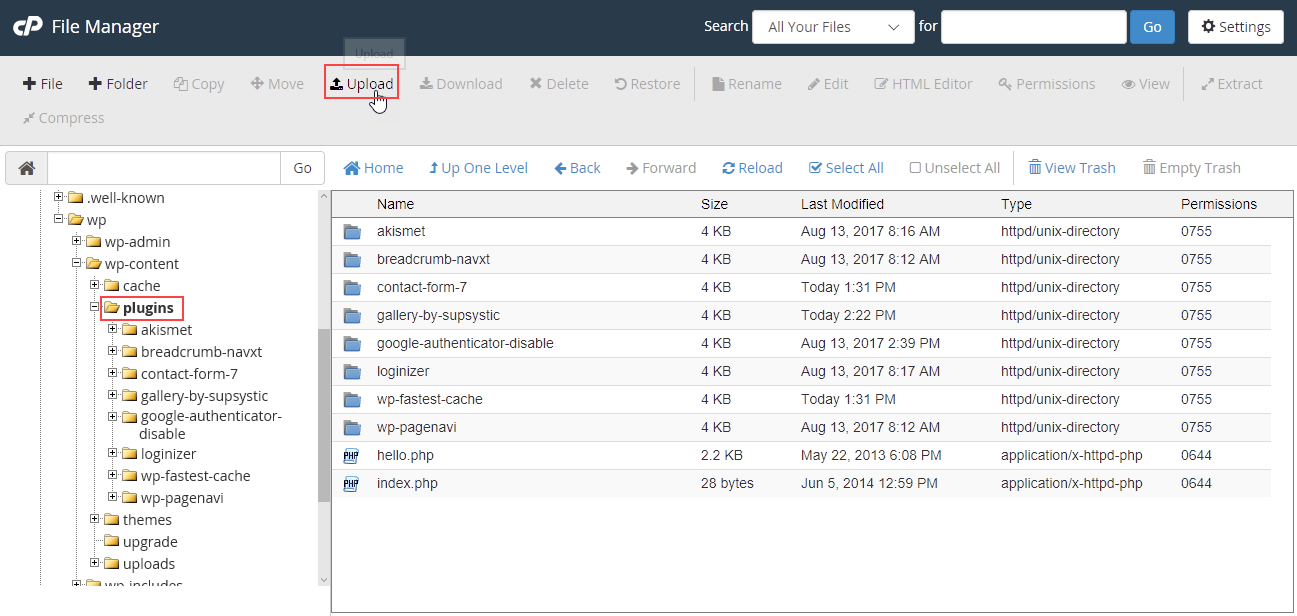
In the File Manager directory tree, select the app/plugins directory. Click Upload.
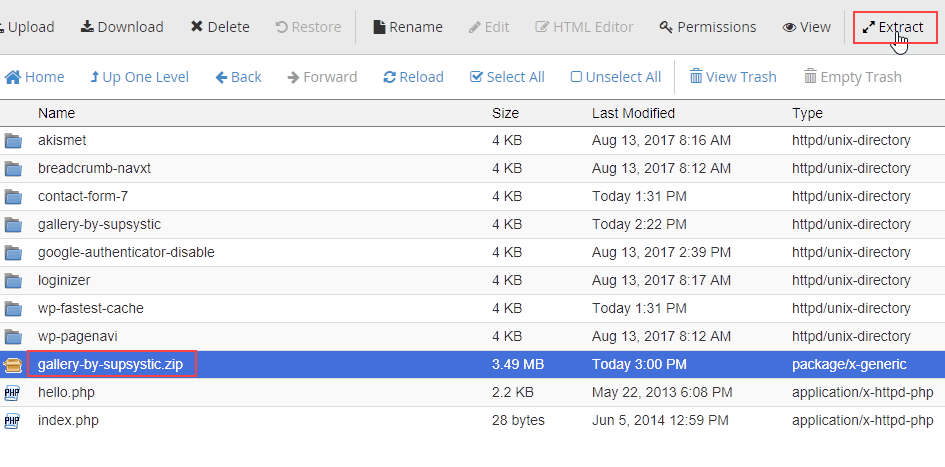
Click Select File and select the plugin’s compressed zip file. When the upload is complete, return to the File Manager. Select the compressed zip file and click Extract. In the Extract dialog box, click Extract File.
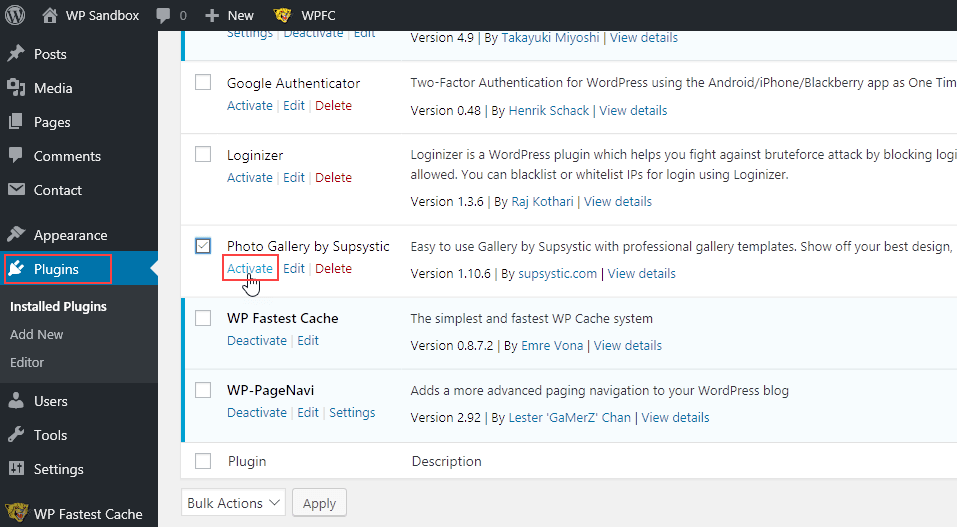
When the extraction is complete, log in to your WordPress dashboard, go to Plugins and locate Photo Gallery by Supsystic in the list. Click Activate.
Setting up Supsystic Photo Gallery
Adding a gallery
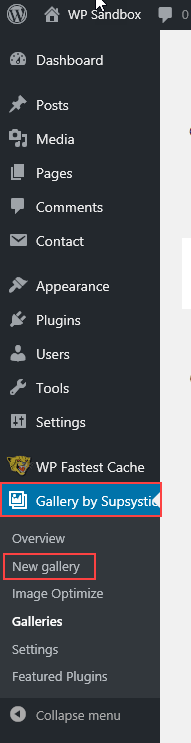
Log in to your WordPress dashboard and go to Gallery by Supsystic > New gallery.
Select the gallery layout you want to use. The layouts available in the free version are Standard, Vertical, Rounded, and Horizontal. Type a Gallery Name and click Save.

Adding images to a gallery
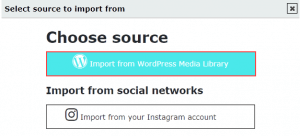
In the free version of Supsystic Photo Gallery, you can import images from the WordPress Media Library or from Instagram. In this example, we’re importing images from the Media Library. On the Galleries tab, click Add Images.
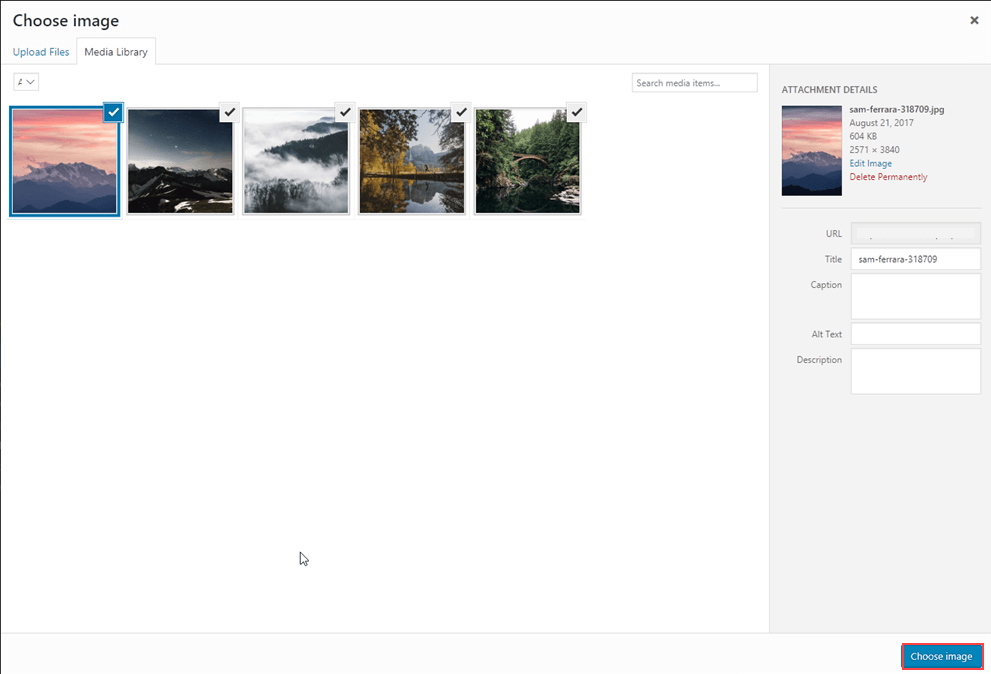
On the Upload Files tab, drag and drop or click Select Files to add image files from your local computer. When the images are uploaded, click the Media Library tab to select them. Click Choose image.
For each image, you can add a Caption, Caption effect, SEO description, Link, and Crop position. More options are available in the pro version.
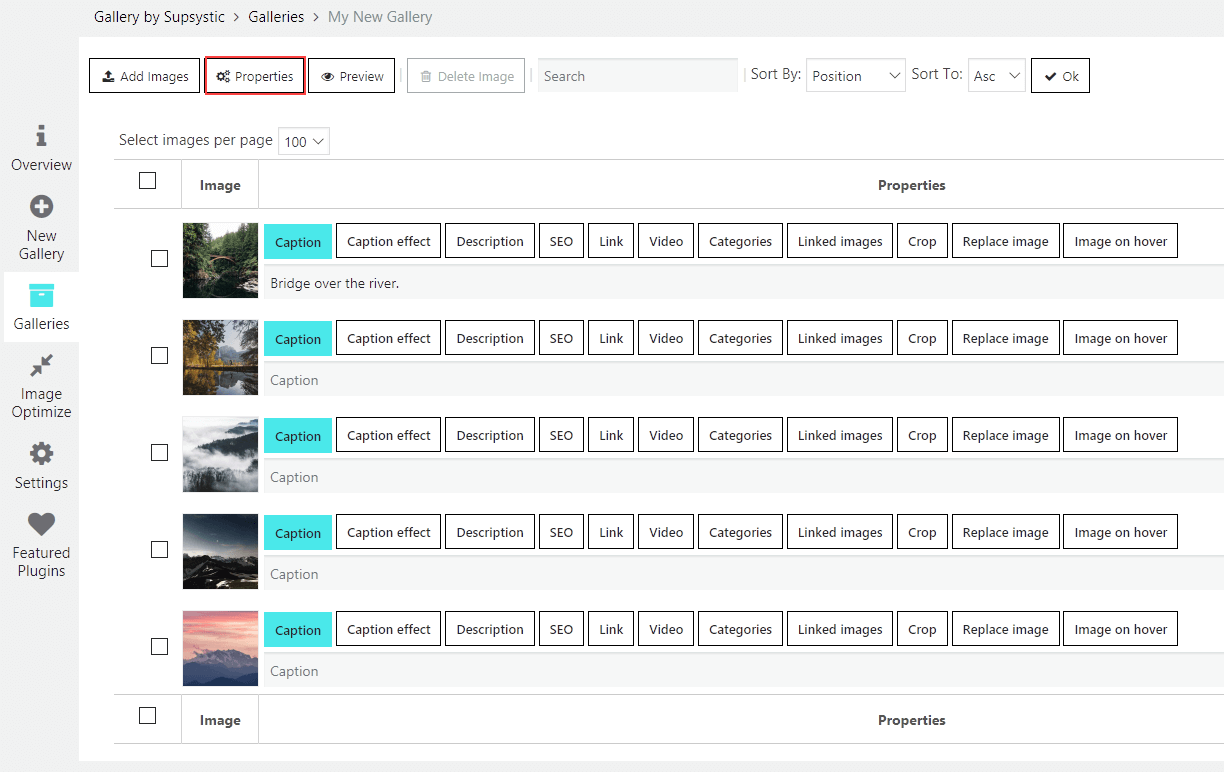
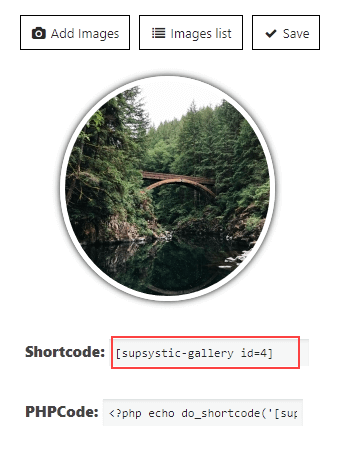
Click Properties for more gallery options. On the Properties page, verify the gallery settings. You can click Preview to open the gallery in a new tab. When you’re happy with how the gallery looks in the preview, click Save.

Displaying the photo gallery on your WordPress site
On the gallery Properties page, copy the Shortcode.
In the WordPress editor, open the post or page where you want to display the gallery. Click the Text tab and paste the shortcode in the page. Click Preview Changes. If the gallery is displayed as expected, click Update.
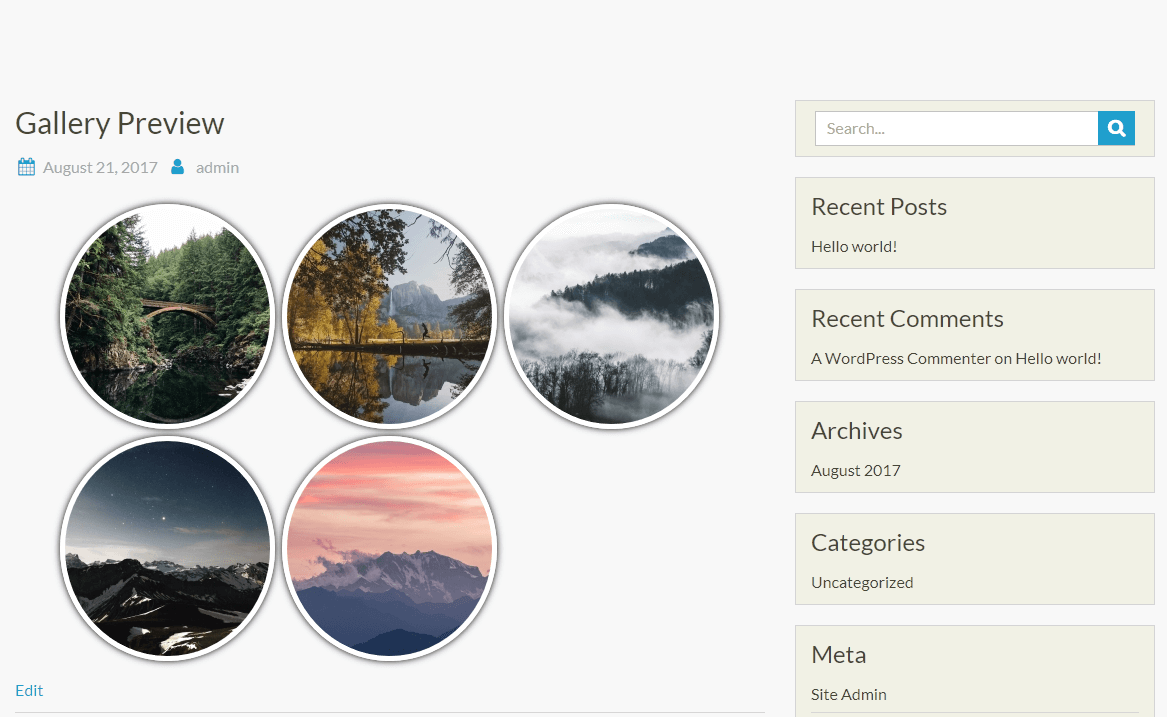
Congratulations! You’ve successfully installed Supsystic Photo Gallery and set up your first gallery. Open the WordPress post or page in a web browser to view your new photo gallery.
Getting help
If you have any questions about the Supsystic Photo Gallery, check these resources for more information:
- The Gallery by Supsystic > Overview tab in your WordPress dashboard includes links to a step-by-step tutorial, FAQs, and a contact form you can use to reach Supsystic support.
- Supsystic Photo Gallery documentation includes details about how to use all of the features included in Photo Gallery.
And you can always contact HostPapa Support with your questions. Details about how to open a support ticket are here.
