Shield Security is a WordPress plugin designed to protect your website from unauthorized access and attacks. Features include blocking malicious URLs, requests and comment spam, two-factor authentication for user access, protection from brute force attacks, and more.
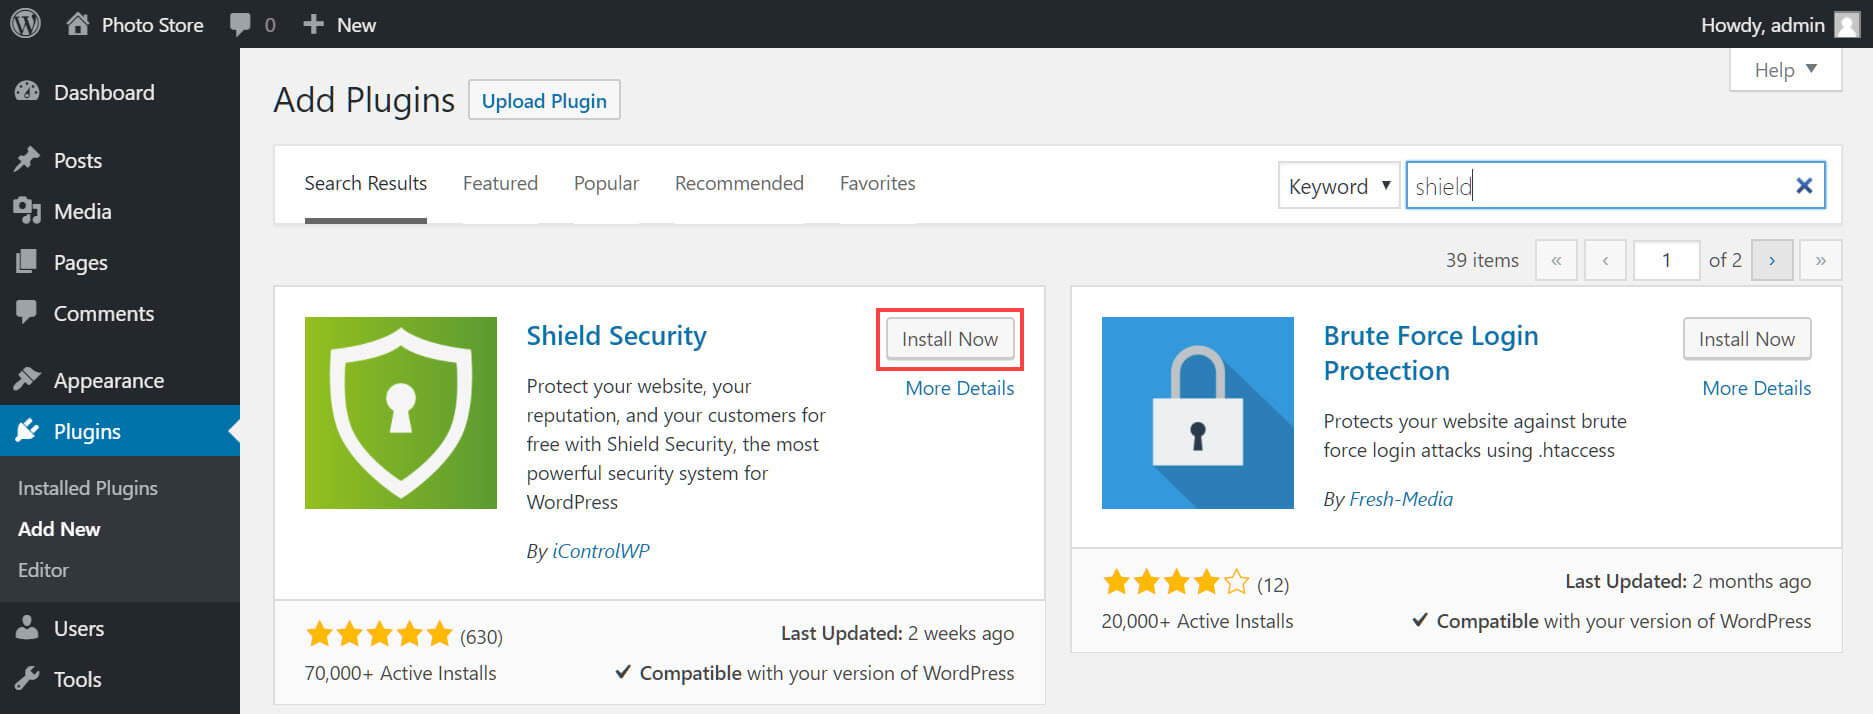
To install the plugin, sign in to your WordPress administration menu. From the sidebar, select Plugins > Add New. Search for Shield Security and install it, then activate the plugin.
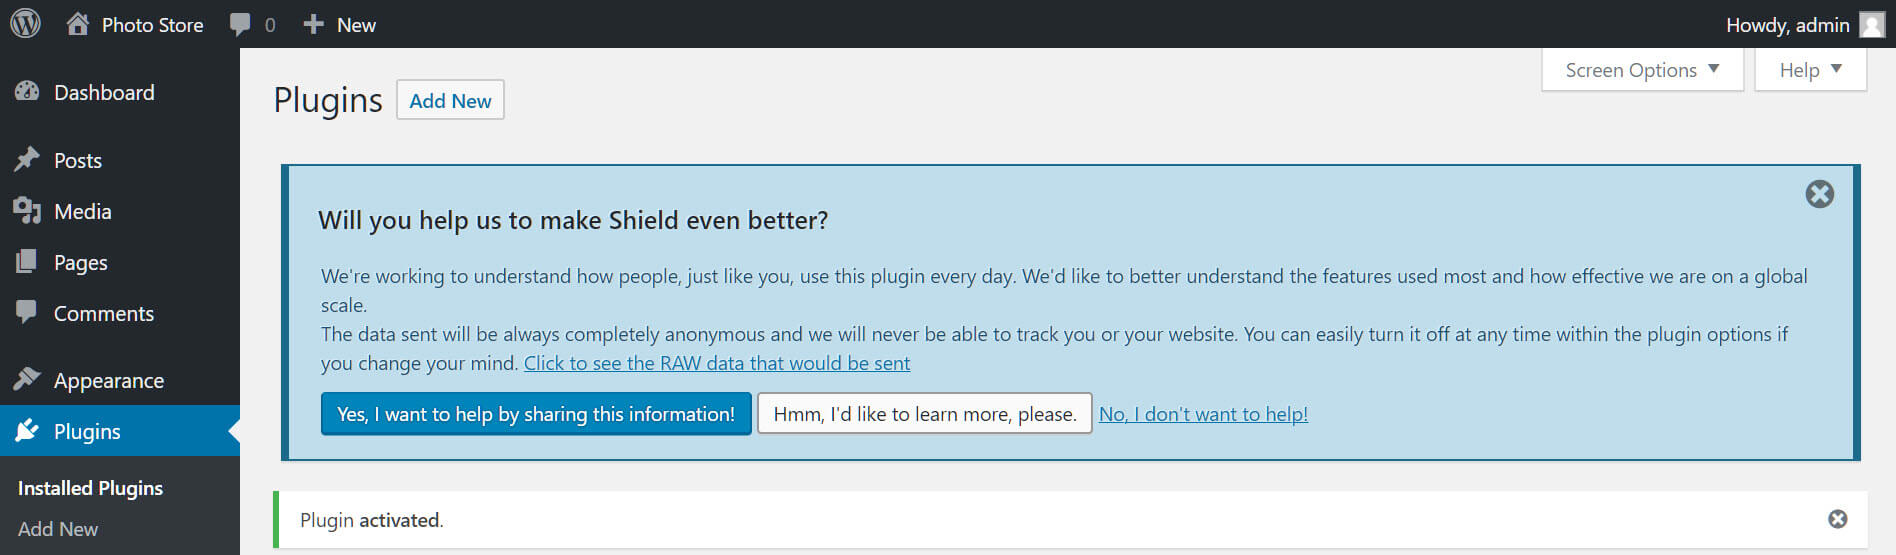
Once activated, you’ll be invited to share anonymous usage data with the plugin’s developers. This is an optional setting and can be disabled at any time. Use the buttons to make your selection.
At the bottom of the administration sidebar, you’ll see a Shield Security entry. Click it to configure the plugin.
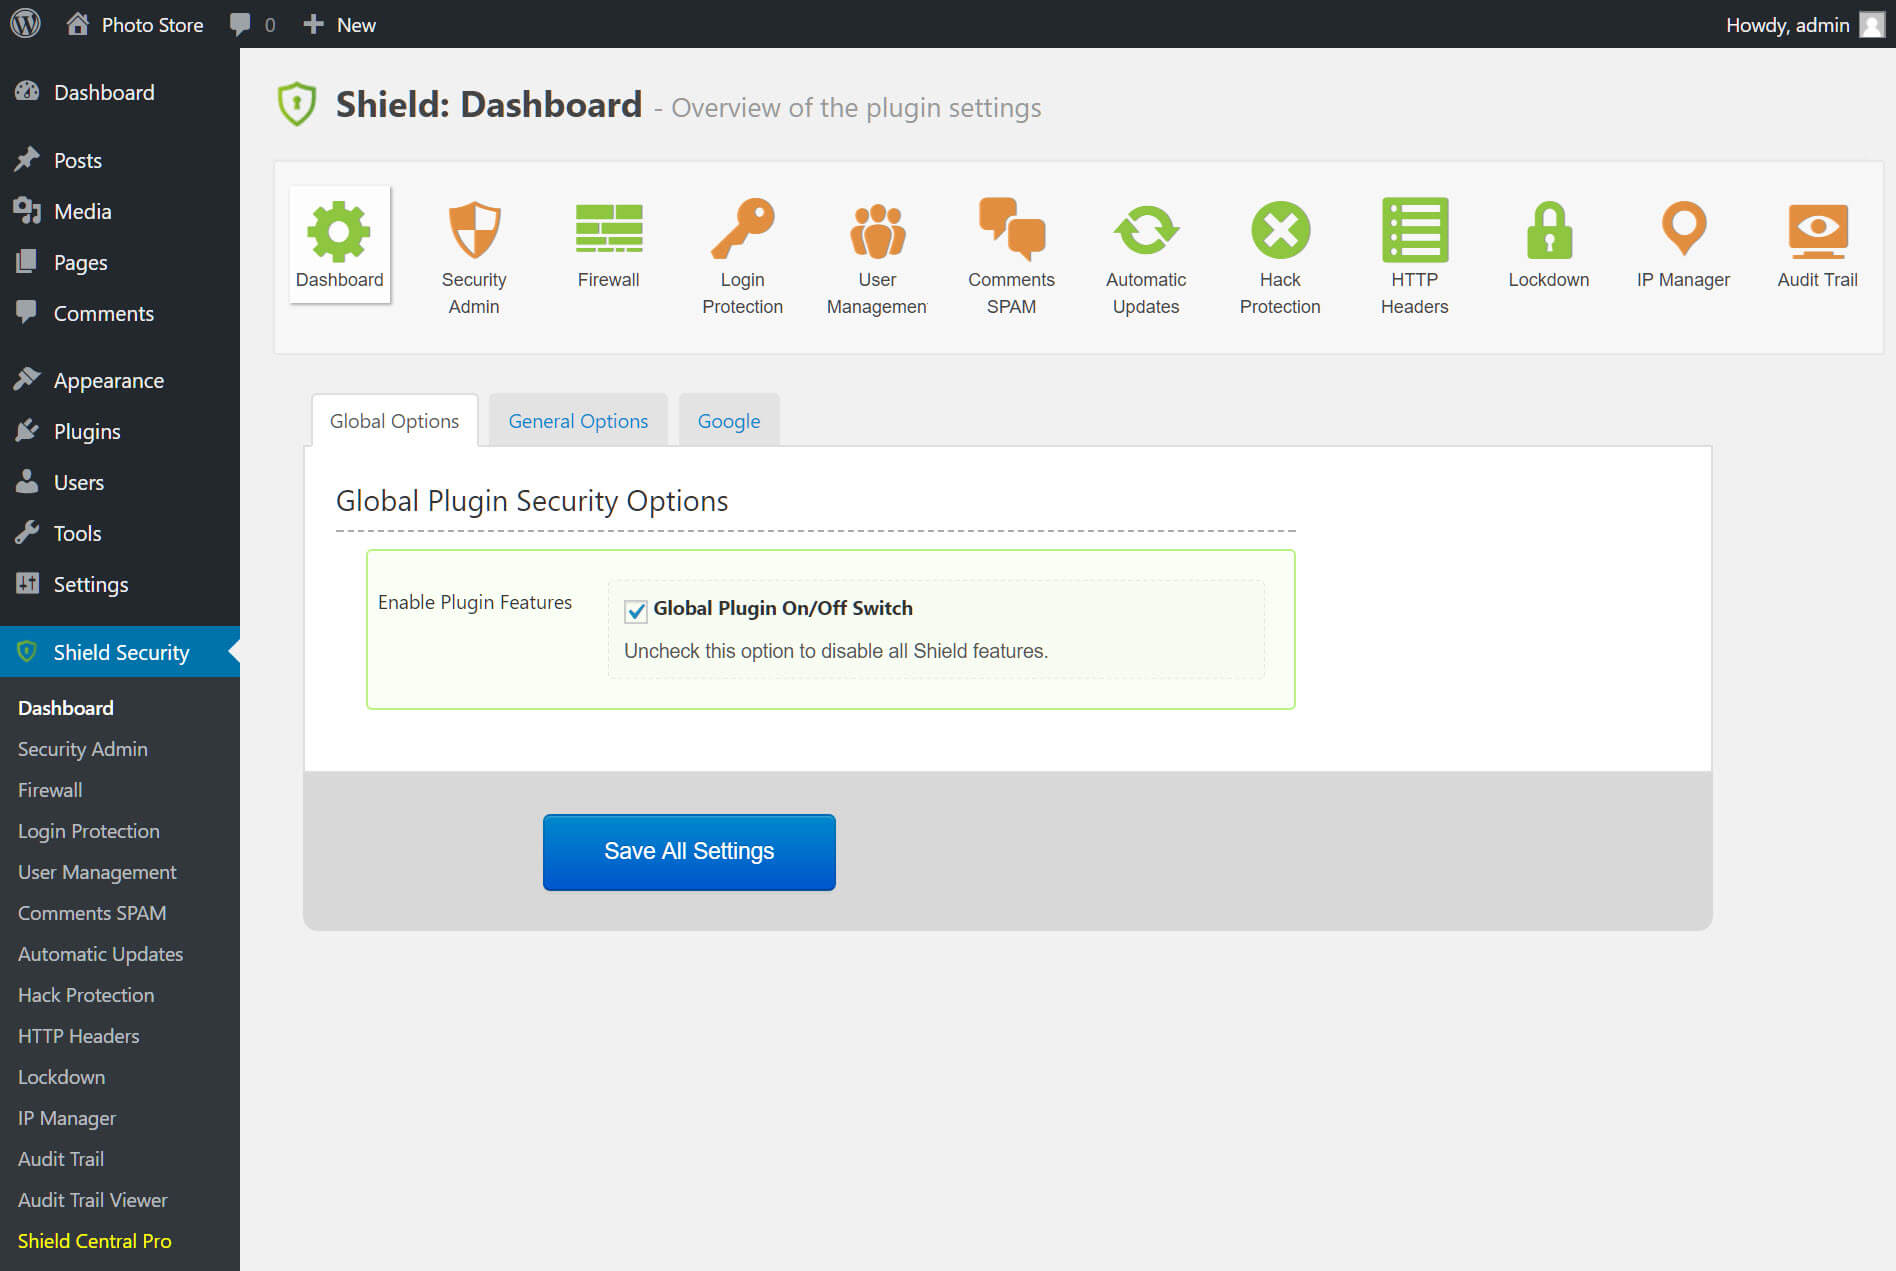
The Shield Dashboard includes a series of tabs that can be worked through to tailor security settings for your site. The Global Options sub-tab allows you to enable or disable the plugin, while General Options will allow you to configure notification settings and other site-wide options.
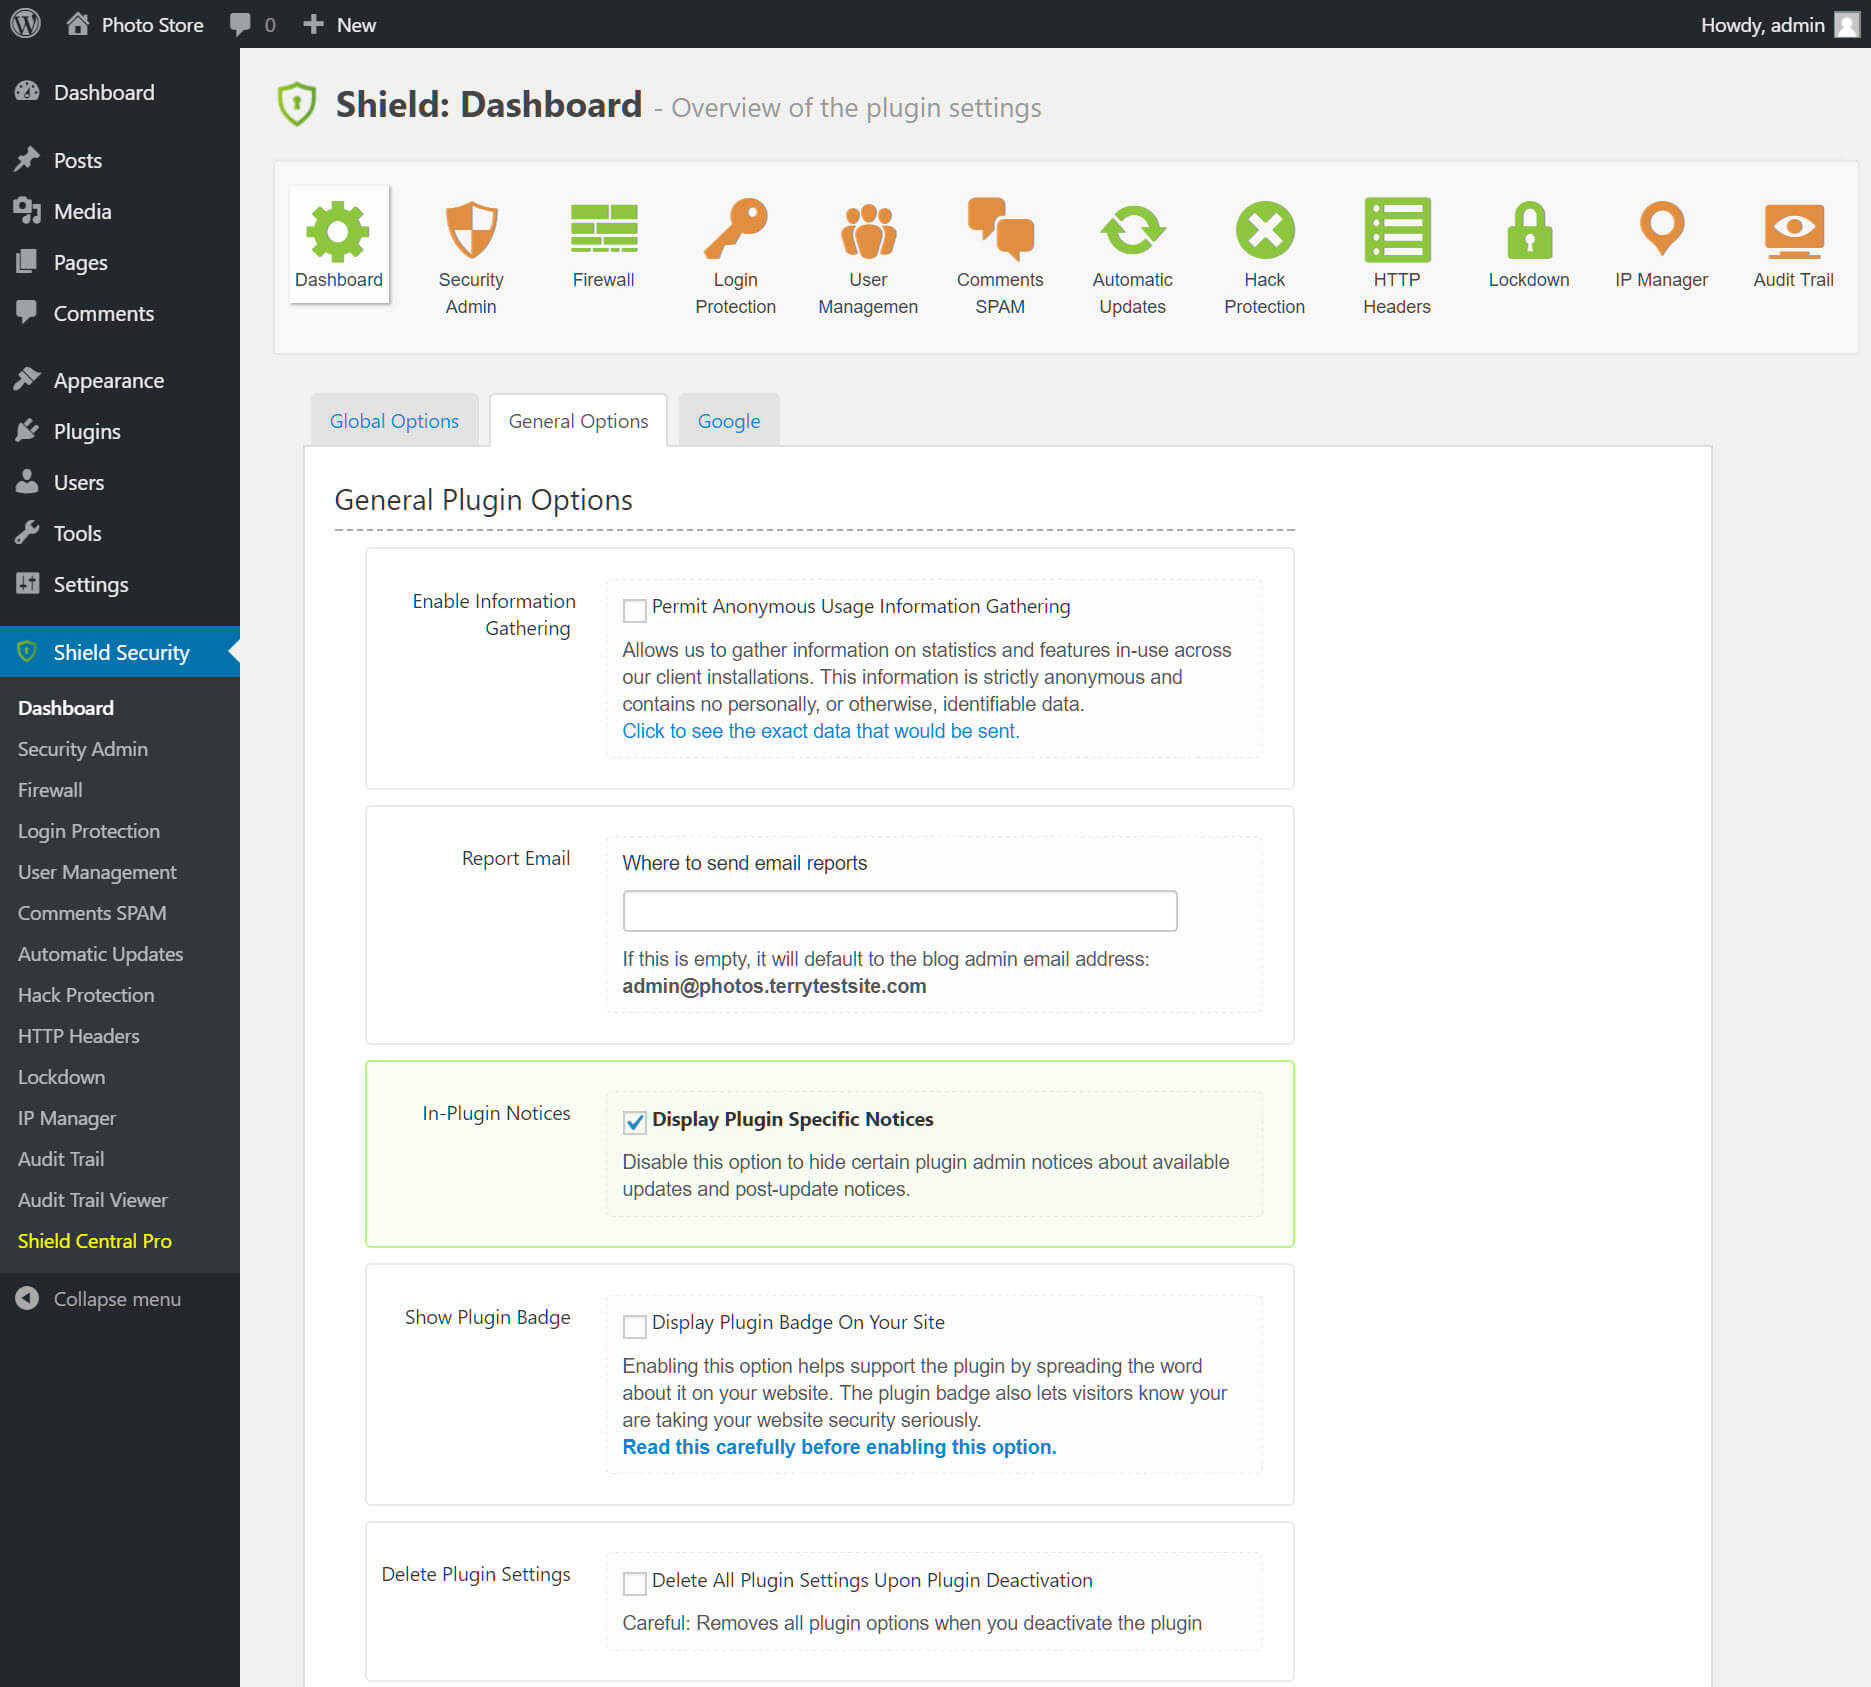
Use the Google sub-tab to configure your reCAPTCHA site keys.
The Security Admin tab allows you to set a key preventing unauthorized access to the Shield Security plugin. It’s recommended to enable this setting, but be sure to keep your access key safe.
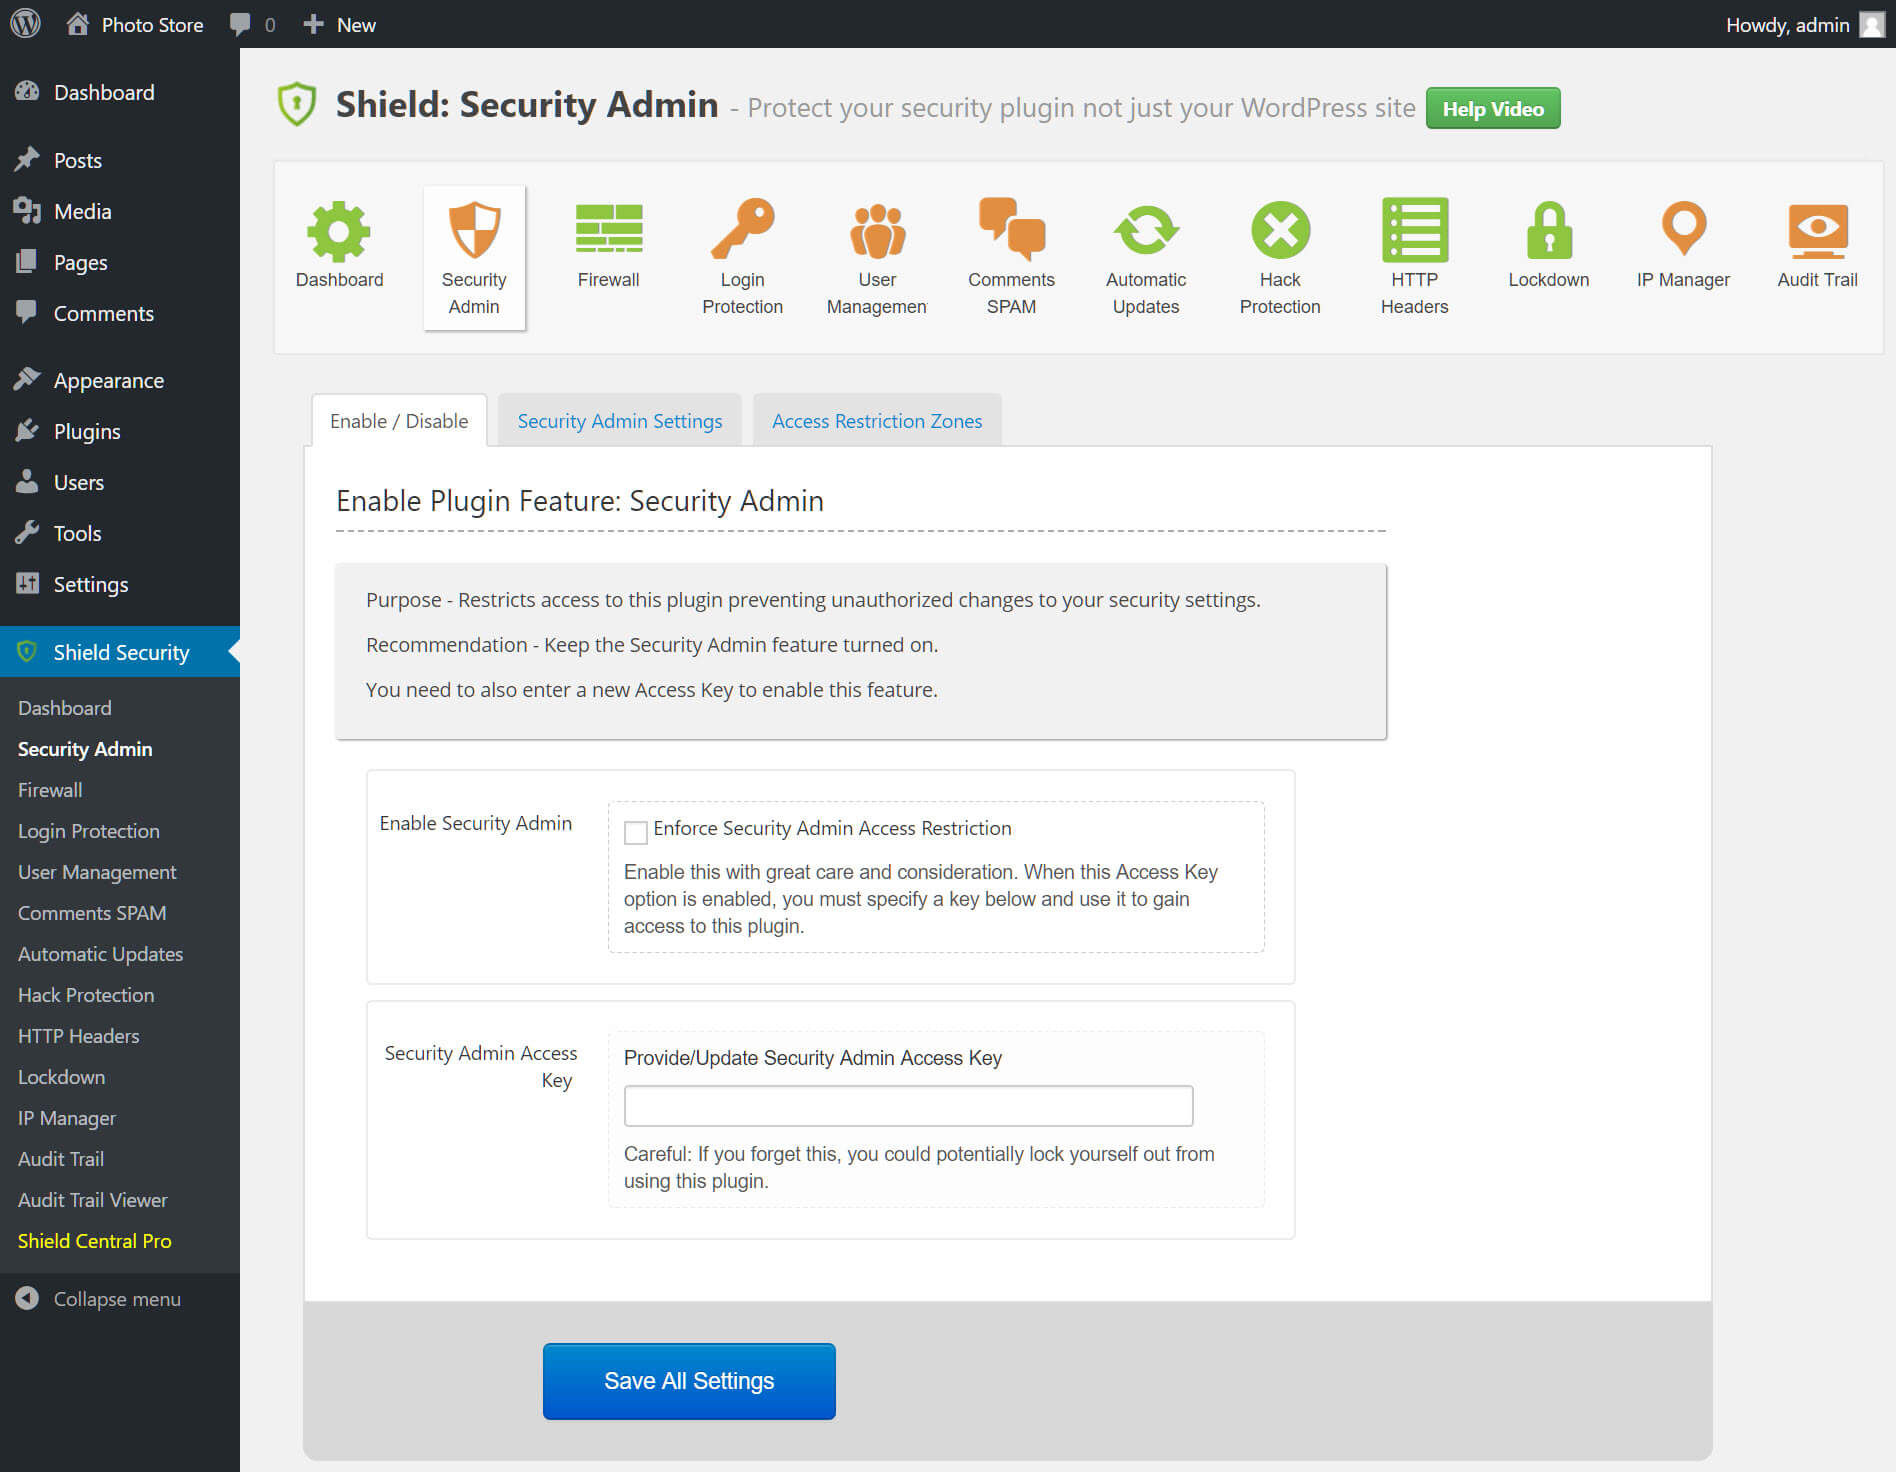
Once enabled, you can further restrict Administrator access to WordPress settings.
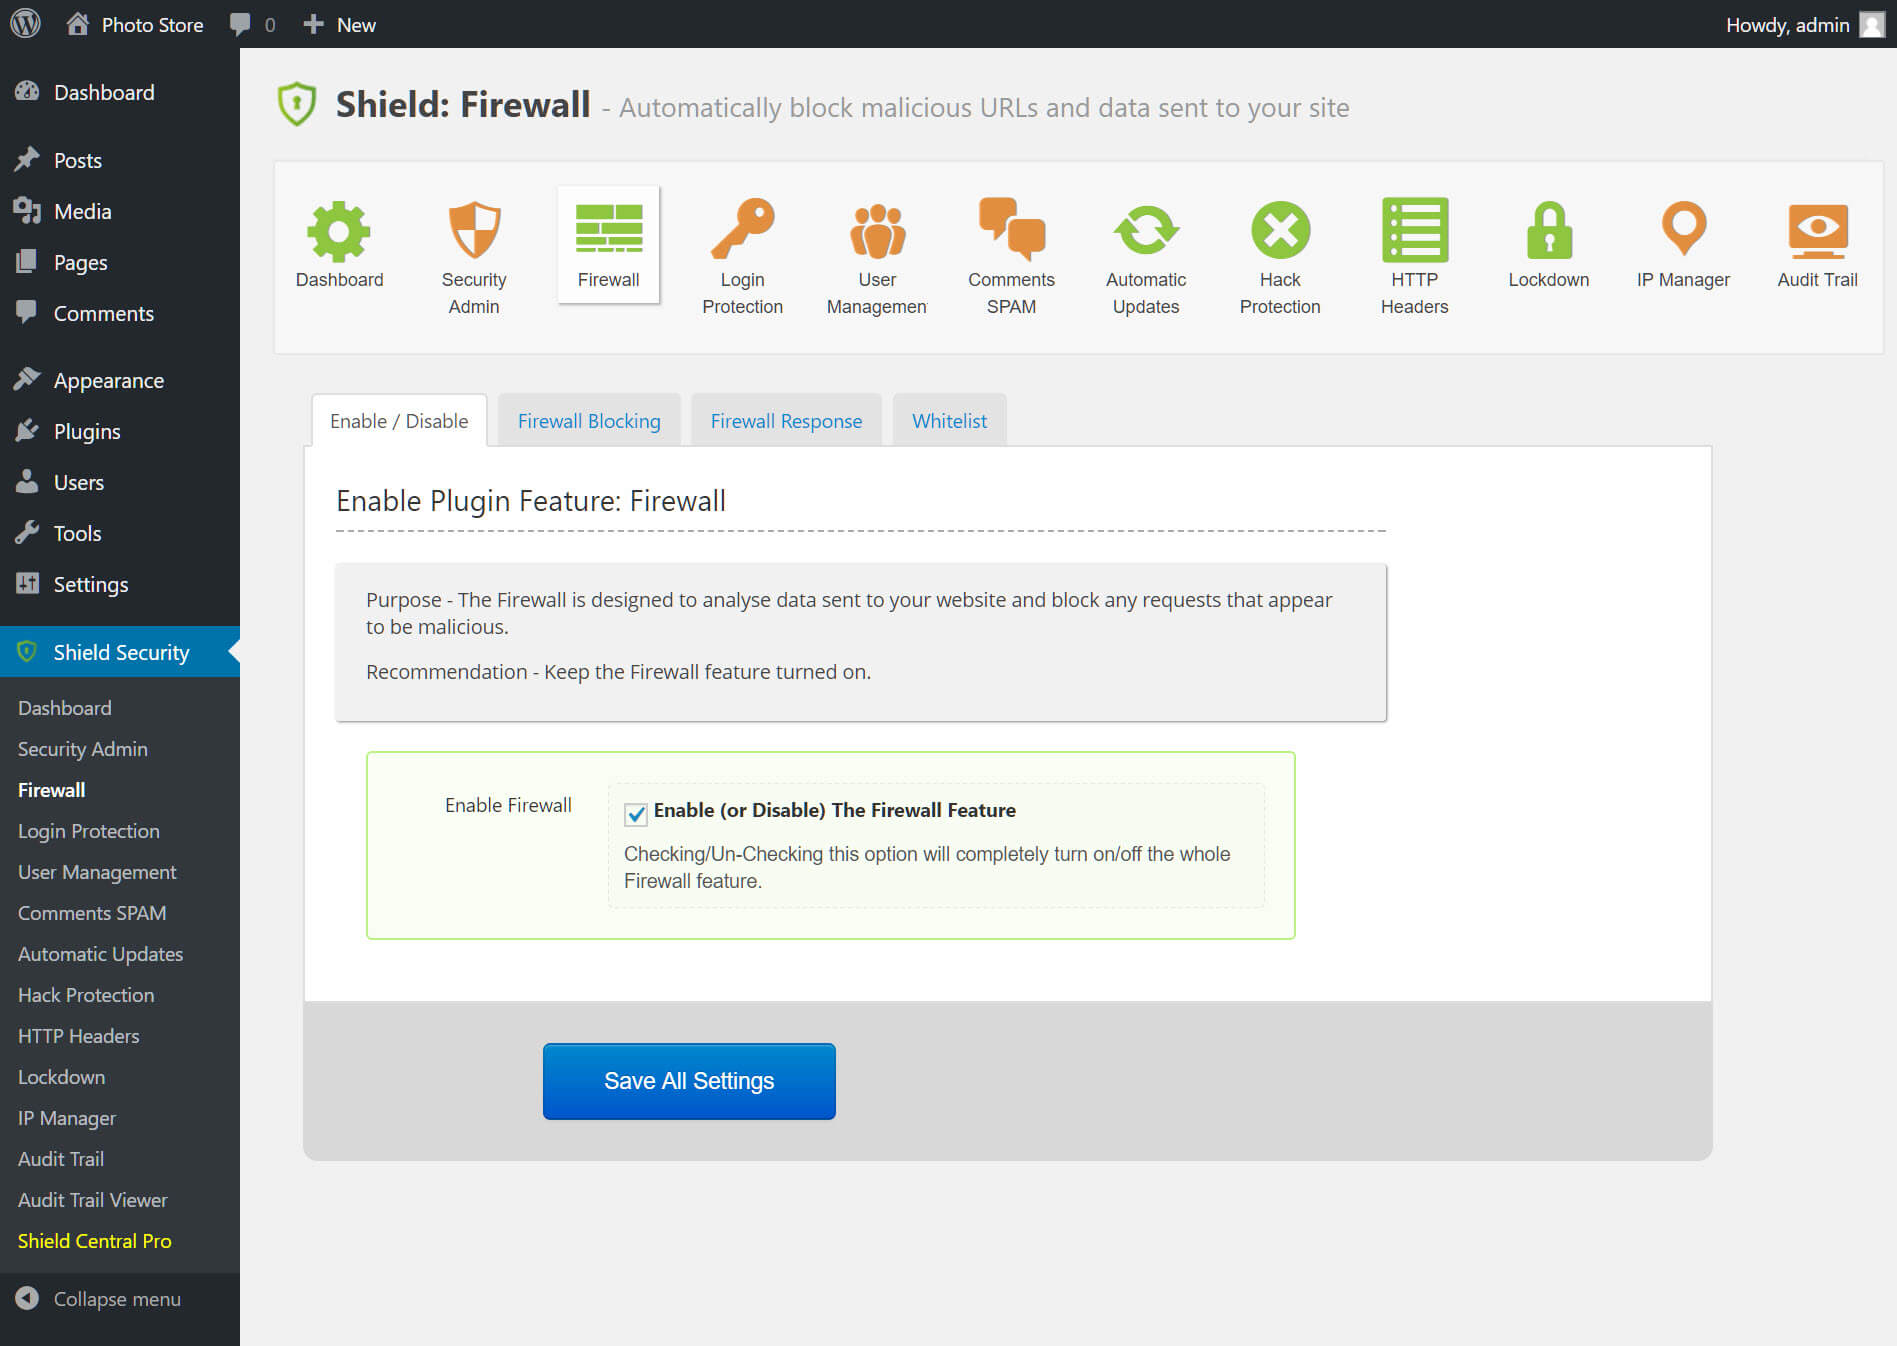
Shield Security is equipped with a Firewall that protects your website from malicious requests. It’s enabled by default, and you can use the Firewall Blocking, Firewall Response and Whitelist sub-tabs to configure the firewall rules for your installation.
Brute Force Login Protection equips your WordPress login pages with Google ReCaptcha support, preventing the risk of bot access. Login Protection supports a range of features for obscuring your WordPress administration dashboard and hardening access security. Multi-Factor Authentication supports using Google Authenticator, Yubikey or Email authentication, which requires your users to enter a secondary code or click an email link to access the dashboard.
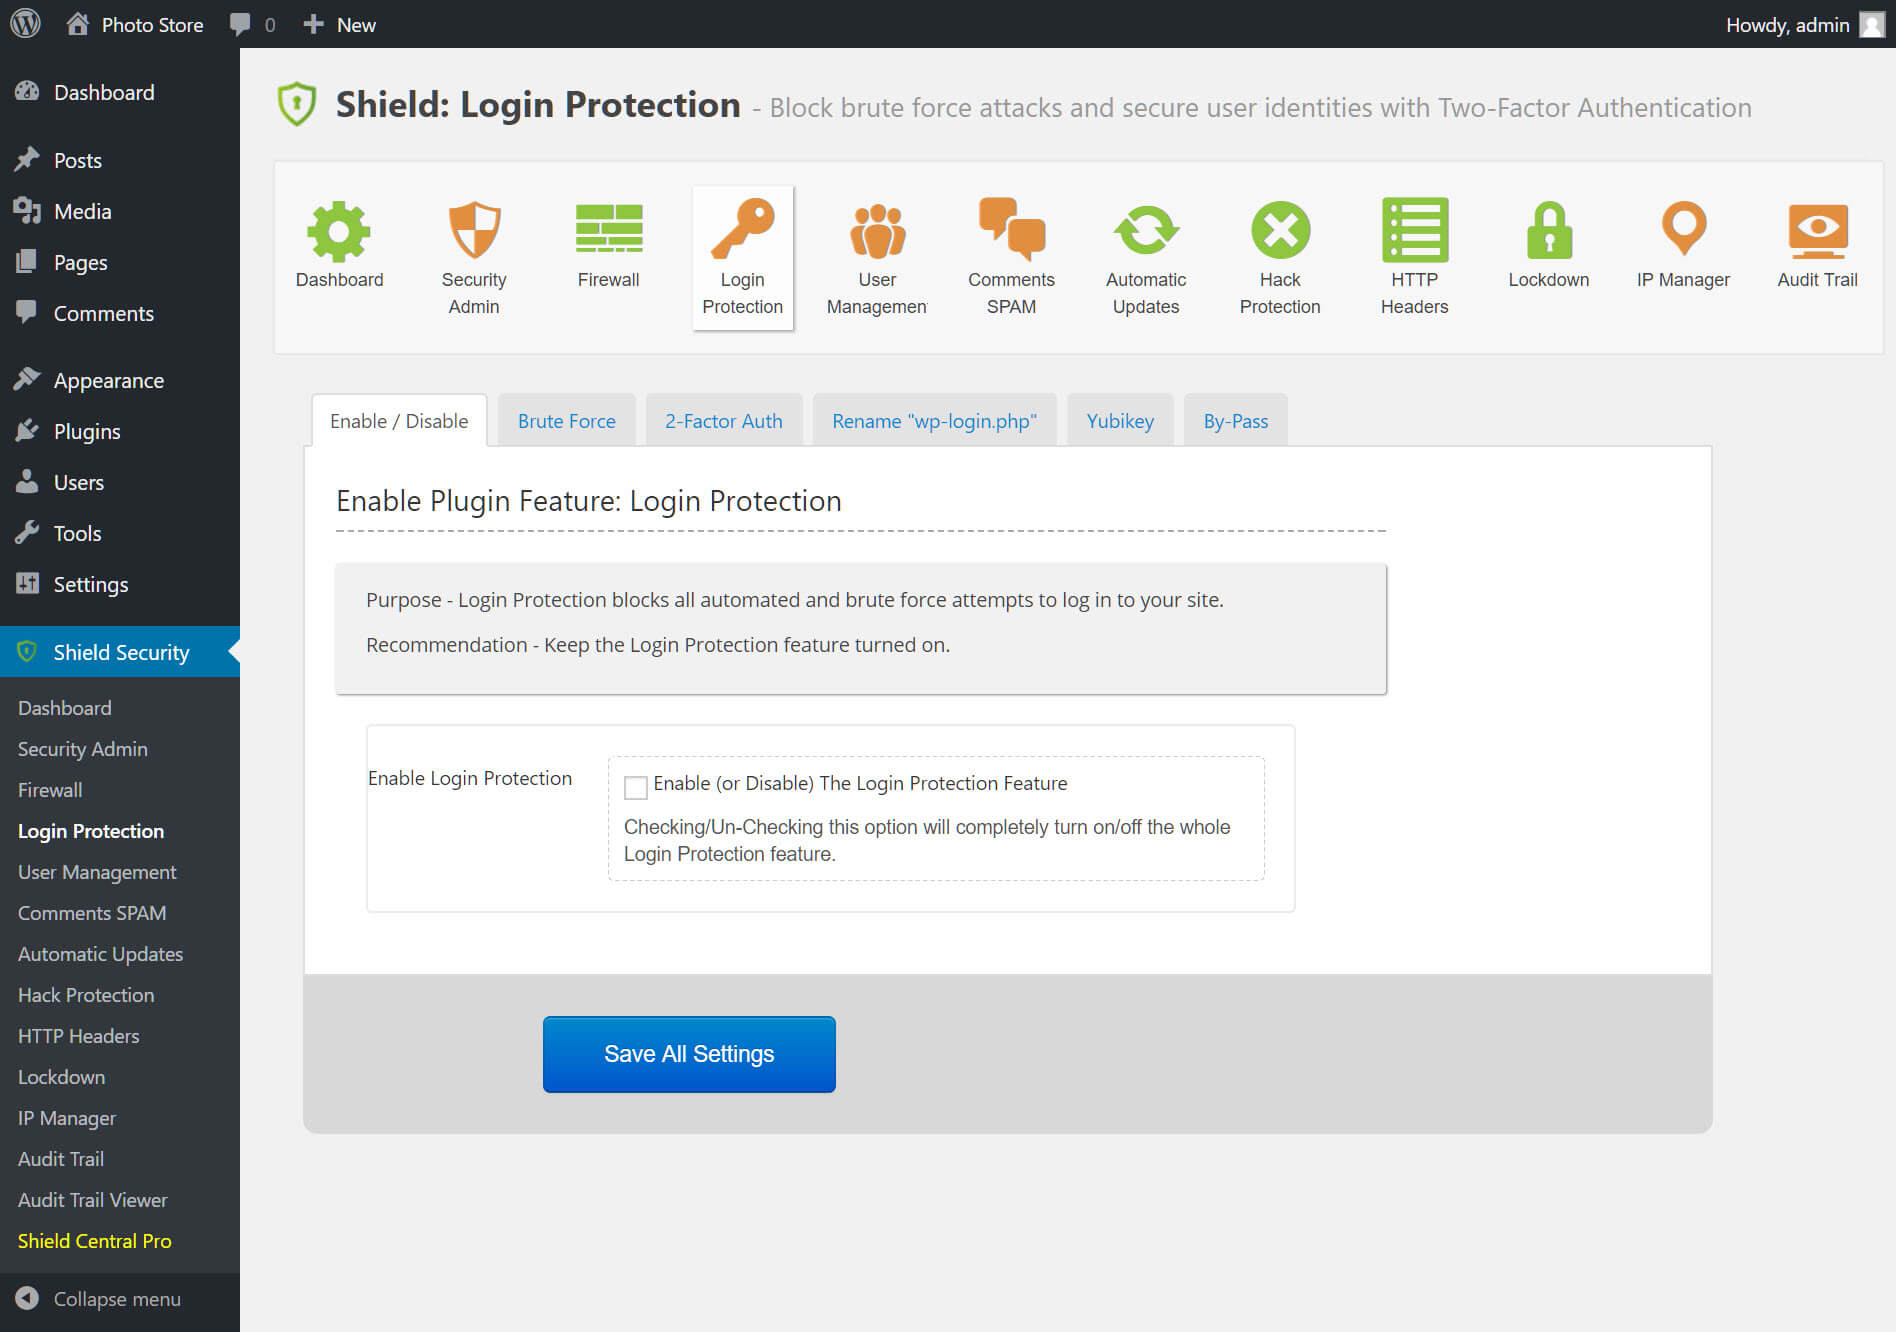
You can also hide your WordPress login pages by automatically renaming their URL.
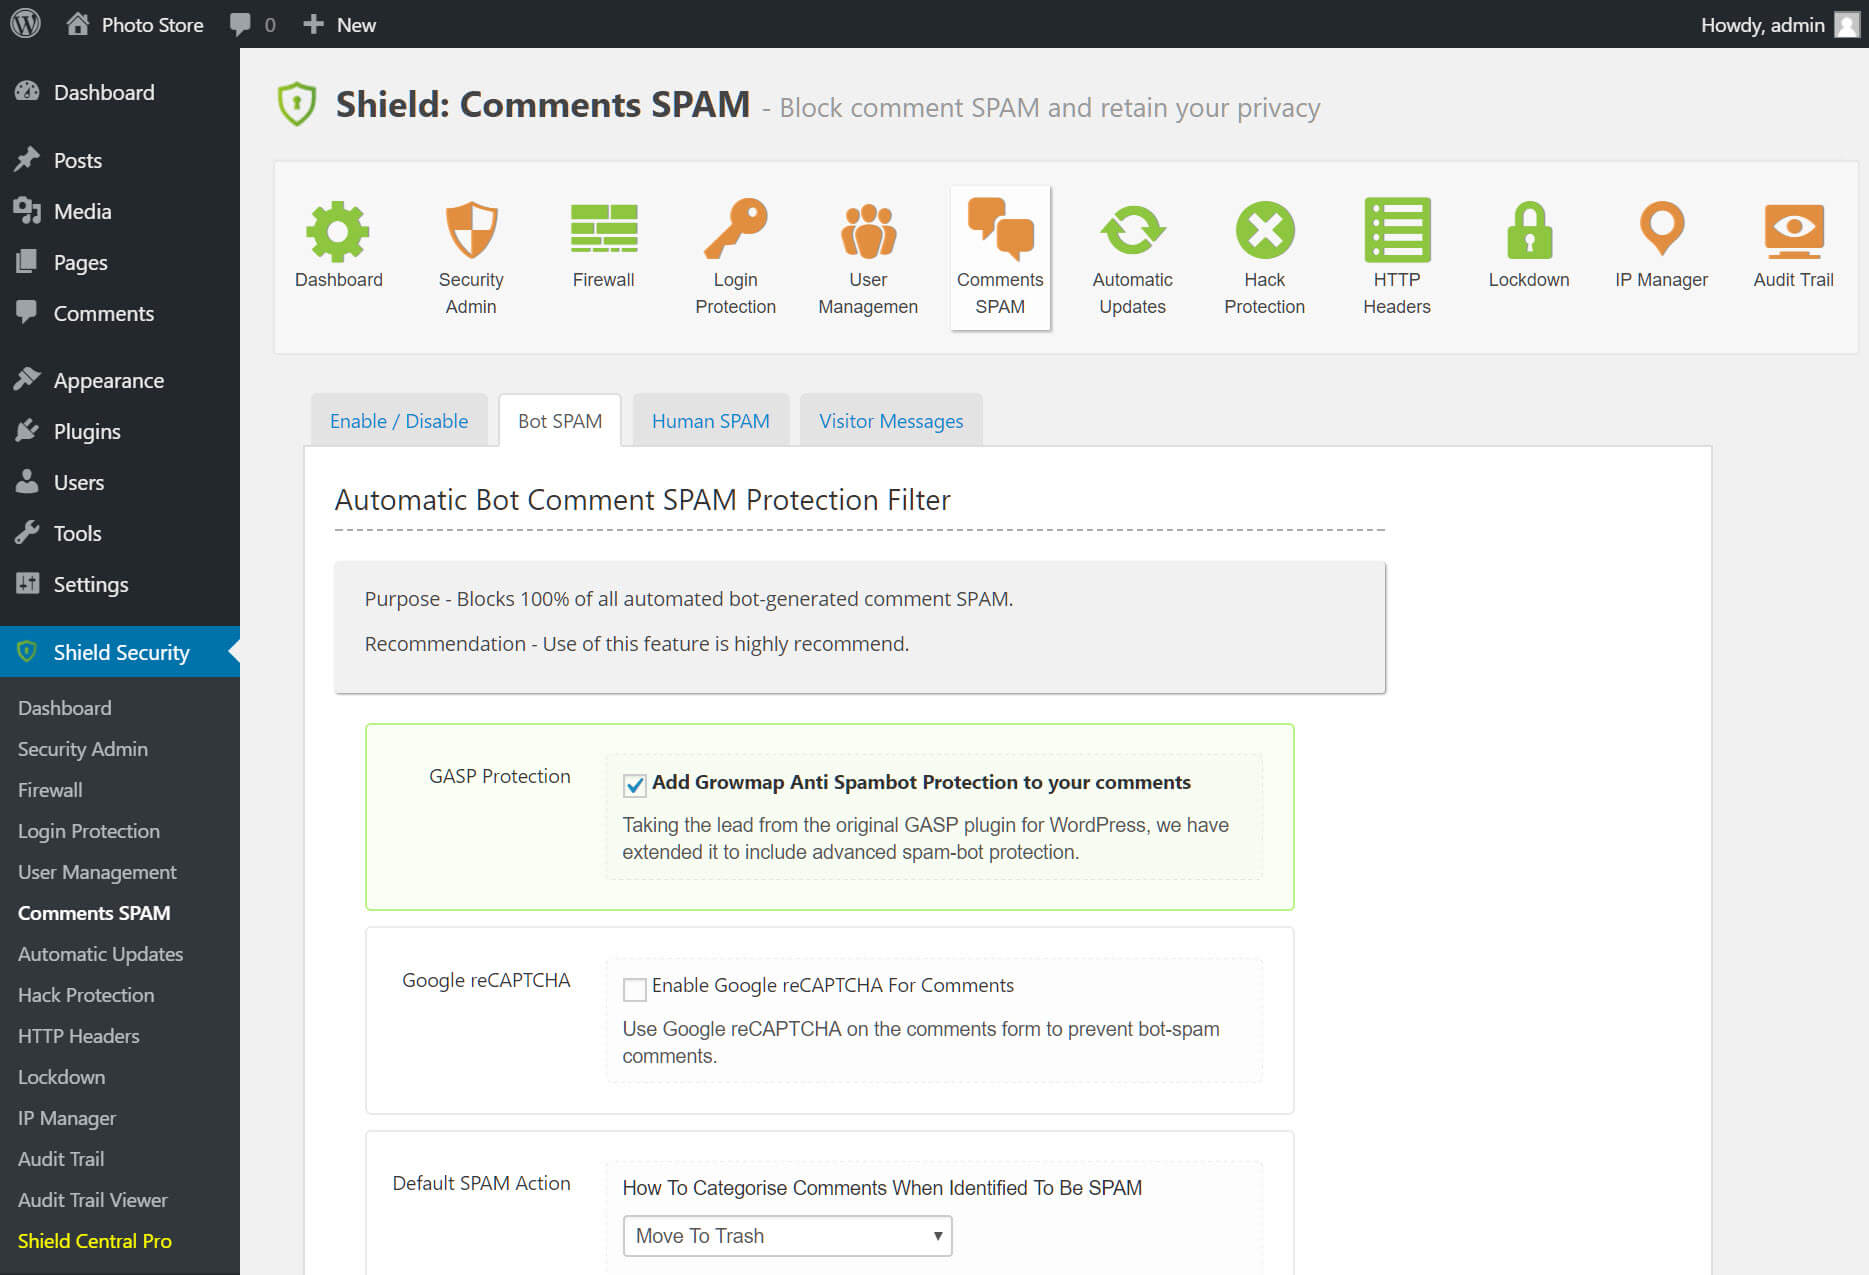
The User Management tab allows you to view and manage user sessions, timeouts and be alerted when a user logs in to the site, while you’ll find a slew of options for controlling spam from humans and bots in the Comments SPAM tab.
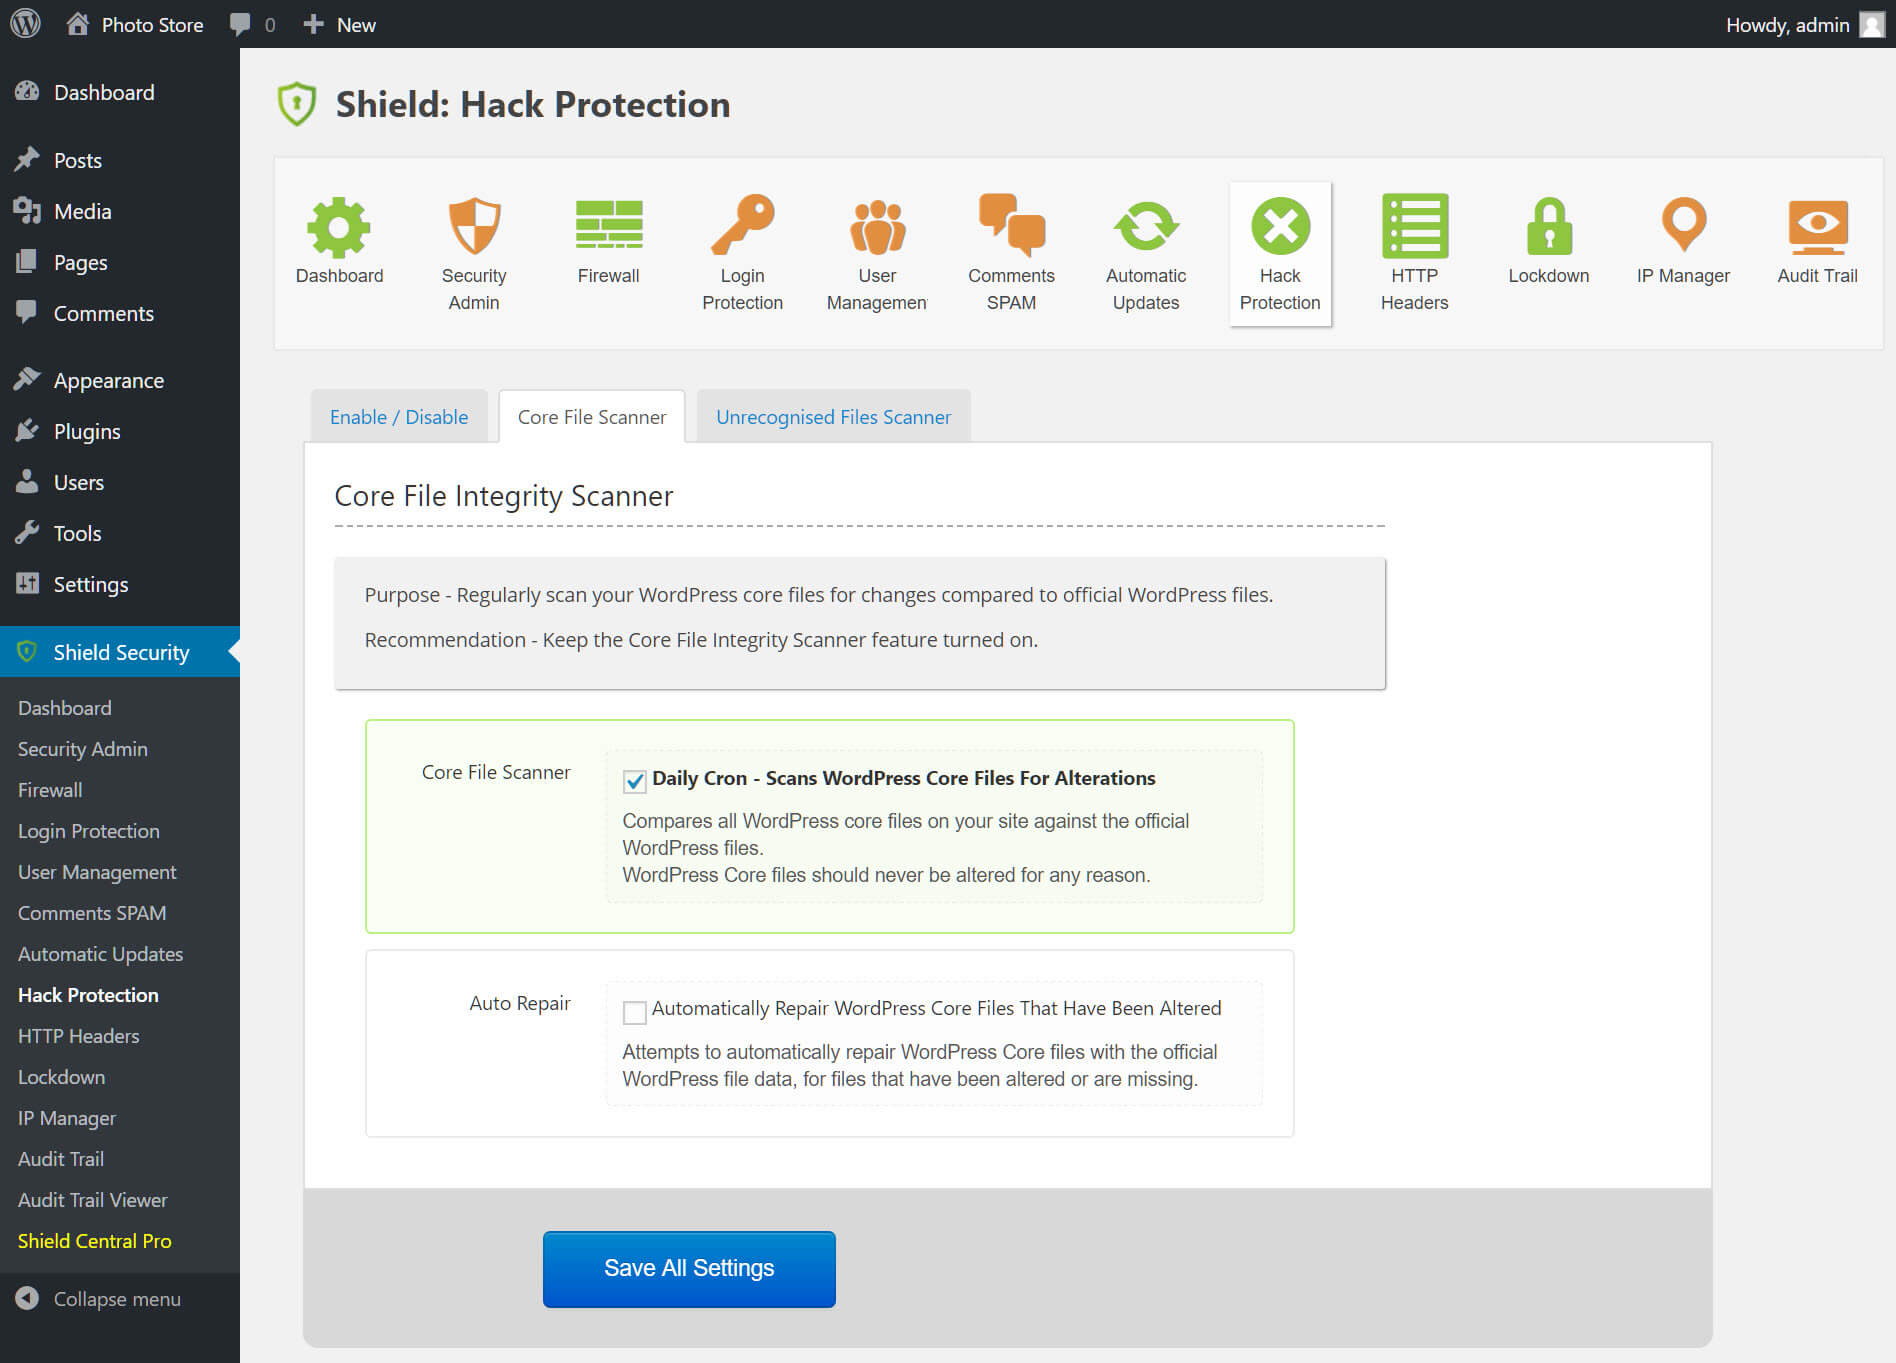
Shield Security is equipped with features to support automatic WordPress updates, alongside plugins and theme updates when available. At the same time, Hack Protection offers daily scans of your WordPress files, identifying and repairing rogue code that may be malicious.
Other advanced settings include HTTP header configuration, a comprehensive suite of security lockdown settings, IP white and blacklisting and an audit trail, allowing you to trace user access and identify security issues.
If you need help with your HostPapa account, please open a support ticket from your dashboard.
