To protect your website from malicious activity, we recommend that you secure your WordPress files and folders by changing their file permissions. File permissions determine who can read, write, modify, and delete files or folders on your HostPapa server.
In this article, we’ll show you how to change file permissions in WordPress using an FTP client or the cPanel File Manager.
Changing file permissions using an FTP client
Many FTP client applications are available for Windows PCs, Macs, and Linux computers, and some are even free to download. Two popular options are FileZilla and CoreFTP. Open your FTP application and enter your HostPapa FTP server details. To retrieve these credentials, follow these instructions:
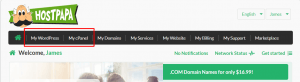
- Log in to your HostPapa Dashboard.
- Go to My cPanel or My WordPress.
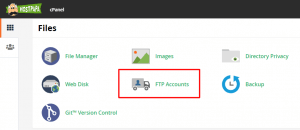
- Clic FTP Accounts.
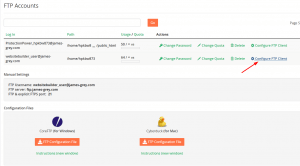
- Locate your FTP Account and click Configure FTP Client.
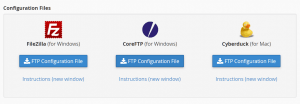
- If you are using FileZilla, CoreFTP or Cyberduck FTP, you can download and import your FTP configuration details from the cPanel dashboard.
- Once logged in, navigate to your WordPress folder.
- Right-click the folder and select File permissions…
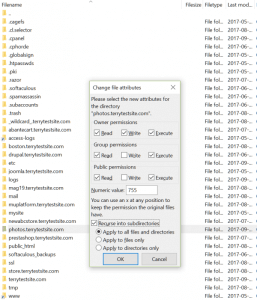
- HostPapa recommends that WordPress folder permissions be set to 755 and that files be set to 644.
- Enter 755 in the Numeric Value field and ensure the box next to Recurse into subdirectories is checked.
- Below, click the radio button next to Apply to directories only.
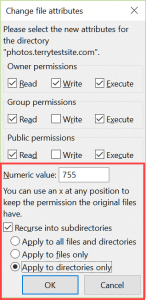
- Click OK to continue.
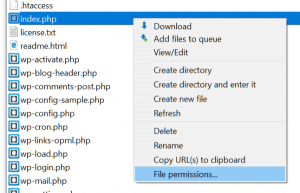
- Enter the WordPress folder and look for your index.php file.
- Right-click the file and, once again, select File permissions…
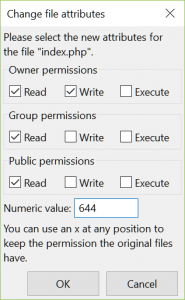
- This time, set the Numeric Value to 644 and click OK.
You can find out more about working with FTP in our Knowledge Base.
Changing file permissions using cPanel File Manager
Alternatively, you can use cPanel File Manager to change the file and folder permissions in your WordPress installation.
- Log in to your HostPapa Dashboard.
- Go to My cPanel or My WordPress.
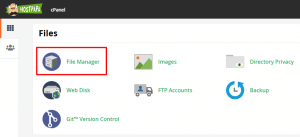
- Select File Manager.
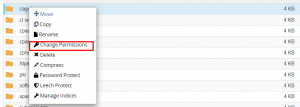
- Right-click on your WordPress folder and select Change Permissions.
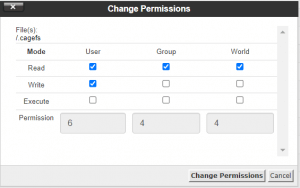
- Enter 755 in the Permission fields.
- Click Change Permissions to continue.
- Double-click your WordPress folder and find the index.php file.
- Right-click the file and, once again, select Change Permissions.
- Set the Permission value to 644 and click OK.
If you need help with your HostPapa account, please open a support ticket from your dashboard.
